
There are several guides on the Internet on how to install Leopard OS X onto a Dell Mac Mini 9. This setup creates a netbook affectionately known as the MacBook Mini or MacBook Nano. Most of these guides involve the creation of a USB installation drive or the use of an external DVD drive. In today’s tutorial I will explain how to avoid those ponderous steps.
Building the fastest and most responsive Dell Mini 9 Mac for a price less than the stock Dell Mini 9 with the same specs and lower grade components from Dell is really quite simple and should take less than an hour. The one caveat is you will need to have access to a genuine Intel Mac machine.
One of the nicest features of the Dell Mini 9 and OS X is that everything works right out of the box. There is no need to run kexts or other patched code to get things working. All the hardware including the LAN jack, the wireless card, audio and video out works after the installation and upgrade to OS X 10.5.6.
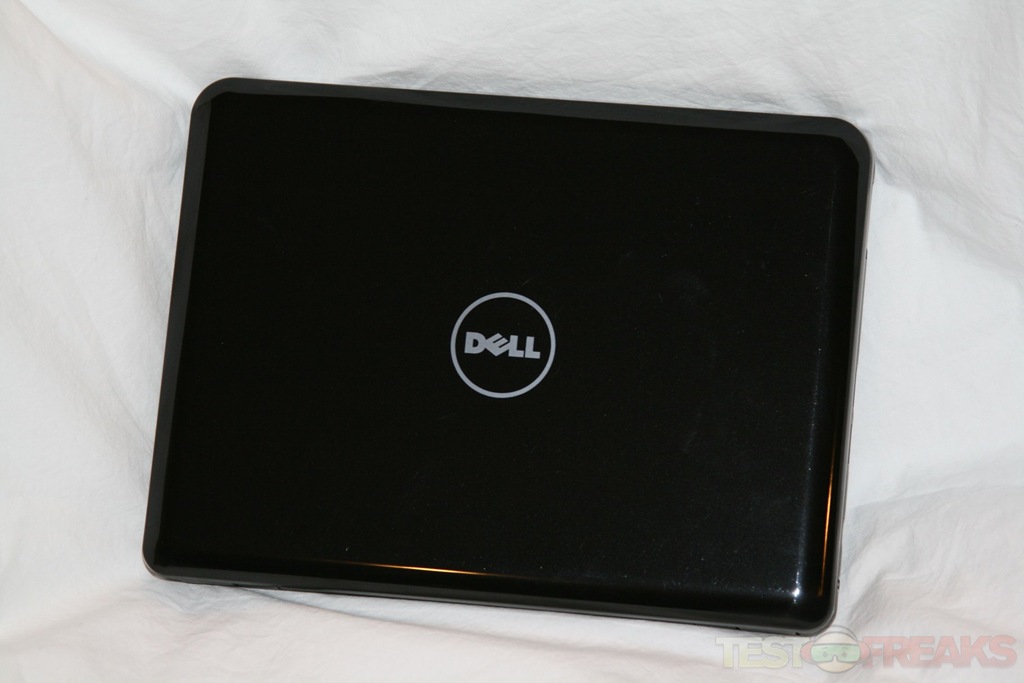
This project should cost around $450-500 if you buy things frugally. The Dell Outlet store is a great place to pick up a base model Mini 9 for around $200 or less if you have a Dell coupon, which appear frequently online. The Dell Vostro A90 is another option as it is the same machine as the Dell Mini 9 and comes with built in bluetooth support. Recently Dell was selling that model for $199, so always keep your eyes out for deals.
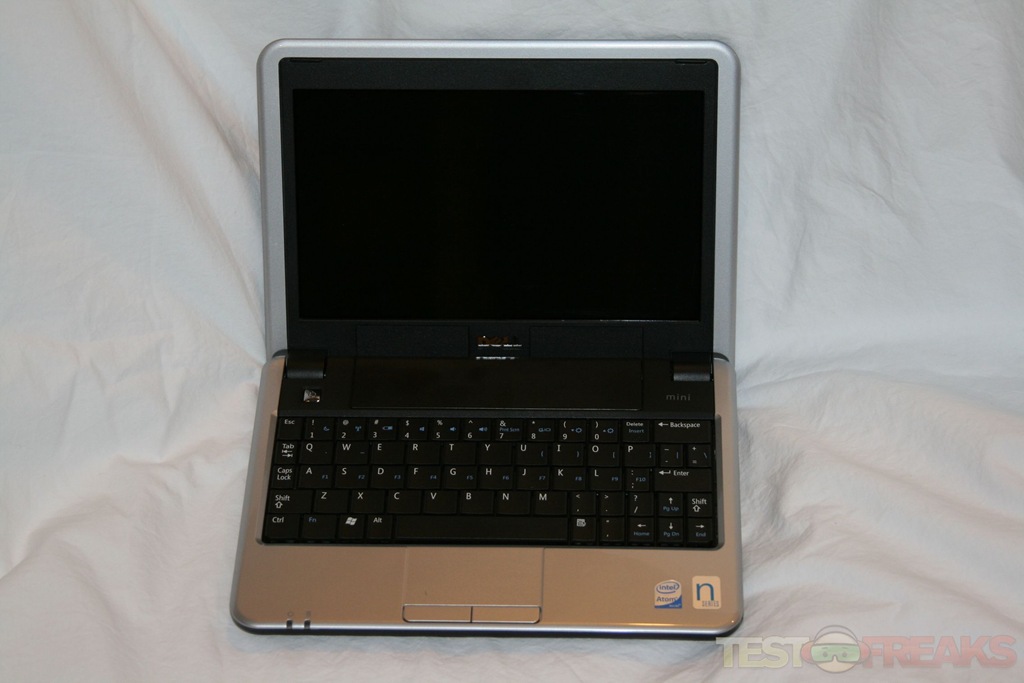

You can pick up the base model which usually has a 4GB SSD (Solid State Drive), Ubuntu for the OS and 512MB of DDR2 memory since we will be replacing all these parts. If you desire to have a webcam then the price will go up slightly.
For the replacement components pick up a 2GB stick of DDR2 PC5300 SODIMM memory for around $10-20 depending on whether you like doing the rebate thing. Next make sure you buy or own a legit copy of Leopard OS X or buy it for $129. Finally grab a RunCore SSD drive which can be found here at My Digital Discount
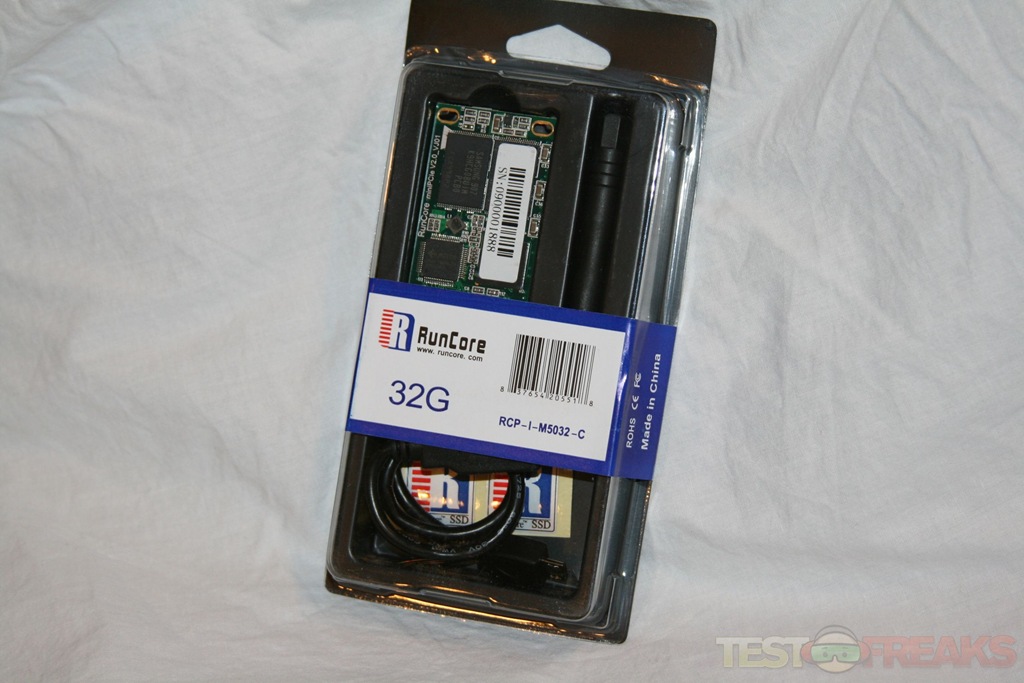
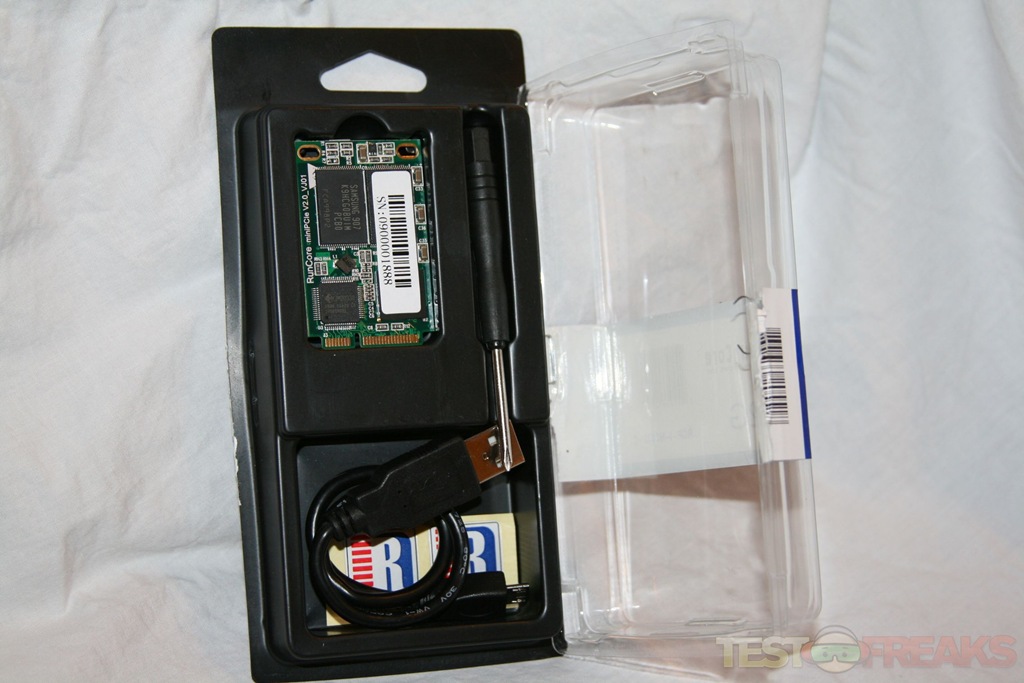

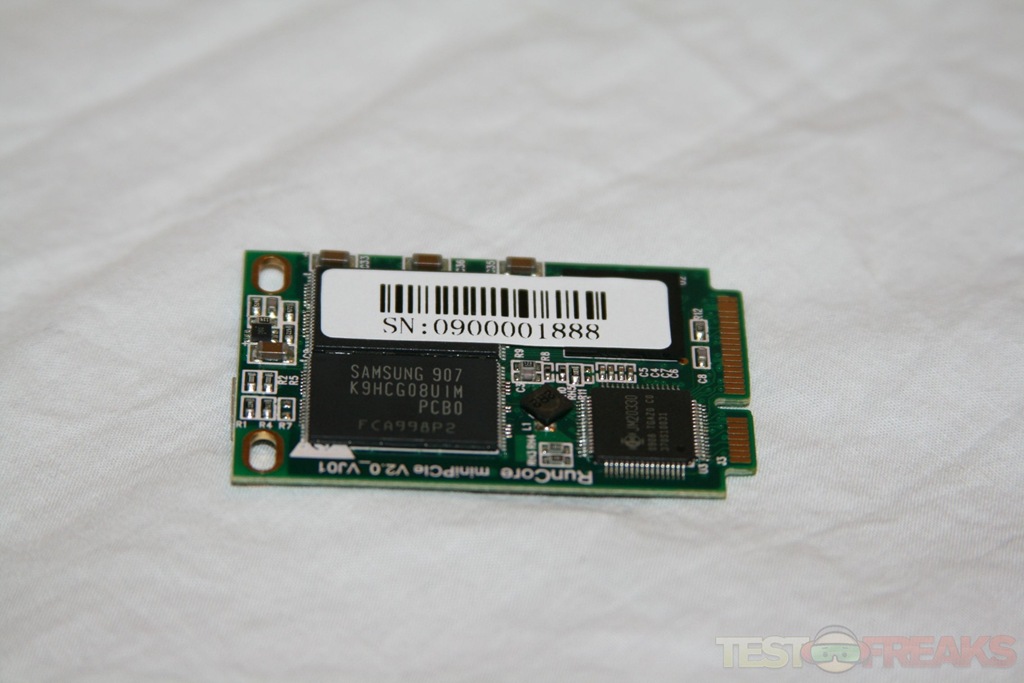
The RunCore SSDs are currently the fastest SSDs that fit the Dell Mini 9. They are also great for this type of installation because they have a built in USB connector making the installation of OS X really quite simple. It is recommended to get a 16GB SSD or higher because Leopard takes up around 9 GB.
Next download this file and put it on a spare USB stick to copy onto your OS X install when ready.
http://mydellmini.googlecode.com/files/DellEFI1.1.zip
One final note for this installation you will need to have access to a genuine Intel Mac. The RunCore drive will connect via the USB connection to the Intel Mac from which we will install OS X.
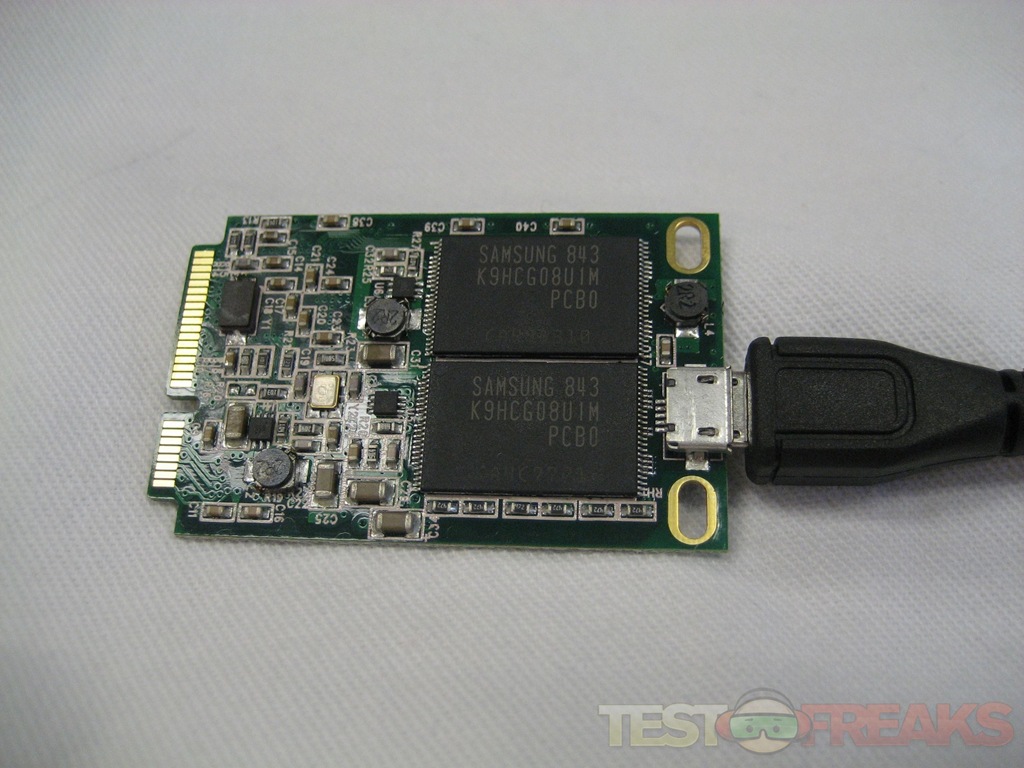
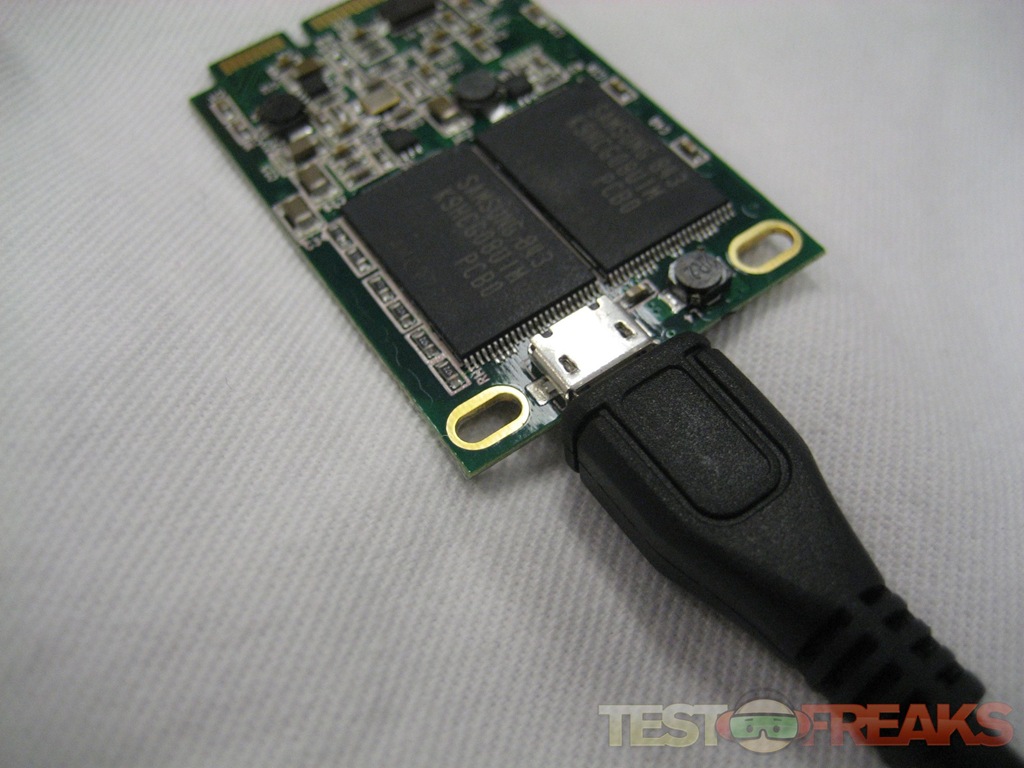

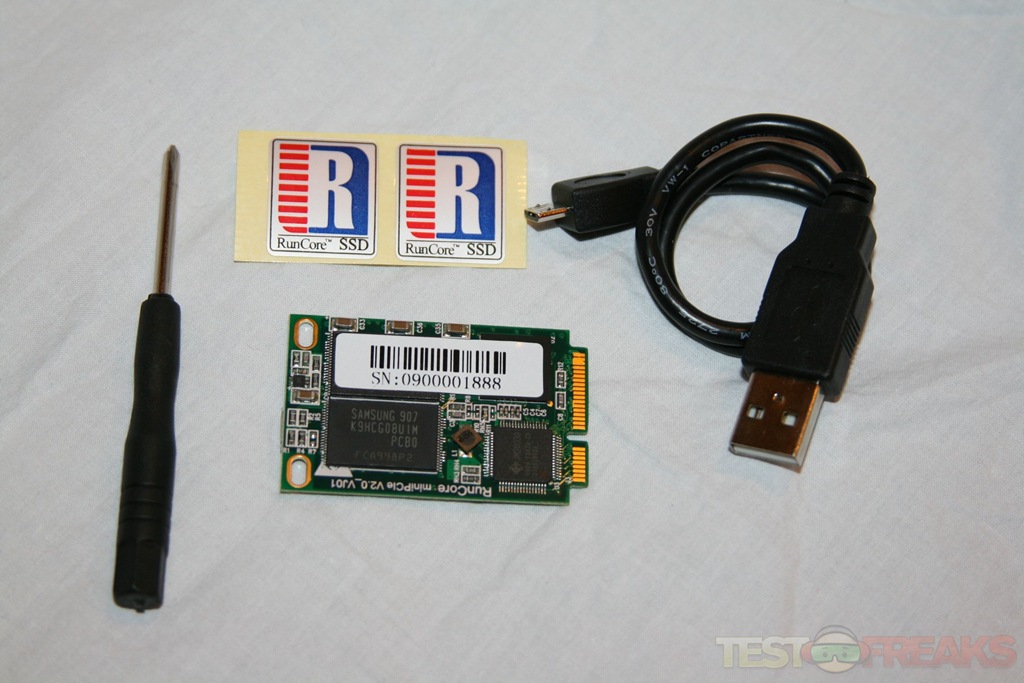
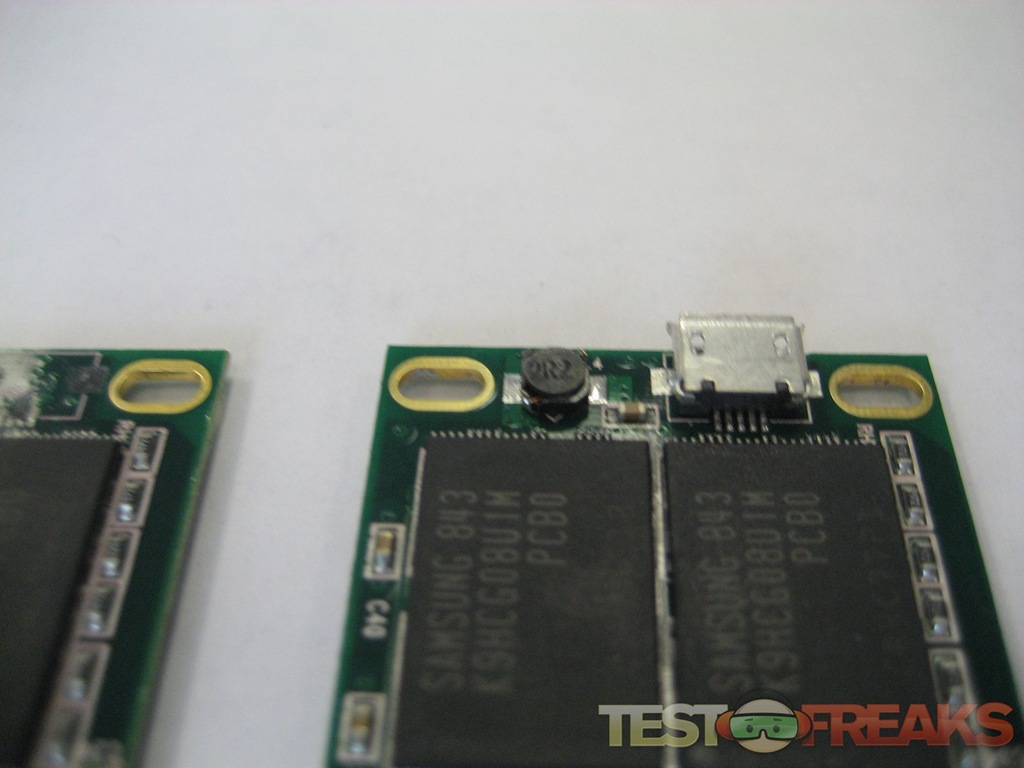
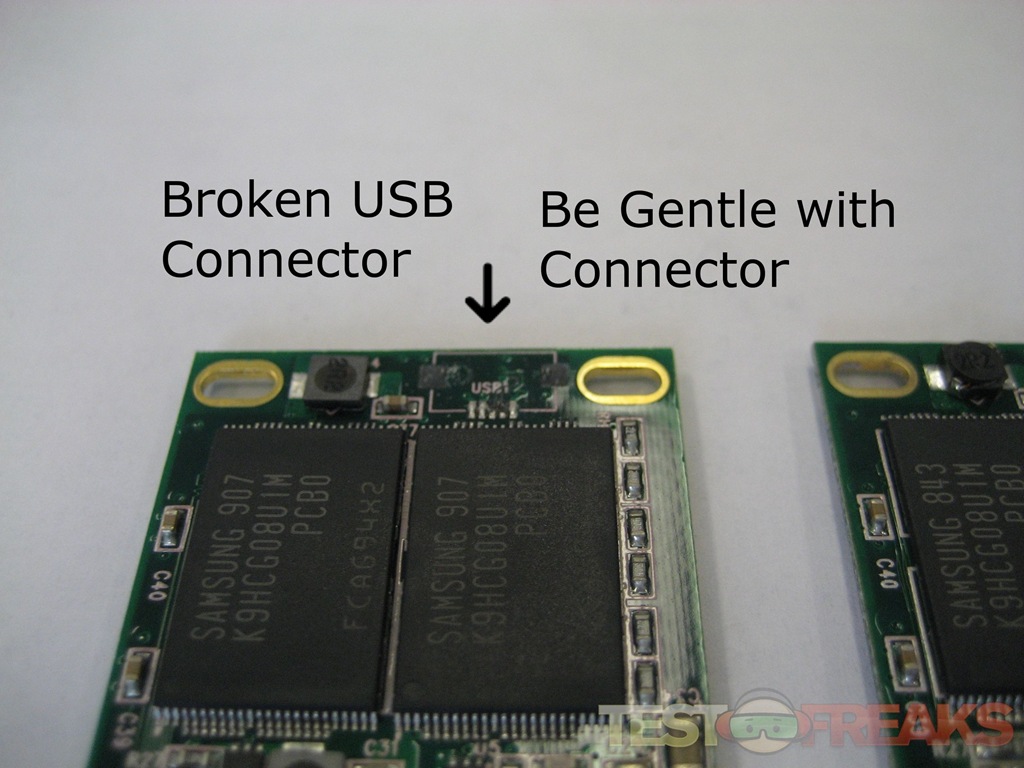
An important piece of information is that the USB connector on the RunCore is very delicately soldered onto the SSD card. The USB connector is a micro connector and is moderately hard to connect. In fact my first RunCore drive met with disaster as I snapped the USB connector off the chip. Luckily it still worked using the other installation method for OS X.

For this installation I used a 32 GB RunCore SSD and my MacBook Pro for the installation and upgrade the Mini 9 with 2 GB of Crucial memory.
So here is the recipe for OS X running on the Dell Mini 9 goodness:
1. Insert the Retail Leopard OS X Installation Disc into the genuine Mac. Make sure the RunCore SSD is connected to the Mac via the USB connection. Fire up the Mac and boot from the Install Disc. You can do this by setting the install disc as the default boot device from StartUp under Preferences in the host Mac’s OS X or you can hold down the Option button while booting up the Mac and selecting the CD from the boot selection screen.
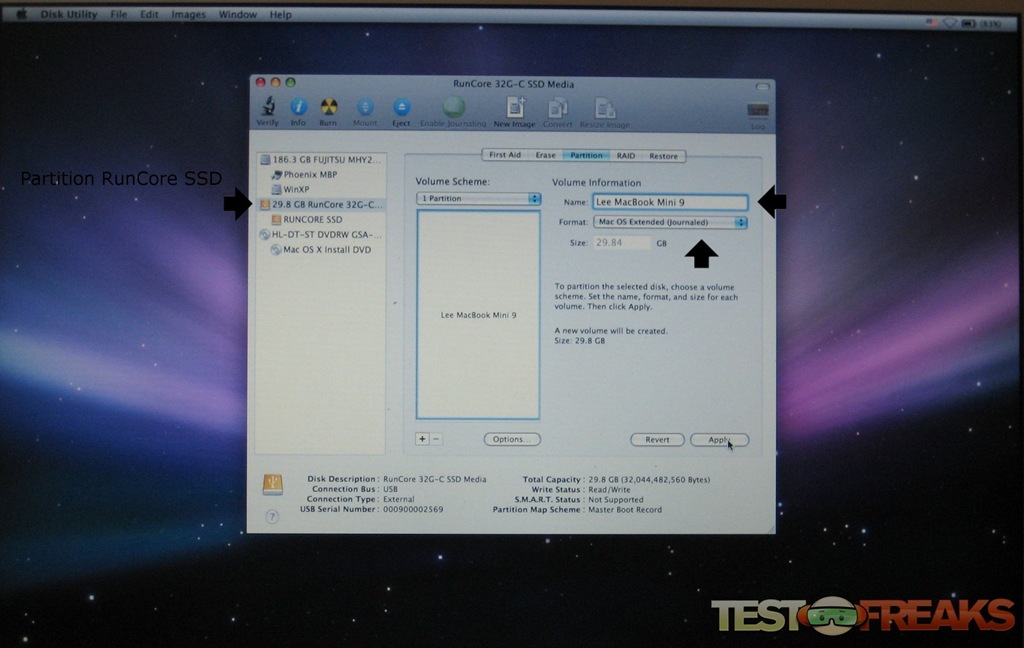
2. Next we will want to format the RunCore SSD. Select the Disk Utility from the Utilities column in the menu bar. Go to the Partition tab and create a single Mac OS X Extended (Journaled) partition. Go to Options and select GUID Partition Table. Then hit apply.
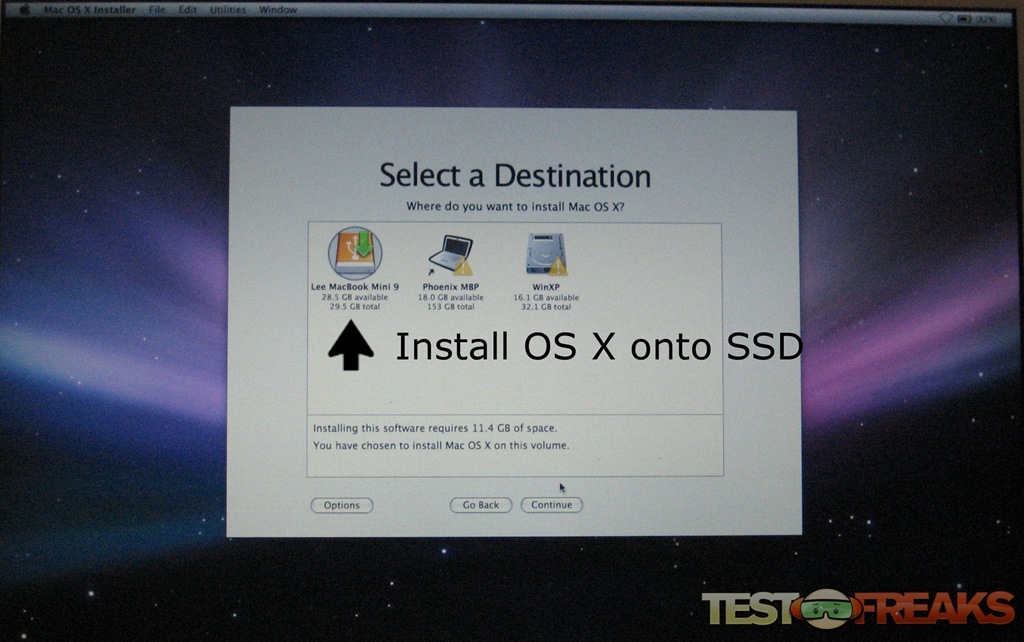
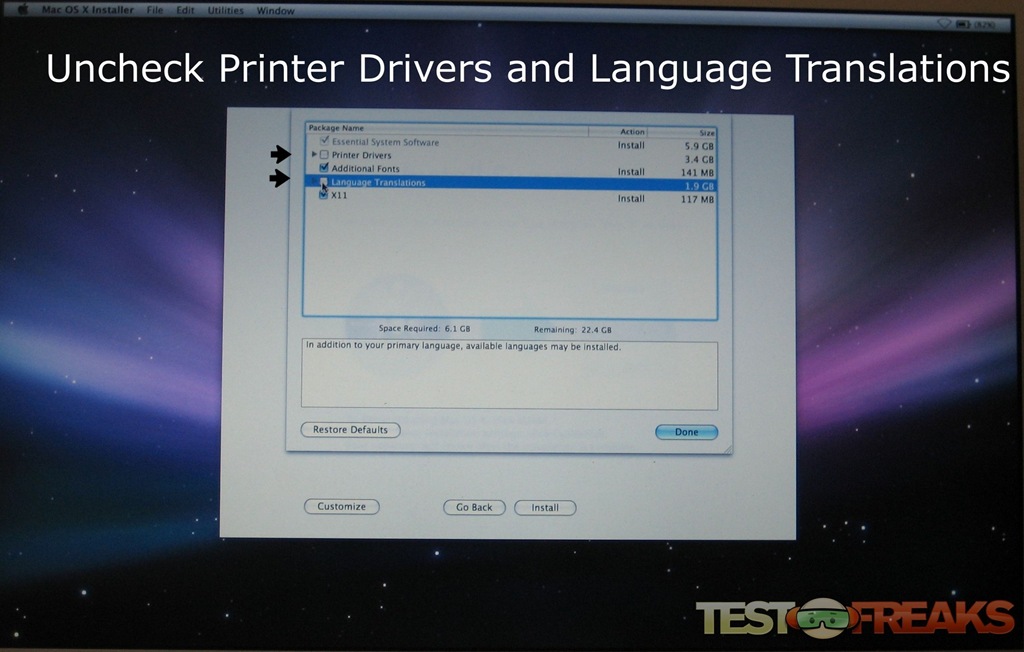
3. Now its showtime! Go to the Installer and install OS X to the SSD partition you just created. I highly recommend selecting the custom installation option and removing all Language packs and printer drivers to conserve SSD space. Sit back as the installation process will take about an hour.
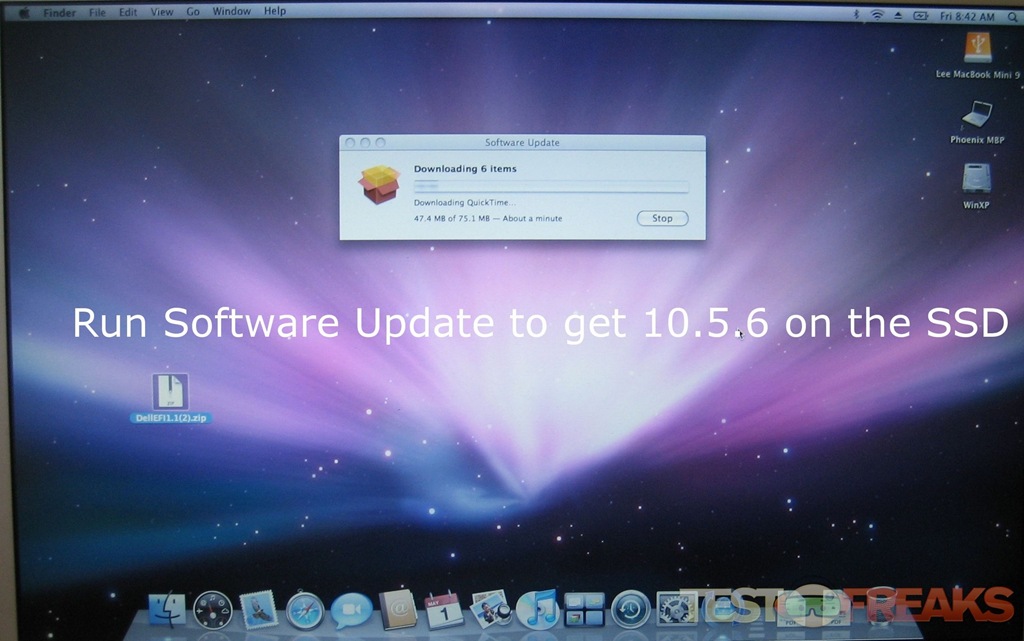
4. Once the machine reboots with the SSD as the boot drive you will go through the set up process. Once you get to the registration screen you can hit command – Q to skip it. No go to the Apple logo on the top left of the screen and click on Software Update. You should have the 10.5.6 update as an upgrade option, install it and follow the directions. An alternative method is to download the 10.5.6 Combo Update from Apple here – http://support.apple.com/downloads/Mac_OS_X_10-5-6_Combo_Update
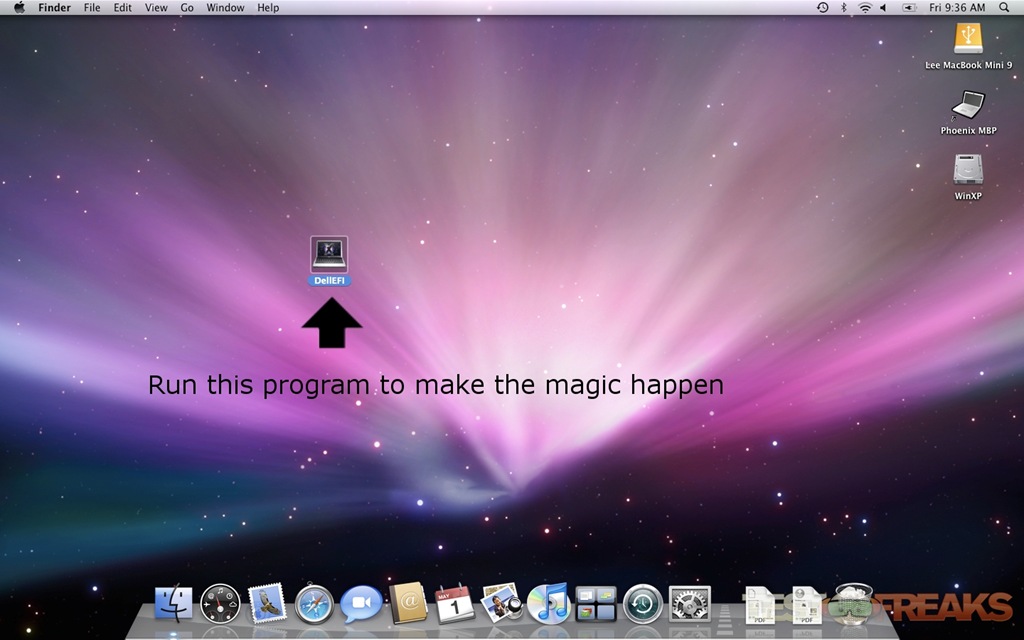
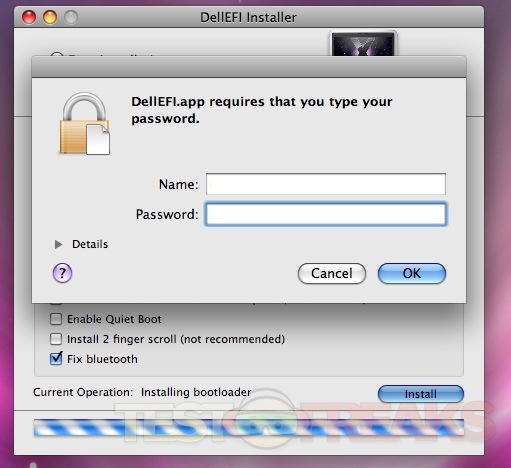
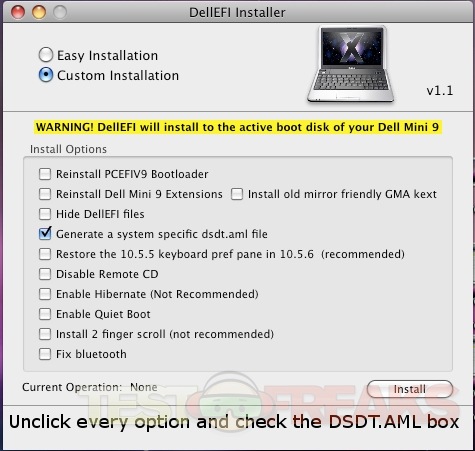
5. Reboot the genuine Mac using the SSD drive as the boot drive and copy the previously downloaded DellEFI file onto the SSD. Execute the file by double clicking on it and select “Custom” and UNCHECK the box about generating a hardware-specific DSDT file. This prevents booting issues on first boot after moving the SSD from the Mac to the Dell. Do not change any other checked selections and leave all the other boxes alone.


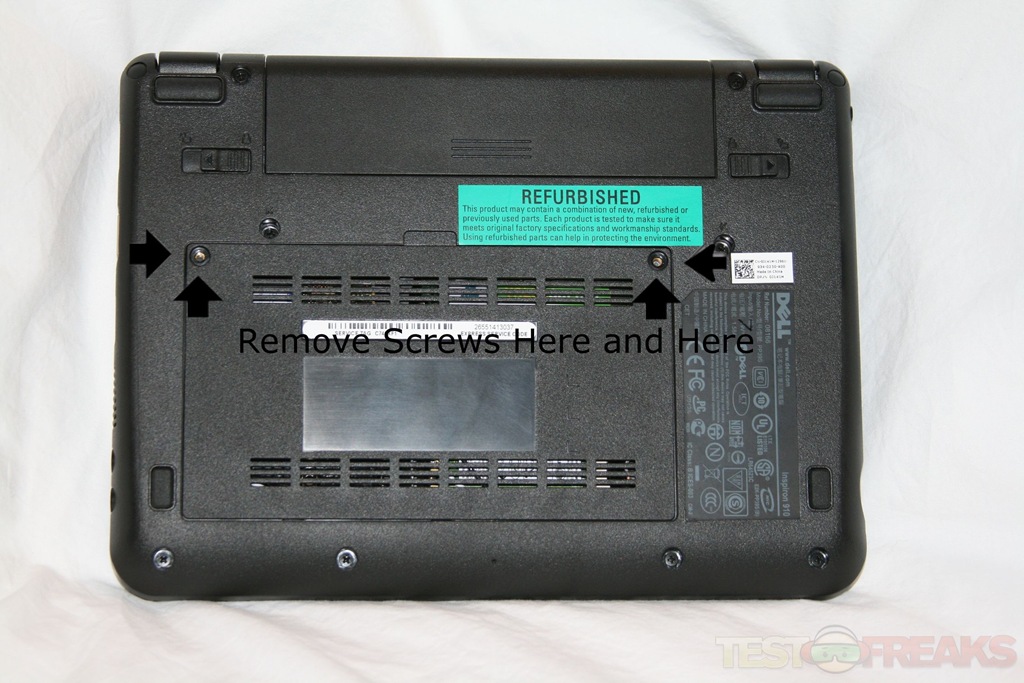
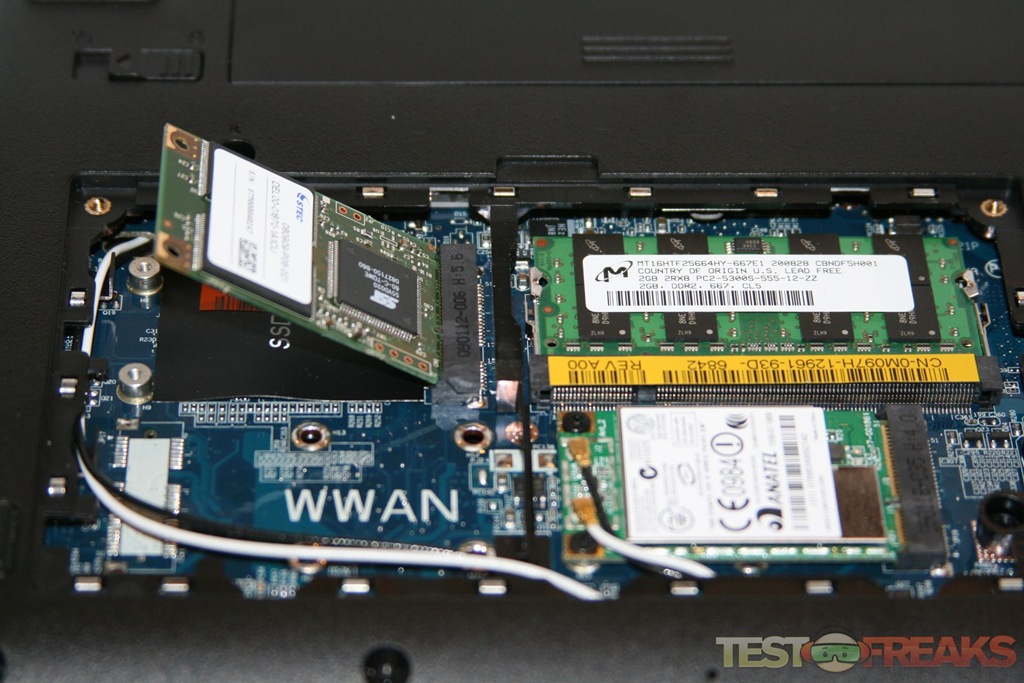
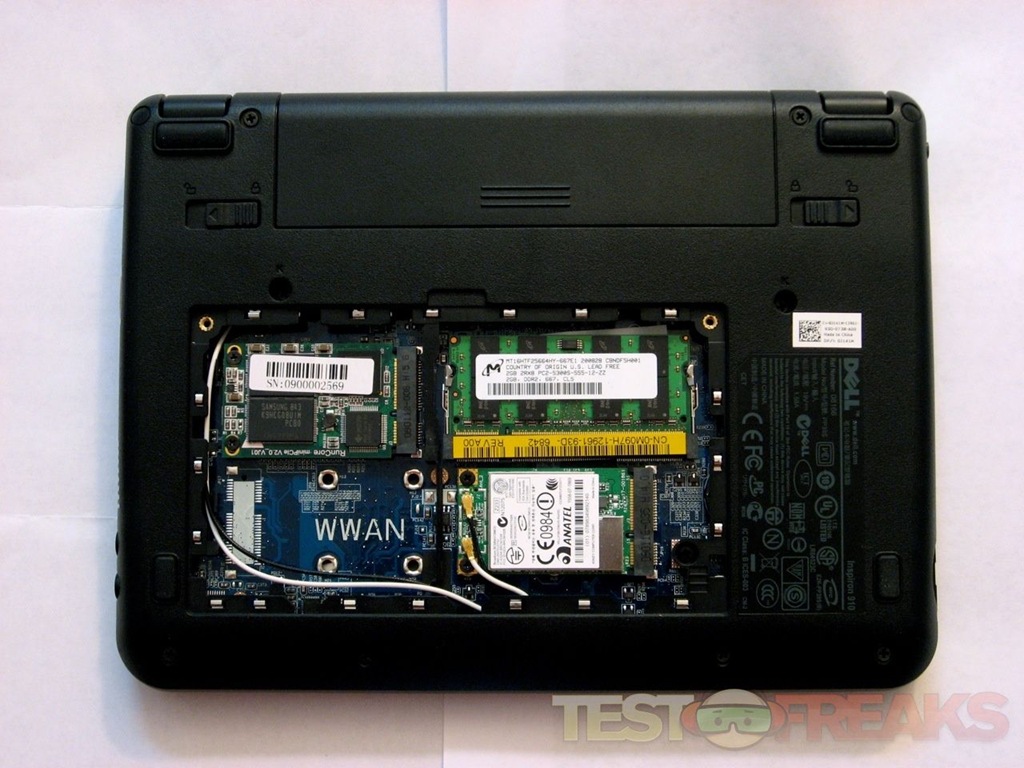
6. Shut down and remove the SSD from the USB port. Turn the Dell Mini 9 over and unscrew the two screws from the larger panel at the base of the machine. Removing the panel will reveal the DDR2 memory and STEC SSD card on the motherboard.
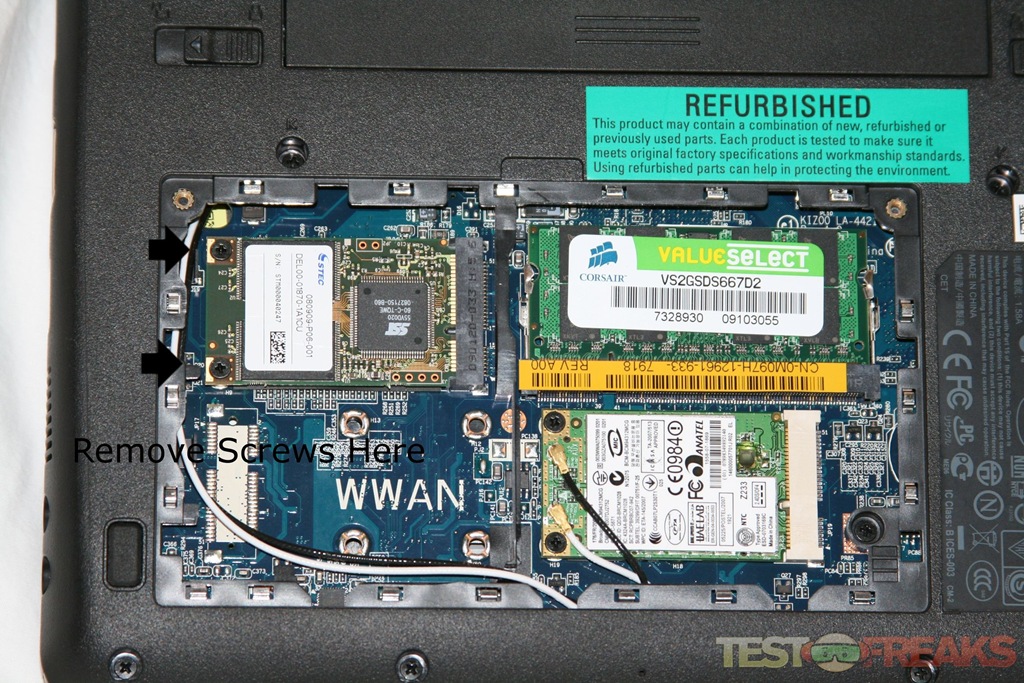
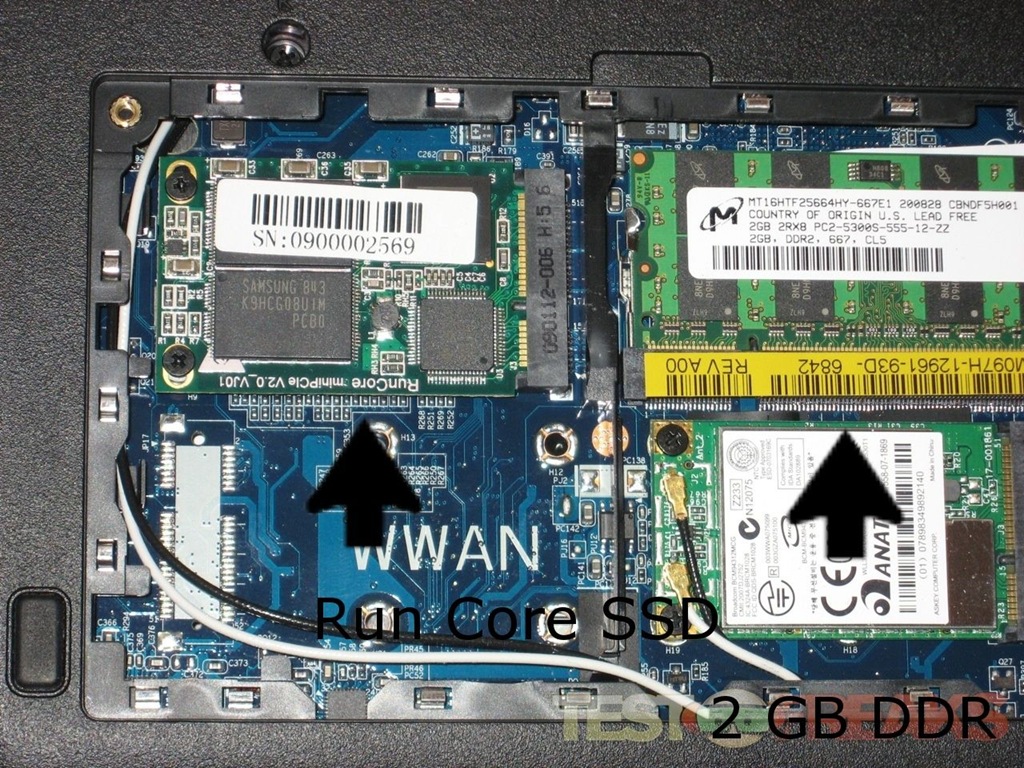
7. Flip out the tabs on the side of the memory stick to remove the DDR2 512MB stick and replace it with the DDR2 2GB stick.
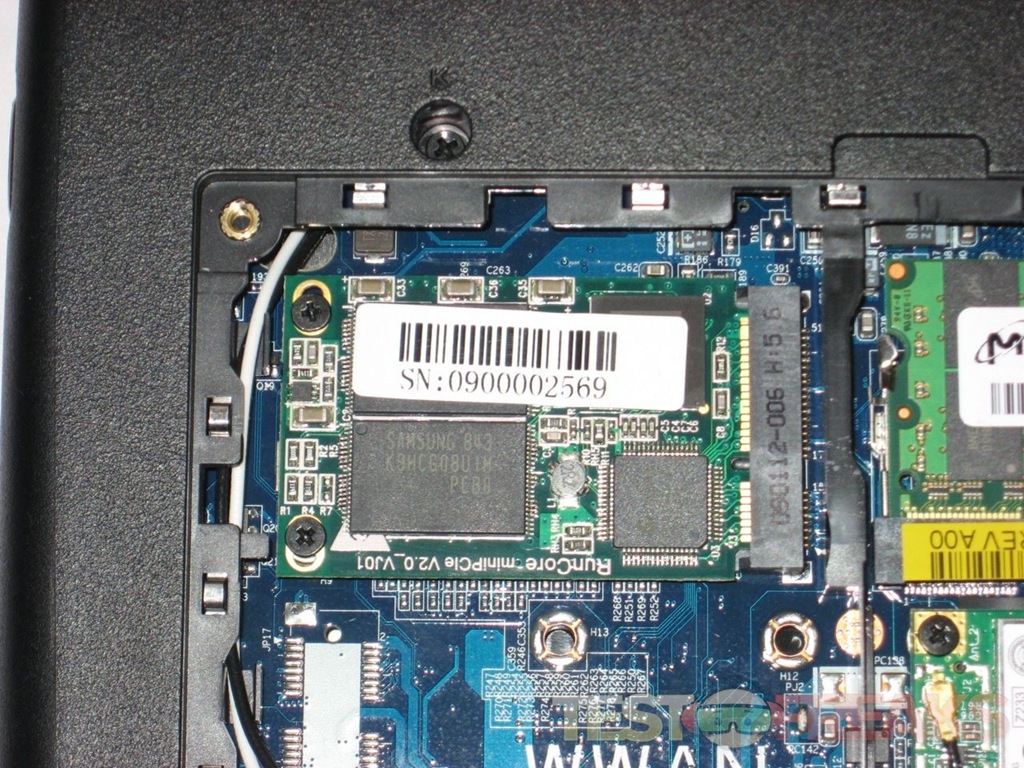
8. Unscrew the two small screws holding down the STEC SSD in place. Without the screws it should pop up at a 45 degree angle. Now pull it out and replace it with your newly installed OS X RunCore SSD and screw it into place. Replace the panel and reinsert the screws. One more step and you are almost done.
9. Power up your MacBook Mini 9, if you did everything right you should be greeted by the gray Apple logo and then loading your OS X installation. We will run the DellEFI one more time. Choose “Custom” and hit generate the DSDT file while leaving everything else unchecked. It will ask you to reboot and you are finished!
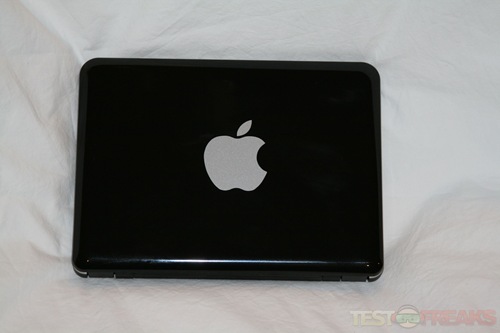
Congratulations you are now the proud owner of what I like to call a MacBook Mini 9. After this installation everything should work out of the box including the Remote Disc feature found in the MacBook Air.
I highly suggest joining the www.mydellmini.com forums where they have a large volume of information and most every problem encountered has probably been discussed and most likely addressed.
If you want to have a more “authentic” looking Mac with your Mini 9 I suggest you go on eBay and look for vinyl Apple decals to cover up the disfiguring Dell logo on the outside lid.


Good luck and enjoy your new MacBook Mini 9 experience.
I would like to credit the folks at MyDellMini.com with providing the resources for this tutorial and Lee Goldstein for helping me with this project.
66 comments for “How to build the OS X Dell Mini 9 Hackbook – The Easy Way”