Want a quick and easy way to monitor your home while you’re on the road? How about a simple way to monitor your baby right from your mobile device? Brite-view has just debuted the iCam123 Powerline-Networking Plug & Play Camera Kit that can quickly and very easily let you monitor things while you’re away right on your Android or iOS device. The iCam123 works over your existing electrical wires so there’s no wires to run, if you have an outlet you can set up the camera for monitoring.
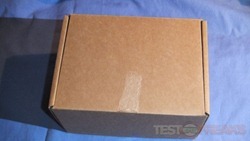
I got the iCam123 before it was officially announced, so I’m not sure if the plain brown box is the actual product packaging but that’s what I got.
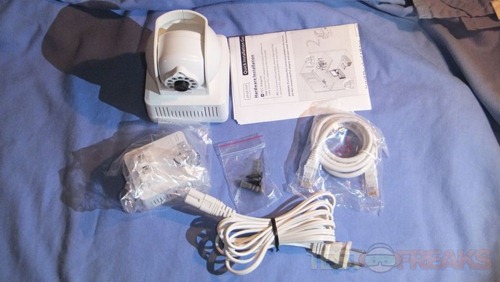
Inside the box I found the camera, user manual, mounting screws, power cable, powerline adapter and an Ethernet cable.
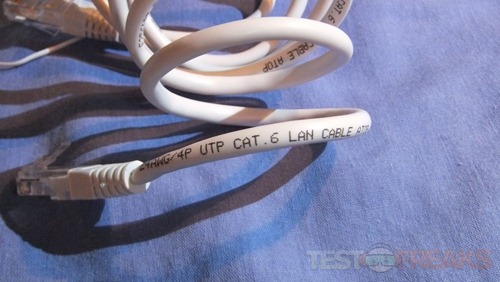
I should note the Ethernet cable is actually Cat6, it just surprised me as most things like this include Cat5 or Cat5e cables.
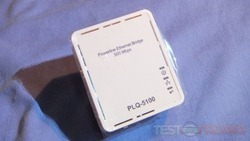
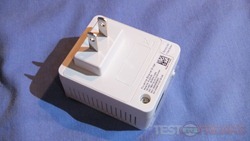
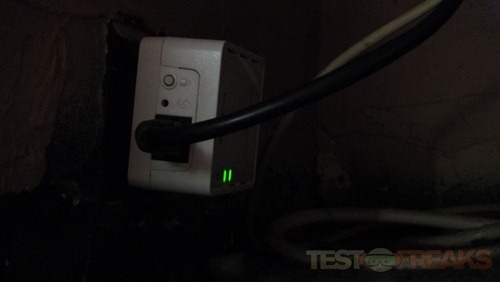
The iCam123 is basically two parts, the wall adapter and the actual camera. The wall adapter is the part you plugin near your router or switch and attach the Ethernet cable to it. On the front you’ll see status LEDs to let you know what’s going on.
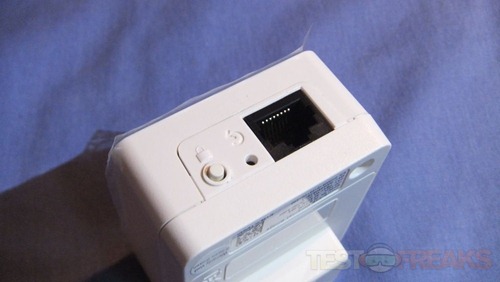
On the end is the Ethernet port, lock button and reset pinhole.
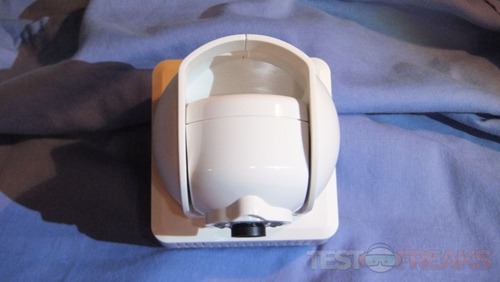
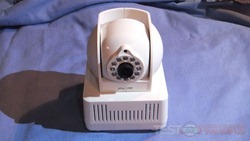
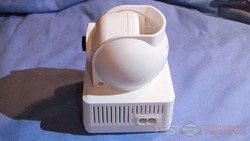
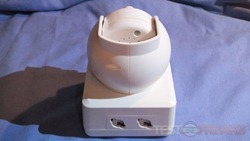
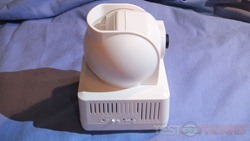
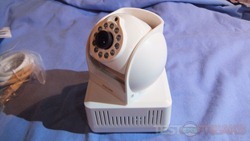
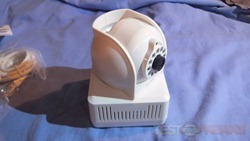
You don’t need another powerline adapter for the camera as the camera has it built right into the base. Here’s a few view of the camera. On the right side is the power connection and then on the back is holes for mounts.
The camera can be positioned many different ways, it moves right and left and can be titled up and down.
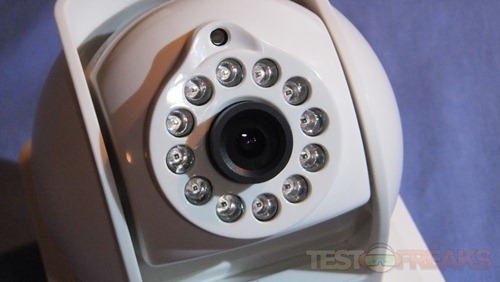
The camera features a ring of infrared LEDs around the lens and at the very top is a light sensor to let the camera know when to use the LEDs. The lens can also be turned to focus the picture.
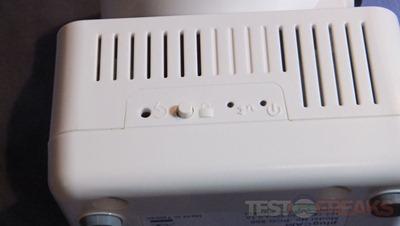
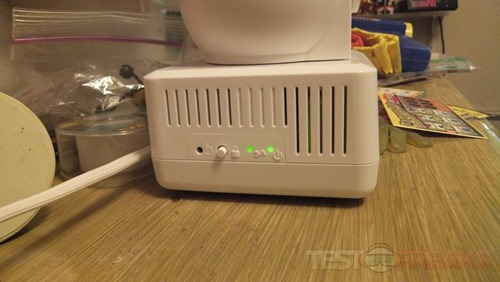
On the left side you’ll find the lock button, reset pinhole and then two more status LEDs.
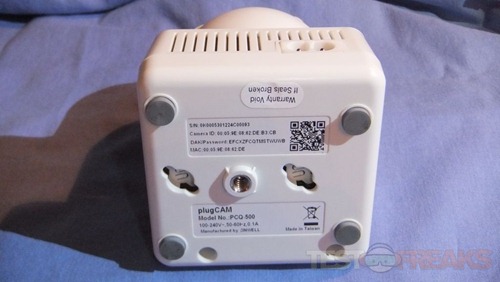
On the bottom you’ll find four rubber feet and more mounting holes along with a thread hole for optional mount. The bottom also has the password for the camera that you’ll need to connect to it and the ID.
Both parts are made of plastic but that’s no surprise as pretty much everything is, but both the adapter and the camera seem sturdy and well made.
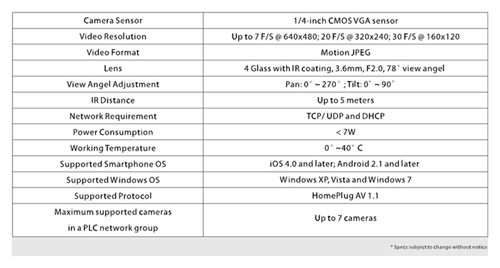
Specifications:
Model : BVC-500C
P2P Powerline-Networking Plug & Play Camera Kit (Powerline Network Adapter + plugCAM)
Complies with HomePlug AV 1.1 technology.
Connects 500Mbps Powerline Network Adapter (included) to your network hub (router) and plugCAM (included) to any power outlet. The digital video signal (audio is not supported) is transmitted over existing power line.
No PC software installation and network IP setting are required. All you need to do is download the “plugCAM” mobile app to your smartphone (with cellular data or wifi networks).
The advanced P2P Technology automatically configure and connect the camera with plugCAM App without any IP setting.
It’s easier to set up and more stable than the WiFi ones.
P2P video transmission protects your privacy.
Additional Single plugCAM makes it easy to deploy multiple cameras application.
Price: $99.99
To use the iCam123 you just need to plug it into your network via the powerline adapter and Ethernet cable. Once done the LEDs will light up and in a few seconds it will be ready to go. I did find the Ethernet cable to be too short for my needs, so I had to use another longer one that I had.
To connect the camera to your network you just plug it into a standard wall outlet. I should note that neither the adapter or the camera can be plugged into a surge protector but this is common with any powerline setup. I put the camera is my 7yr old sons room and he actually though it was cool that I could watch him to make sure he’s safe. Of course you can use the camera for whatever, like watching a baby, a pet or even your home. Once plugged in a few seconds later the status lights will let you know everything is up and running.
Overall I found the setup to be extremely simple, it couldn’t be easier really just plug and play and that’s it.
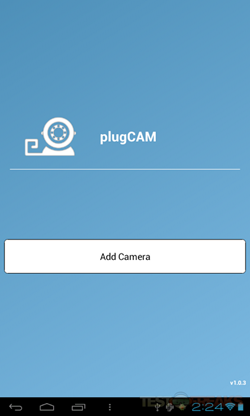
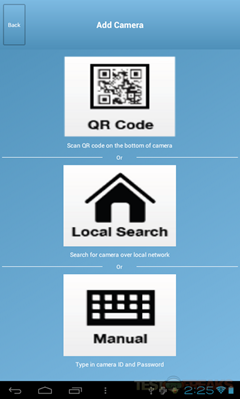
To monitor the camera you need to use an Android or iOS device and download the appropriate free app. I’m using Android so that’s the screenshots I have for you. Sadly the iCam123 doesn’t support Windows Phone just yet. To get started you just push the ‘Add Camera’ button.
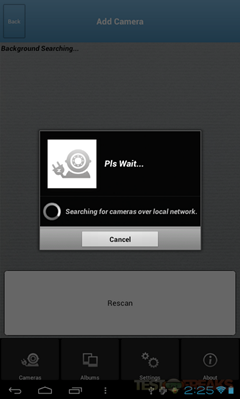
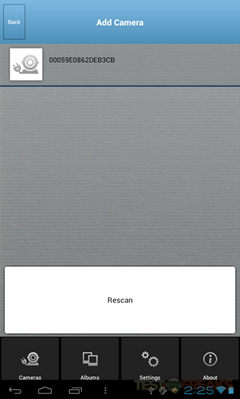
There are three ways to add a camera, scan the QR code on the side of the camera, search on your local network or add it manually using the ID and password on the camera. I did the local search and in a few seconds it found the camera.
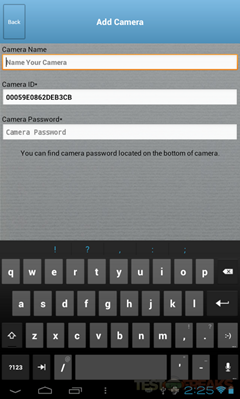
Once it finds the camera you have to select it and then input the password that’s listed on the side of the camera to connect to it.
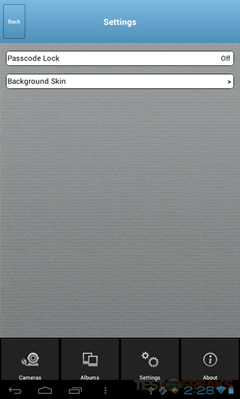
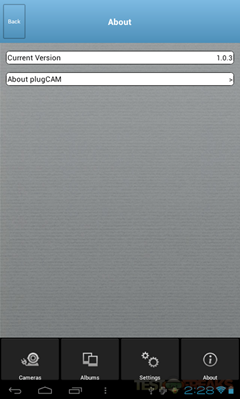
On the bottom of the main display is four options for Camera, Albums, Settings and About. There isn’t much in Settings but the ability to add a Passcode Lock and change the skin of the app interface.
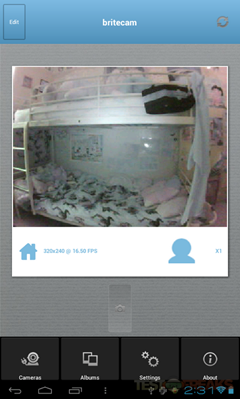
Pressing the camera button pulls up the live view from the camera. Below the view is a picture of a camera that you press to take a still image. Yes you can only take still pictures and not video recordings.
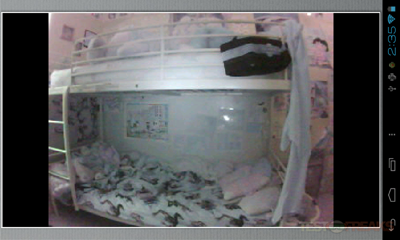
If you touch the live image you’ll be taken to a landscape view for a bigger look at things.
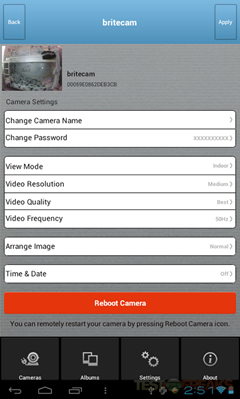
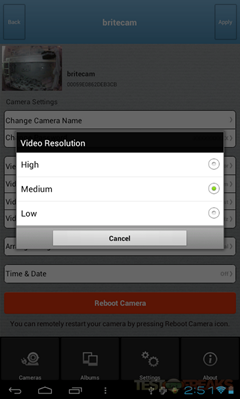
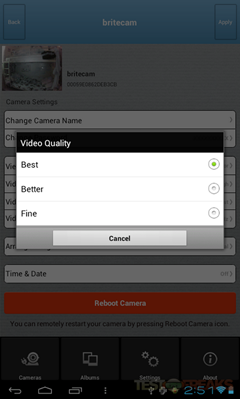
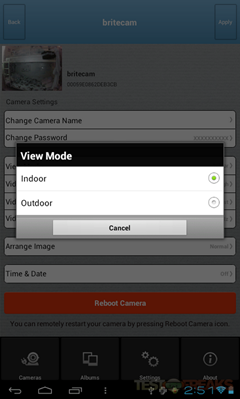
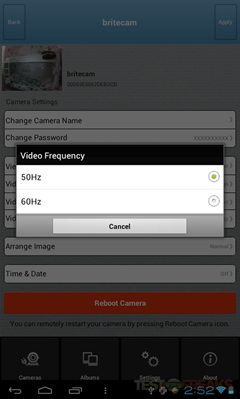
Above the live camera view is an Edit button that will take you to a menu where you can change the settings of the camera like Video Resolution, Quality, Mode and Frequency along with a few other options.
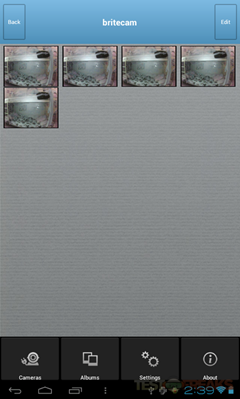
The albums button is so you can look at the stills you took from the live view.
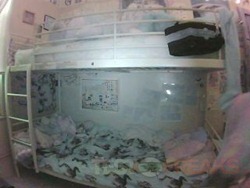
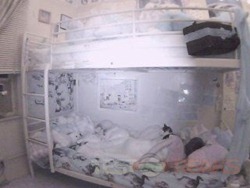
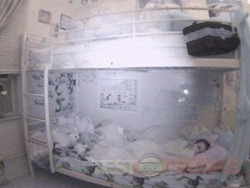
As I said I set it up in my youngest sons room. Now I’ve got samples for you. These were taken in the daytime, but apparently the LEDs are on as you can see how bright he appears.
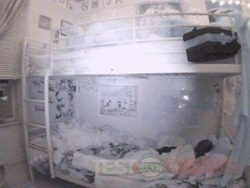
Here’s another one in the daytime as well, but just the room. The color is a bit off but it’s due to low lighting.
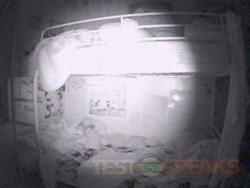
Then here are three more taken at nighttime, but my son likes a night light so it’s fairly bright in the room with the addition of the LEDs. It really looks like daytime in the room.
Finally I have two more pictures for you to show just how well the LEDs work. The first picture was taken with my regular digital camera and the second is a capture from the iCam123, and both were taken with no lights at all on in the room.
As you can see it’s pretty dark in the room, you can’t make out anything at all in the first picture. The second picture is the one from the iCam123 and as you can see the built-in LEDs really light up the room, it’s quite a change from the pitch black of the first picture. The LEDs do an excellent job of lighting things up, they’re very bright.
All of the pictures, even in bright light are a bit grainy, but they are low resolution. Brite-view told me that they kept the resolution down on the camera because this is meant to be used with mobile devices and they didn’t want people to use up their data since there really isn’t unlimited anymore. The highest you can go is 640×480 at seven frames per second.
Conclusion:
If you’re looking for a way to monitor your home while you’re away I don’t think you’ll find anything easier to setup than the Brite-view iCam123. The iCam123 package is just as simple as plug and play truly, if you’ve got electric then you can stream video. The iCam123 has many more uses than just home surveillance like keeping an eye on your baby or even your pet while you’re not home. Since it uses the power lines as your network you don’t need to run any cables and anywhere you have an electrical outlet you can setup the camera. The system allows you to add up to seven additional cameras as well so you can monitor pretty much everything you want.
Pros:
+Very simple setup
+IR LEDs very bright
+Easy to use app for mobile devices
+Works over existing power lines so no additional cables to run
+Monitor via phone or tablet while away
Cons:
-Ethernet cord rather short
-Pictures are a bit grainy
-No video recording
| Grades: | |
| Overall |  |
| Design |  |
| Performance |  |
To learn more about our review policy please visit this page HERE.






2 comments for “Review of Brite-View iCam123 Powerline-Networking Plug & Play Camera Kit”