Installation and Testing
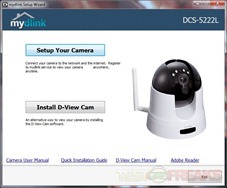
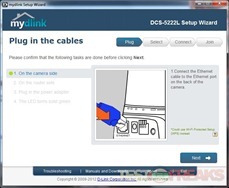
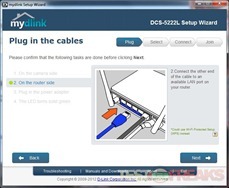
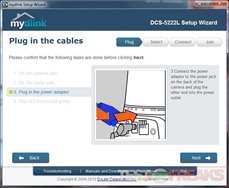
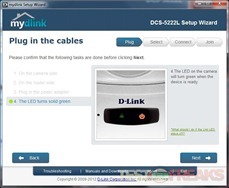
To install the Cloud Camera 5000 you will need to initially connect it to your network via the included Ethernet cable unless your router is WPS enabled. Next, power up the device by attaching the external power supply to the rear of the camera. A green LED Power Indicator will illuminate once the Cloud Camera 5000 is powered. For Windows users you can run the installation wizard from the included CD-ROM, Mac users will need to download this wizard from www.dlink.com/mydlinkmac.
D-Link has a WPS (Wi-Fi Protected Setup) button for quick installation of the camera onto one’s network. This is dependent on one’s router’s feature set; for those without it you will need to use the wizard for setup. For folks already owning a D-Link Cloud Router, the Cloud Camera 5000 setup is even easier as the mydlink settings from the Cloud Router automatically syncs and configures the Cloud Camera. Unfortunately I own a Netgear router and was unable to test this capability.
Like most newer consumer video/surveillance cameras, the Cloud Camera 5000 works remotely with a computer, Android or iOS enabled device. The mydlink app can be downloaded from the App store or Android market. For PC and Mac users, mydlink.com provides remote viewing.
One caveat to using the mydlink.com interface on a PC or Mac is you will need to have a Java client running and with the recent Java security issues, many might find this a deal breaker. In fact Apple has started to block Java on their last two OS X iterations for these security reasons.
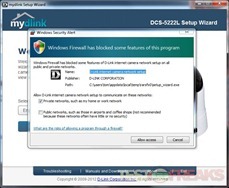
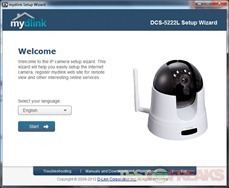
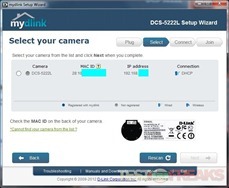
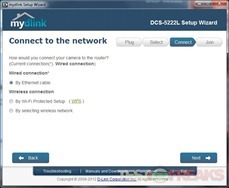
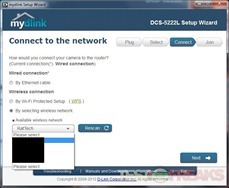
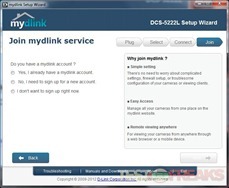
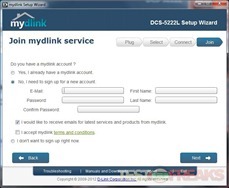
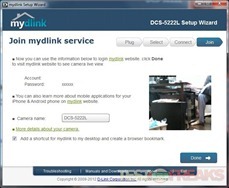
For my installation I used the setup CD via PC. The wizard was straightforward with illustrations to help guide the installation process. The only real choices you have to make are whether to setup the Cloud Camera 5000 as a wired or wireless camera and if you wish to sign up for the mydlink service.
Once the Cloud Camera 5000 is setup you can view it remotely via the mydlink service or by entering the camera’s IP address in a web browser on a PC or Mac or using the free iOS or Android mydlink app.
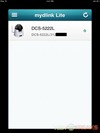
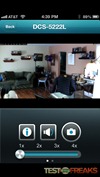
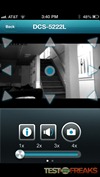
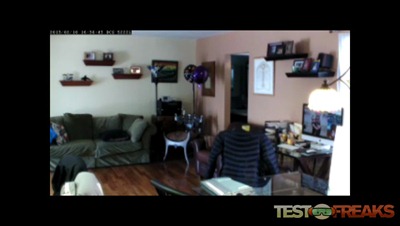
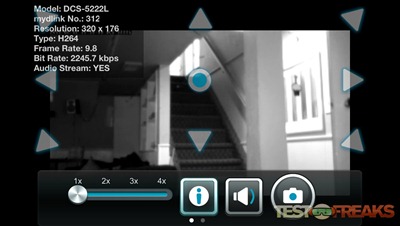
Here are the views through the iOS mydlink lite app viewing portrait and landscape orientations in regular and infrared views.
The controls through the app allow you to pan and tilt the camera, increase the magnification up to 4x, listen or mute audio, image capture. Swiping to the right provides a screen to change resolutions but only the 240p was available on my screen initially.
In terms of responsiveness, the app and camera have some lag when trying to pan and tilt the camera remotely. Several times I had to press the on screen buttons before the camera would move seconds later on my iPhone 5.
Another issue I had with the Cloud Camera 5000 and remote viewing was at times I was unable to connect to the camera remotely whether I was in or outside my home network. This occurred whether I was using the camera wirelessly or wired into my network. For those who depend on the Cloud Camera 5000 for remote viewing, this is definitely a problematic feature. Apparently other Cloud Camera 5000 users mentioned this issue online as well.
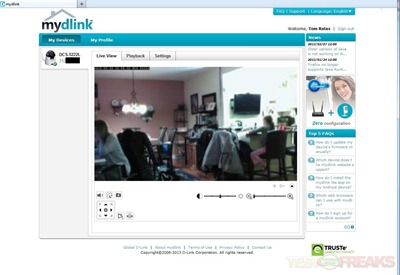
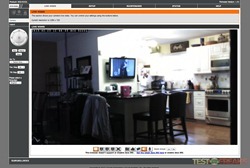
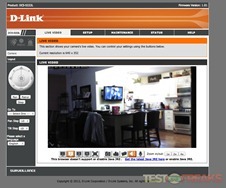
If you have Java installed on your PC or Mac, then you can use the web based mydlink service to remotely view the Cloud Camera 5000. Simply log into the site and if you initially set up the camera with the service then you will have remote access with similar viewing options as the app and some advanced settings as well.
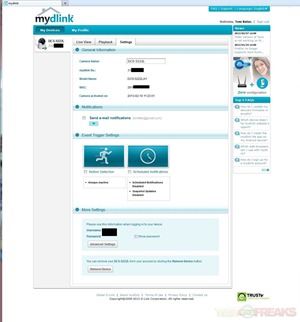
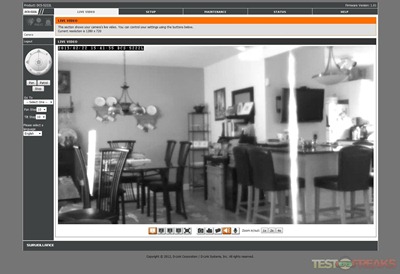
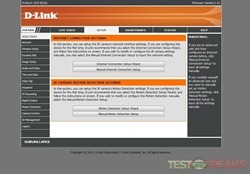
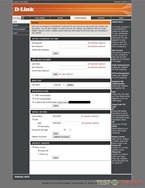
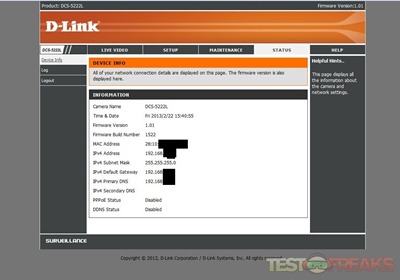
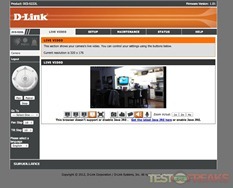
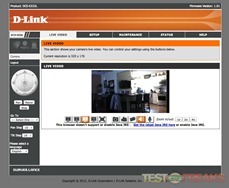
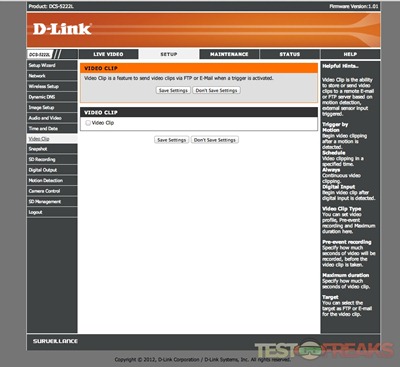
For those who are tech savvy, they can log onto the camera’s IP address and via the admin login view and adjust a myriad of options. The web interface should look familiar to D-Link users as it has the same format of the web based controls for the two portable D-Link routers I reviewed here and here. Here you will find network and video settings, a lot of settings. This interface is designed for the hardcore techie and allows the camera settings to be fully tweaked.
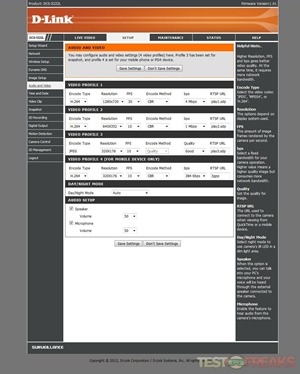
Out of the box the web app uses 360p for its native resolution. To change this, you need to go into the advanced settings of the camera found via its IP address or from within the mydlink settings advanced option that directs the user to the web interface as well.
Under Audio/Video settings there are four different visual profiles, which can be customized for the setup tab. Out of the box Profile 1 is 720p, Profile 2 is 640×352, Profile 3 and 4 are 320 x 176 with Profile 3 for image captures. Profile 4 is used for streaming to mobile devices.
In terms of picture quality, the Cloud Camera 5000 provides good but not great image quality. While it supports up to 720P resolution, the image quality does not seem to match that advertisement despite having the camera wired into my LAN.
D-Link allows the camera to capture video to an installed micro SD or even use an FTP connection if you dig around the advanced settings screen.
I found the IR sensor to be very sensitive to low light conditions and would often turn on during the day when the section of the home where it was housed would lose sunlight thus converting the video to a black and white style image. Conversely, the IR works well even in low light and the Cloud Camera 5000 is the best camera I’ve used for darkened video surveillance.
As I mentioned previously the pan/tilt is a jerky proposition, but most other surveillance cameras lack this capability, so jerky is better than none. The pan/tilt movement also makes an audible noise when remotely viewing with the sound enabled.
One problem that the average user will have with the Cloud Camera 5000 is D-Link provides little documentation on how to take full advantage of this device. A lot of what I discovered in this review was found by trial and error on my part; this issue may frustrate some users.
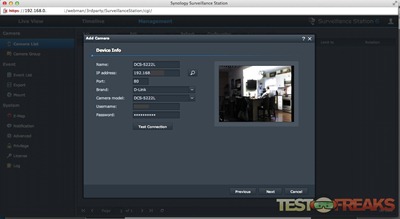
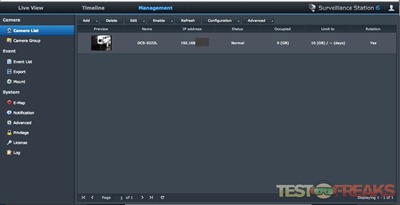
One nice surprise I discovered was that the Cloud Camera 5000 is compatible with the Synology Surveillance Station making one less reliant on the D-Link back end to manage the camera. Using the Surveillance Station allows the camera to save video directly to the Synology NAS, which can be safely tucked away in one’s home or office. Of course some of the camera’s features are limited using the Synology interface, but you can always control things via the D-Link for viewing. One word of warning, the Synology solution also uses the vilified Java platform.


3 comments for “Review of D-Link Cloud Camera 5000 (DCS-5222L)”