Testing and Usage
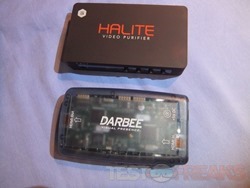
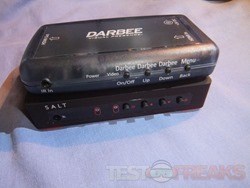
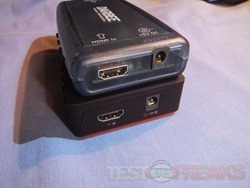
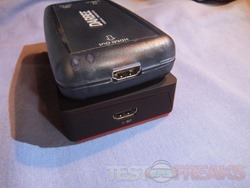
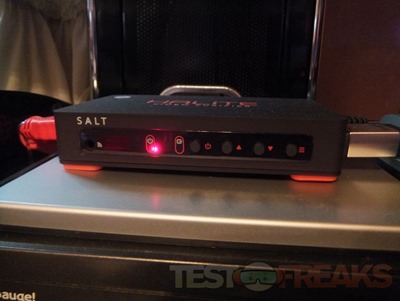
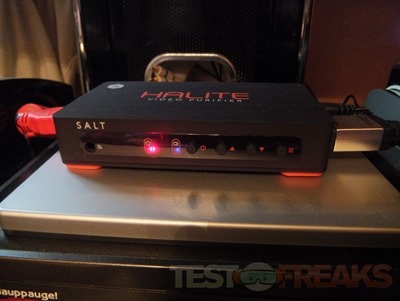
In the intro I mentioned the Darblet and of course I have to show you a comparison of that and the Halite. The connections are virtually the same for the right, left and front but as you can see the Halite is huge improvement in terms of aesthetics where the Darblet kind of looked cheap honestly and just really out of place in your home theater setup surely. Salt Labs fixed the looks of the Darblet but sadly left the questionable port positioning as is.
Installation is very simple, HDMI input and HDMI output and you’re setup, then you’ll need to connect the power and you’re all ready to go. I personally hooked mine up between my HDTV and my Sony HT-C100 home theater system which has three HDMI inputs and one output to the HDTV. So I have my Xbox 360, PS3 and Verizon FIOS box running through it and they’re all enhanced with the Halite.
The Halite does have LEDs on it, one to indicate power and one to indicate that it’s in use.
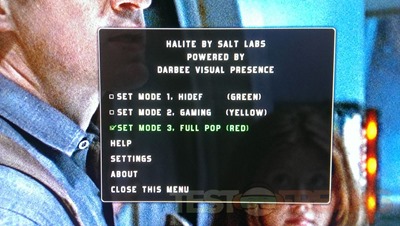
Once hooked up and powered on your can access the menus view the remote or buttons on the Halite itself. The first menu offers several choices for setting on the three modes, HiDef, Gaming and Full Pop and then choices for Help, Settings and About.
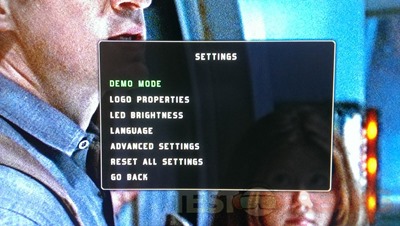
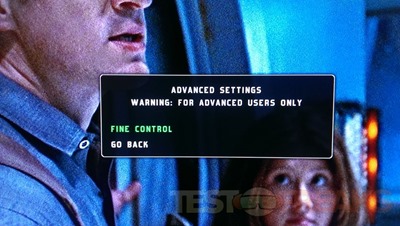
Under Setting you’ll find choices for Demo, Logo Properties, LED Brightness, Language, Advanced Settings and Reset.
The Darbee logo can be on-screen at all times which can be annoying especially for gaming I think so you can go into the Settings and change that so it only appears for a few seconds and only when you’re making adjustments.
I also very much like the fact that it lets you adjust the LED brightness settings, there’s nothing worse than watching a movie in the dark with bright LEDs shining back at you.
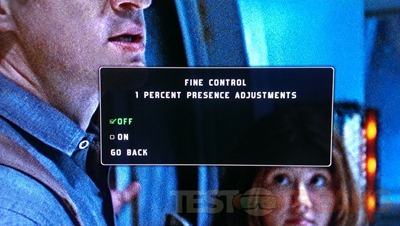
The Advanced Settings is just for Fine Control adjustments so you can adjust in 1 percent increments or not. You can adjust the the visual cues in increments from 1% all the way up to 120% so you truly get full control over how the Halite works and it can really be adjusted to your own personal preferences.
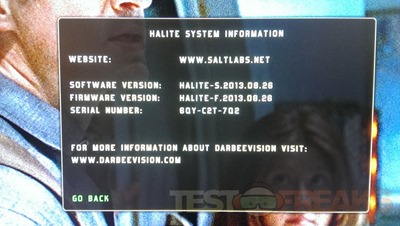
The About page is just version, firmware etc.
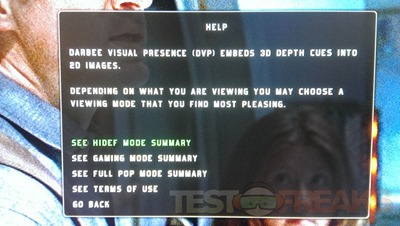
The Help page is one that I think everyone should take a look at as it tells you more information about the modes and what they’re used for.
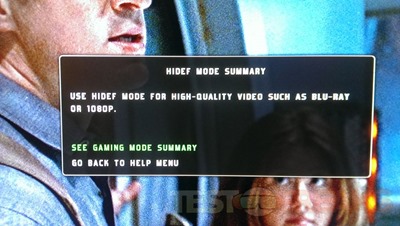
HiDef is primarily for high quality video like Blu-Rays.
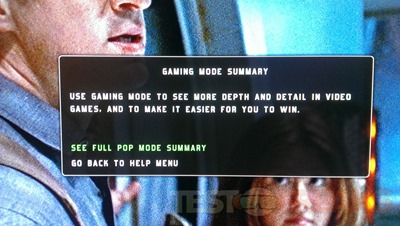
Gaming is so you can see more depth and detail in your gaming.
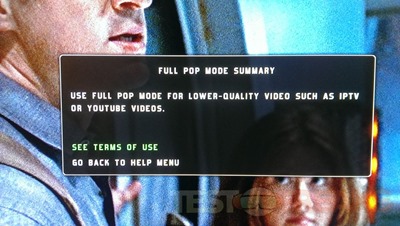
The last mode is Full Pop which is specifically for improving lower quality videos and yes it really does work.
When I reviewed the Darblet I used a lot of pictures of the screen for comparison and since this is essentially the exact same product I thought I’d do this one a little bit different and use videos.
I’ve got three videos for you showing the demo modes of each of the three modes, I used my PS3 and the FireFly Blu-rays along with a game.
I paused it to show you the differences more readily.
The demo wipes across the screen instantly showing you the differences between on and off. I used the 100% setting for this which can be extreme, but I wanted to really show the differences. It can go all the way up to 120% or all the way down to just 1%, and anywhere in between. The idea is that you can adjust it to your personal preferences.
The first is the Full Pop mode, yes it’s made for lower resolution videos, but you can use to HD content as well. Actually you could use any of the modes for HD content or just switch them around, it’s more of a personal preference I think.
The next video is the HiDef mode for you. I mentioned in the intro about how the Halite can bring things in the background more into focus, and here’s a great example as Kaylee looks not quite focused until the Halite brings out the details and sharpens the image to bring the background more into focus.
The last video is the gaming mode and I didn’t pause it for this one but you can plainly see the differences as it wipes across the screen. In Gaming mode the Halite really does enhance the screen and bring out more of the details I think. If you paid attention above the description for the Gaming mentions it can make it easier for you to win, not sure about that claim, but it does make it look a lot better.
The Halite can not only improve high definition but it can do the same for standard definition as well, at least very much improve the overall look of it making SD content a more enjoyable viewing experience.
You do have to watch the levels you’re set at with the Halite as just like the Darblet it can over-enhance your videos and add what look to artifacts (for lack of a better word) to your videos, thankfully they included a remote that allows for quick and precise adjustments on the fly or on a per video basis. I found that if I play with it and find the level that looks right to me, then for the most it works for everything without the need for more adjustments.
One other thing, I don’t think I mentioned it in the Darblet review, but I should have and that’s the remote. The remote is white, every remote I have, with the exception of my Xbox 360 remote, is black so not sure why they went with white. Also I’m not sure about the whole credit style remote either, I would prefer something more hand friendly or remote shaped. As is, the remote does work fine and you can easily adjust the Halite from across the room, but it’s just a personal preference as to the color and shape.
The price might be considered high to some people but in my opinion it’s worth it, especially if you use your HDTV a lot as I’m sure most people do. The Halite can really add a new dimension and better quality to your viewing experience.

2 comments for “Review of Halite Video Purifier by Salt Labs”