Testing and Usage
To start using the MobileLite Wireless you’ll need to charge the device using the included micro-USB cable. The battery LED flashes while charging and turns solid green when at full capacity. It is red when the charges is 25% or less, orange between 25 – 50% and green at 50% or above.
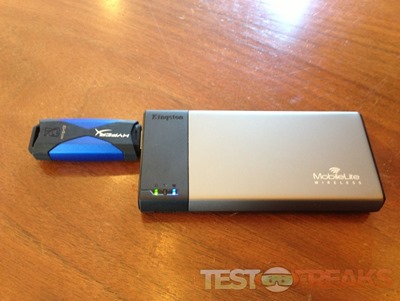
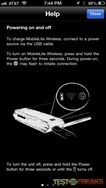
Insert an SD card or USB mobile drive to provide storage for the MobileLite Wireless. To use it as wireless storage, power on the device press by holding the power button for 3 seconds. The Power and Internet LEDs will turn solid during the powering on sequence. The Internet LED flashes during connection initiation. To power off the device press and hold the power button for 3 seconds or until the power LED goes dark.
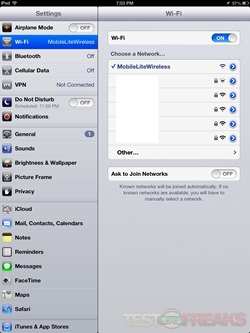
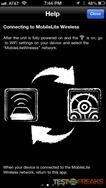
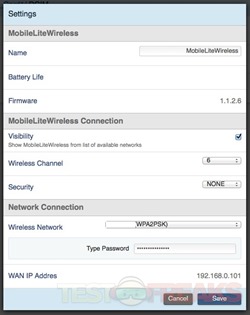
To use the MobileLite Wireless with your mobile device you’ll need to download the MobileLite app. Once this is installed, choose MobileLite Wireless from the list of wireless networks. The name of the device and the wireless network can be changed from within the settings menu.
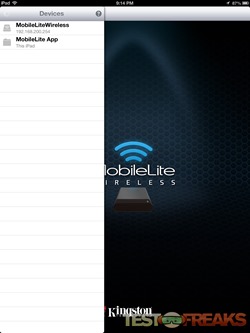
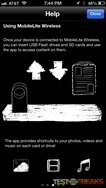
Next open the MobileLite app. A series of Help screens will appear to assist in getting acclimated to the Kingston unit. Select the device name, in this case MobileLite Wireless and then choose the media you wish to access whether it is USB or SD card. If none are attached there will be no devices to choose from.
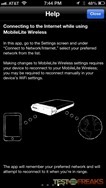
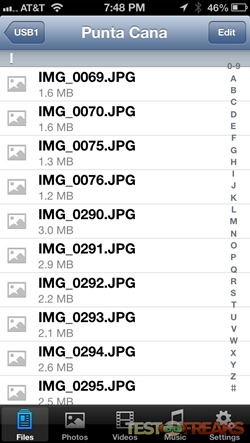
On the bottom are five sections – Files, Photos, Videos, Audio and Settings. From the Settings icon you can set up the pass through Internet connection.
I used the MobileLite Wireless wirelessly with several devices including an iPhone 5, iPad, and MacBook Air with several SD cards and USB devices. Once the MobileLite Wireless network was selected the attached SD and/or USB were recognized and the appropriate media was able to be streamed. Although advertised to work with 802.11n the Mobilelite Wireless only detected my 802.11g band.
I was able to use both USB 2.0 and USB 3.0 portable drives as well as SD, SDHC, SDXC and microSD using the included adapter. USB 3.0 drives ran at USB 2.0 speeds since the included connector on the MobileLite Wireless is a USB 2.0 version.
The MobileLite Wireless supports MP3, WAV, m4V,mp4 (H.264 video codec), jpg, tif, and pdf. I was able to view videos shot using a GoPro camera as well as regular mp4 movies without any stuttering or buffering.
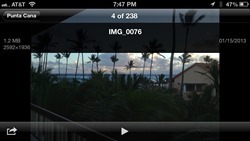
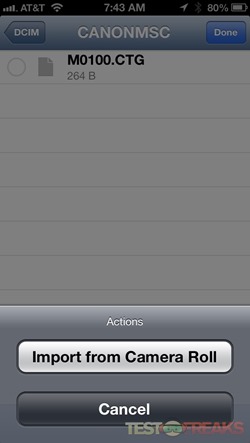
Using the media tabs on the bottom reveals the viewable content by the Kingston Mobilelite Wireless, while the Files section showed all the information on the attached drives. A really nice feature is the ability to off load photos from one’s mobile device onto the MobileLite Wireless attached media. This is especially handy when you are almost to full capacity on your iOS or Android device.
To connect wirelessly to the MobileLite Wireless using a PC or Mac you’ll need to use the following IP – 192.168.200.254. This provides a rather simple interface but does allow access to the files located on the Kingston device.
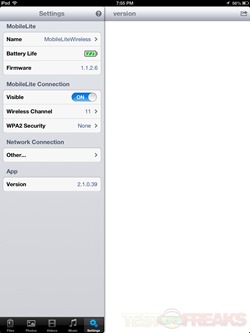
The Setting screen provides information on the MobileLite including name, battery life and firmware edition, connection info and available wi-fi networks and app version.
On the Kingston website there are several video tutorials that demonstrate set up/walkthrough, adding a password, importing from camera roll, charging your phone’s battery and more.
When connecting the MobileLite Wireless using the micro-USB cable to a Mac or PC the device functions as a standard SD card reader, plus you do not lose the USB port as there is one available on the device itself.
For those concerned about wireless security, Kingston provides the ability to password protect the device.
Downloading the firmware updates from the Kingston site can upgrade the unit. To do this you will need a FAT32 formatted drive to run the upgrade and a Windows machine to unpack the firmware upgrade since it arrives as an executable (EXE) file. Unfortunately Kingston did not explain having to unpack this file with its instructions so it took me some trial and error to figure this out.
To use the device as a battery backup connect your mobile device to the MobileLite Wireless using its USB charging cable. Next, press the Kingston power button for one second to activate the battery bank mode. The battery LED flashes rapidly in red when charging.
As a spare battery the MobileLite Wireless provides enough power to an iPhone 5 to provide a 70% charge from a less than 10% starting point. This is certainly enough to help most smartphones make it through an energy-demanding day. Of course the more the device is used for wireless activity the less battery backup will be available.





4 comments for “Review of Kingston MobileLite Wireless”