Installation and Usage
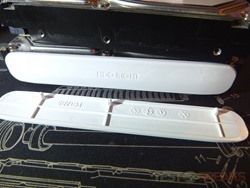
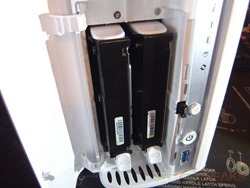
So this is odd, I think this is the first time I’ve seen some type of rail used with a NAS box for the installation of the hard drives, normally the hard drives just slide right in, but with the N2560 you must use the rails. The rails just clip into the existing holes in your hard drives, very easy to do. I used two Seagate 7200.12 1tb drives for my testing. I don’t quite understand why Thecus chose to use rails when every other NAS doesn’t for the most part, at least none that I’ve personally seen and I’ve seen a lot of them over the years. (or at least I don’t remember…) Most NAS boxes these days support both 3.5” and 2.5” hard drives but with the N2560 you can only use 3.5” drives, not a big deal but it limits your choices as if you wanted to use an SSD you couldn’t.
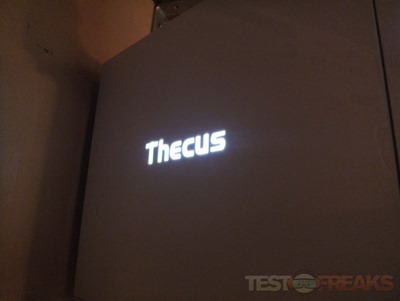
When powered the Thecus logo on the side lights up white. If you don’t want it on all the time you can turn it off via the control panel which you’ll see shortly.
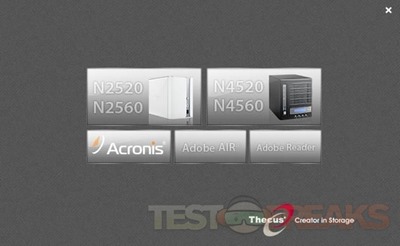
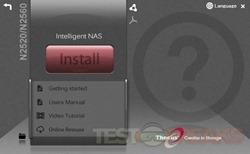
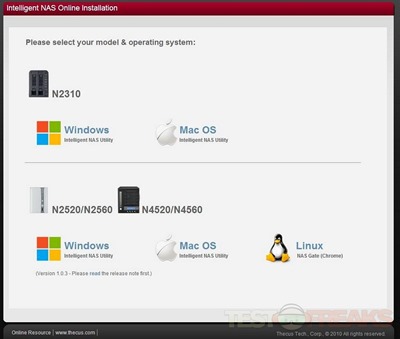
When you put in the software disc the main menu gives you the NAS choice and of course I choose the N2560. Under the menus choices you’ll find shortcuts for Acronis, Adobe Air and Adobe Reader. Thecus does include a full version of Acronis True image Backup software for you and the license is located on the back of the software disc sleeve.
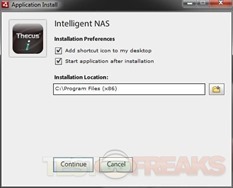
Once you click on your NAS you’re prompted to install the software to help you get the N2560 setup and running.
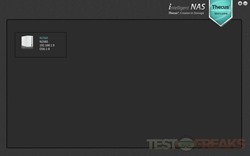
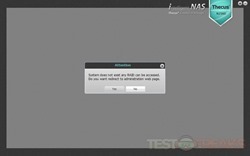
The software will find the NAS and you can get it going usually, I ran into a small error that was easily fixed. The message said: “System does not exist any RAID can be accessed. Do you want to redirect to administration page.” I clicked yes and was taken to the N2560 webpage on my network and everything was fine there to get me going to set it up.
There’s also an online option to get your new NAS set up and running but it’s the same thing as installing it from the disc, you just download the Thecus software and install it. Personally I think this is the better option as you’re sure to get the most updated version of the software as sometimes what’s on the disc is older.
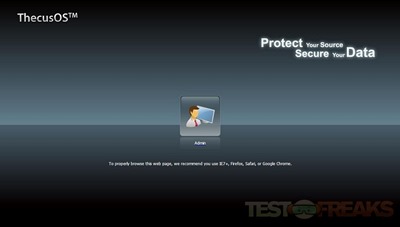
Once you’re ready to go you’ll access the N2560 via it’s IP address on your network and you’ll be greeted with the Admin login page. Just click the Admin icon and enter the default password which is ‘admin’.
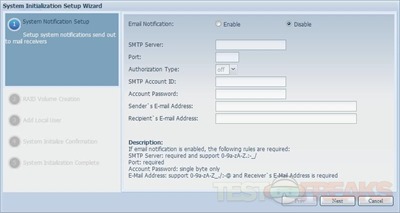
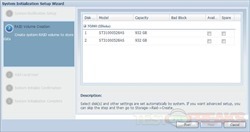
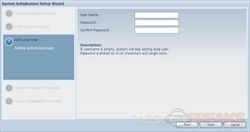
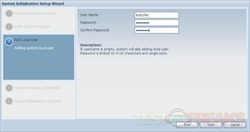
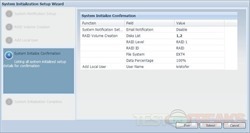
I used the System initialization setup wizard which allows you to set the parameters of the NAS, select the Raid and create a local user besides the Admin account. Once you fill in the pertinent details and make the selections the Raid creation process will begin, you just have to sit back and let it work. How long it takes depends on the capacities of the drives you’re using with the NAS of course. (In the screenshots you’ll notice it says I used Raid 1, that was an accident on my part, going too fast, but I went back and used Raid 0 as I had no need for the redundancy of Raid 1 and would rather have the performance of Raid 0 for my uses of the N2560)
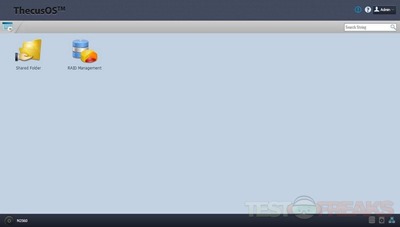
Once it’s setup you can access the ‘desktop’ where you’ll find two shortcuts for you for the Shared Folder and RAID Management. The graphics are nice looking and they’re clear and easily readable.
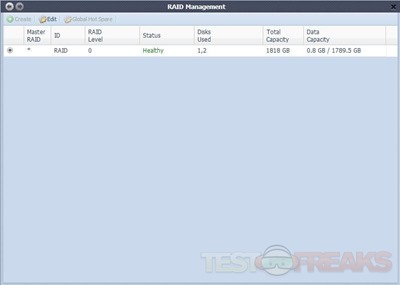
Shared folder is self-explanatory and it’s empty right now, but here’s a screenshot of the Raid Management screen and you can see where I did go to Raid 0 as I mentioned earlier.
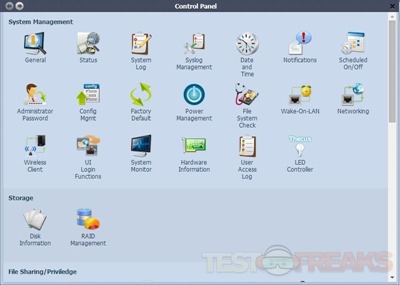
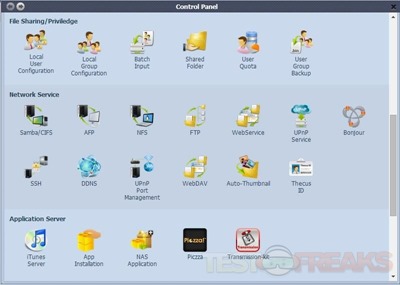
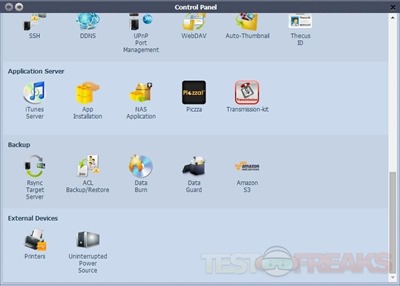
The Control Panel is broken into sections of System Management, Storage, File Sharing/Privilege, Network Services, Application Server, Backup and External Devices. I’m not going to cover all of it of course as there’s just too much. I think the names are self-explanatory really.
Thecus allows you to create your own IP address or name for your NAS so you can access it remotely and you don’t have to pay or subscribe to anything, you just need to create a Thecus ID which is also used for everything Thecus related. The IP is something.thecuslink.com, the ‘something’ part is whatever you want it to be and once registered you’ll be able to access the NAS from anywhere in the world by using your personalized IP address. One note though is that you may have to go into your router and make some configuration changes, it all depends on the router though, I didn’t have to with mine, it just worked thankfully.
The N2560 can be used with uninterruptible power supplies and you can even hook a printer up to it to share over your network.
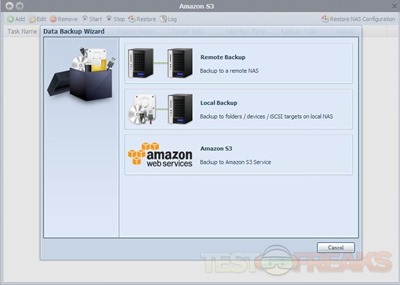
The Data Backup Wizard has a new addition, or one that I didn’t notice in the N2310, and that’s the ability to backup to Amazon web services.
I mentioned earlier about the LED switch, and here it is for you. Here you can turn the glowing Thecus logo on the side on or off.
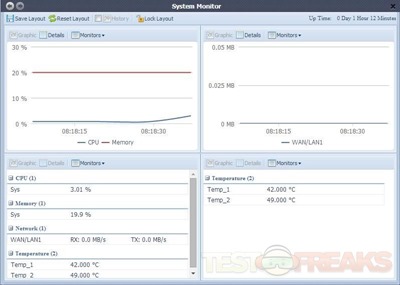
Here’s another I grabbed to just show you and that’s the System Monitor which shows you temperatures and usage stats.


5 comments for “Review of Thecus N2560 Intelligent NAS”