Usage and Testing
To start using the Synology DiskStation DS1513+ you’ll need at least two hard drives for RAID or SHR capability, of course five drives is optimal as that is the NAS maximum. The installation process is easy especially when using 3.5” size hard drives, simply place one on a drive tray, then slide it back into the Synology DiskStation DS1513+ and click the front door down. Synology allows the user the ability to lock them into place using the included drive keys; just take care not to lose these keys or else you won’t be able to replace the hard drives. As with the previous Synology NAS units, the locking mechanism is fairly simple in its design and seems like it can be easily thwarted.
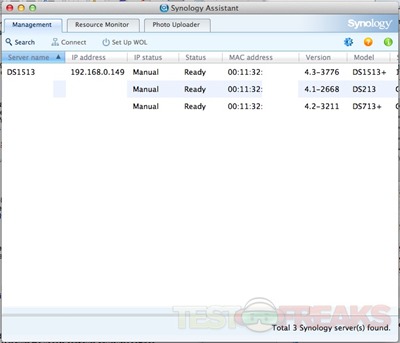
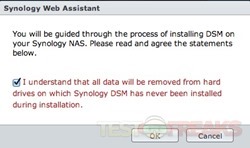
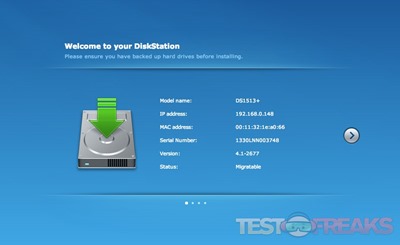
From the Synology site you can download the latest version of the Synology Assistant, which locates the NAS on your network. Initially the Synology DiskStation DS1513+ uses DHCP to set its IP address. Using the Synology Assistant scans your network and facilitates the initial drive setup and access to the web based DSM GUI from which a static IP can be set.
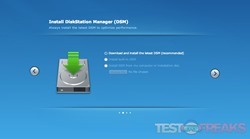
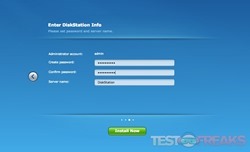
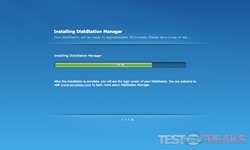
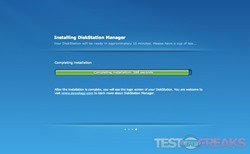
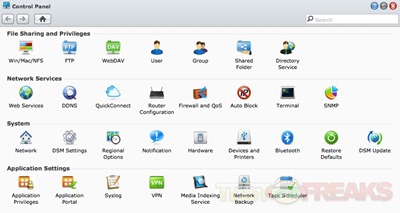
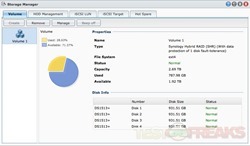
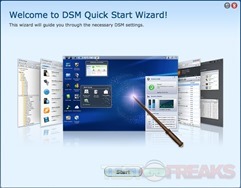
Once DSM (DiskStation Manager) is installed you can open up the web based GUI by entering the Synology DiskStation DS1513+’s IP address and entering the login name and password which initially is Admin for the user name and a blank for the password. The setup can be done through the Synolgy Wizard or via Storage Manager program. The Linux based interface has a Windows style, which should make it easy to navigate for most users.
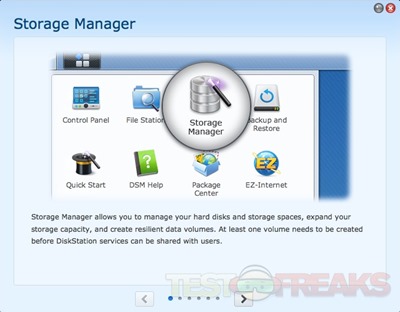
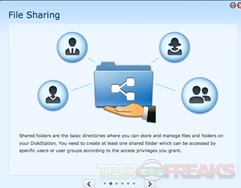
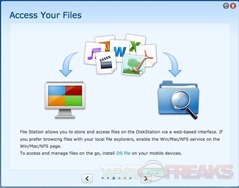
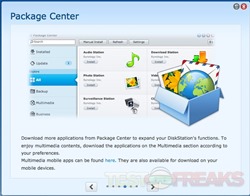
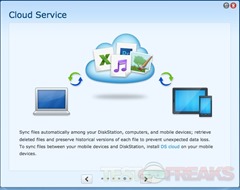
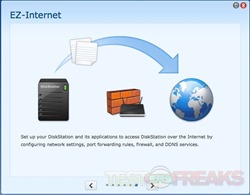
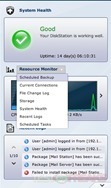
The Guided Setup walks the user through Storage Manager, Shared Folder setup, File Access, Package Installation, Cloud Station syncing and EZ-Internet access. On the right side of the GUI are widgets for System Health, Resource Monitor and Recent Logs. These widgets can be used to display other information such as Current Connections, File Change Log, Storage and Scheduled Tasks. In addition these widgets can be minimized or removed.

1 comment for “Review of Synology DiskStation DS1513+ NAS”