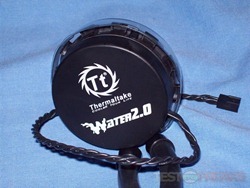
Up for review today I’ve got something unique to help you keep your CPU Cool even under overclocking conditions. Water cooling can be a hassle if you do it yourself, but in the end it’s well worth as we all know liquid is better than air. Thermaltake recently announced the Water2.0 LCS or Liquid Cooling System and they released three versions, one of which I have today the Pro version. This little LCS is fairly simple to install and it offers excellent performance for a fairly low price.
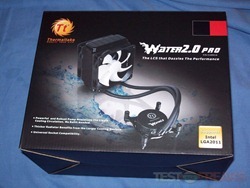
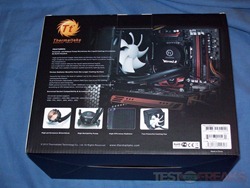
Start with the box as usual and it’s nice looking box at that.
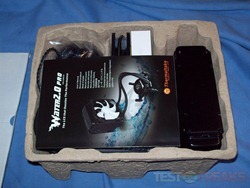
Inside you’ll find the components packaged in a cardboard tray.
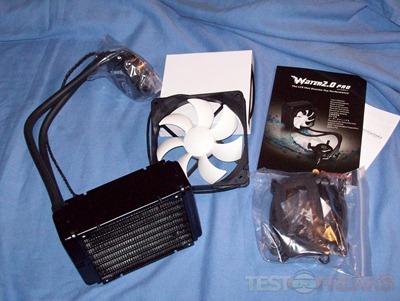
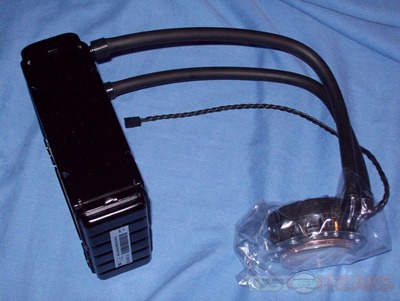
Once you get everything unpacked you’ll find the radiator and water block pre-assembled for you,along with two fans, user manual, warranty sheet and a bag of accessories for installation.
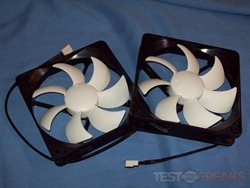
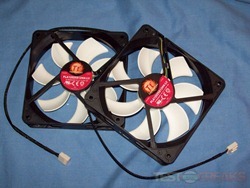
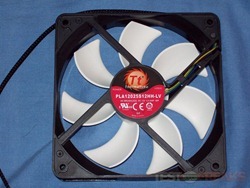
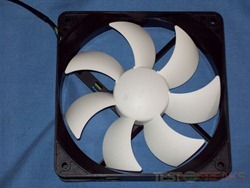
The fans are 120mm in size and have black frames with white blades as you can plainly see.
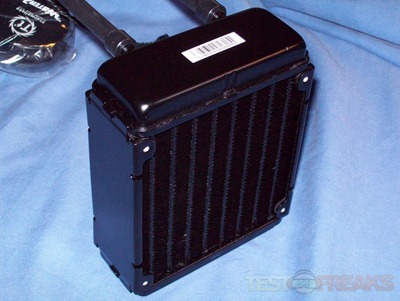
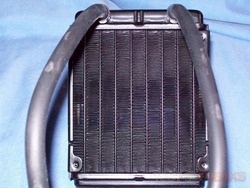
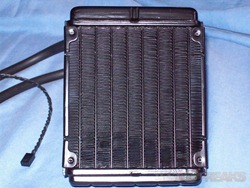
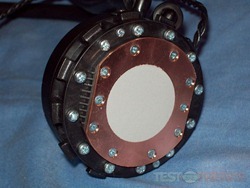
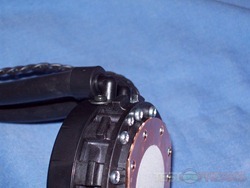
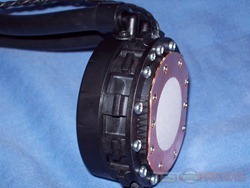
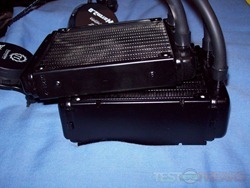
The heart of the system is the water block and radiator of course as this is a liquid cooling system.
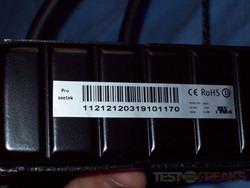
The radiator is from Asetek and it’s 49mm thick.
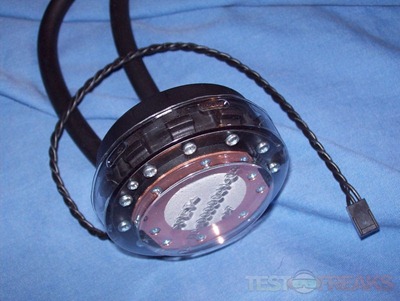
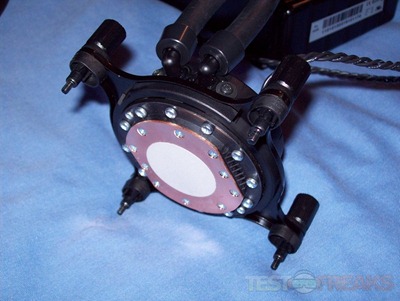
The water block is actually the pump as well, it’s an all-in-one system. It’s powered by a regular fan header connection. The base of the water block is copper and Thermaltake was kind enough to apply thermal compound on it for you.
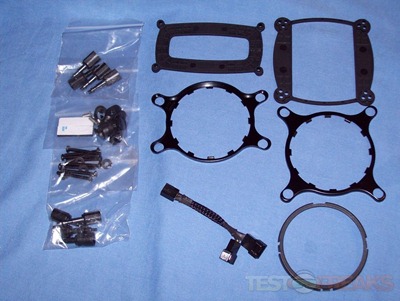
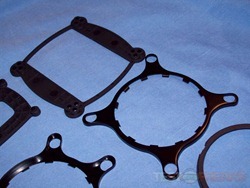
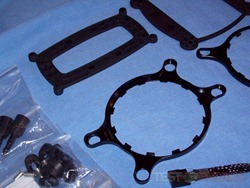
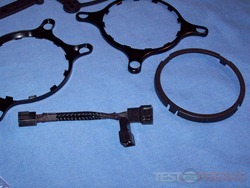
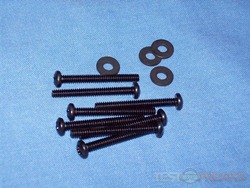
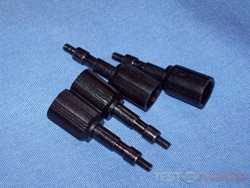
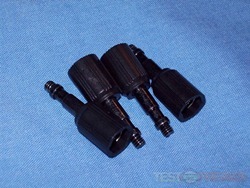
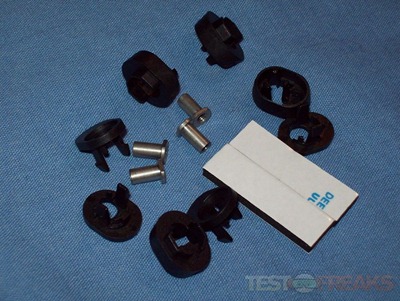
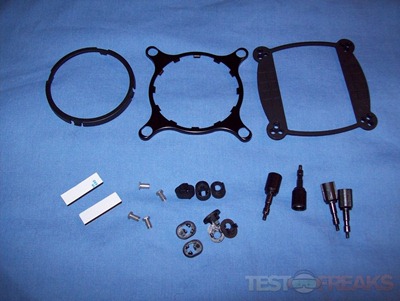
Thermaltake has included quite a bit of accessories for installation on the various sockets available out there today. The other thing that was included a a dual ended fan connection so you can connect two fans to one header on your motherboard.
Here’s everything unpacked from the bags.
Yes there’s a lot of parts here aren’t there? Anyway, let’s just jump below to the installation and testing section…
Specifications:
No-maintenance operation
Traditional water cooling solutions require constant upkeep to prevent clogs or performance degradation. Thermaltake WATER2.0 Series of water cooling solutions are self-contained and proven to last.
Super quiet
WATER2.0 water cooling solutions offer the best of both worlds: performance and silent operation thanks to the highly efficient radiator and pump design.
Universal Support
Upgrading or switching between CPU platforms? No problem, WATER2.0 water cooling solutions are designed with universal mounting to support all available AMD and Intel desktop processors.
Smarter cooling
Users should not have to adapt to the tool they are using. Instead, WATER2.0 water cooling solutions all come with PWM-enabled fans so the cooling performance adapts to you. WATER2.0 Extreme also comes with software-based control system that allows the user to fine-tune performance parameters.
Powerful and Robust Pump Maximizes the Liquid Cooling Circulation. No Refill Needed.
· High performance Copper base plate accelerates the heat conductivity.
· High reliability low profile pump provides quick liquid circulation lowering the temperature.
· Pre-filled coolant reduces the liquid replenishment hassle.
· Low evaporation tube decreases the loss of coolant effectively.
· The high-tech sealed circulation system prevents leaking issue.
Thicker Radiator Benefits from the Larger Cooling Surface.
· Powerful fan blows the heat of radiator out to the chassis to maximize cooling performance.
· Dual Automatic Adjustable 120mm PWM Fans maximize the cooling performance and tranquility.
· PWM control function fan (1200~2000rpm) automatic adjust the fan speed according to CPU temperature, minimize overheating possibility.
Universal Socket Compatibility
Universal socket support:
Intel: LGA2011, LGA1366, LGA1156, LGA1155, LGA775
AMD: FM1, AM3+, AM3, AM2+, AM2
MSRP: $109.99
Price: $86.26 (from Amazon at time of review)
Here’s my basic system specs:
Motherboard: Asus P8Z68-V Pro/Gen3
CPU: Intel Core i7 2600K
Video Card: HIS Radeon HD 7850
Ram: 12gb mixed OCZ Gold and Kingston HyperX
Case: NZXT Switch 810
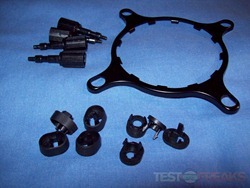
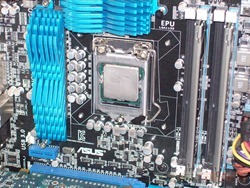
So yes I’m installing it on a Socket 1155 system, so here’s all the parts needed for the installation:
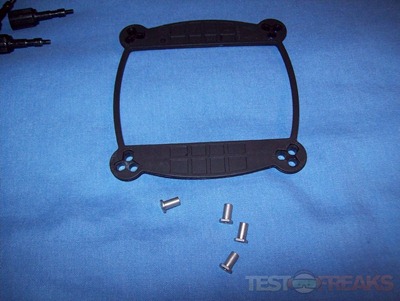
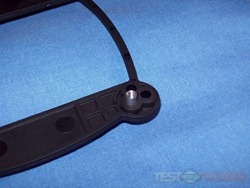
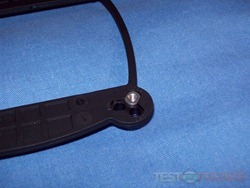
You basically have to assemble the kit and I started with the back plate. Assembly here just involve pushing the pins though the appropriate holes on the back plate. Fairly simple really.
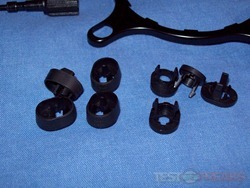
The next step involves quick a few parts, and there’s a lot of assembly required here. The parts are labeled well and you need to line them up the correct way for the socket you’re using it with.
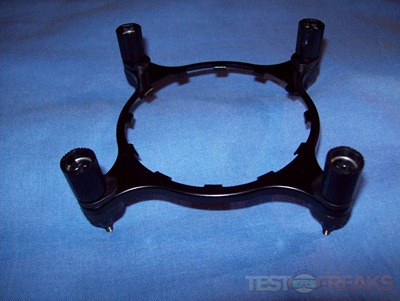
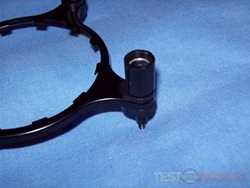
Here it is assembled and ready to go, but you’re not done yet.
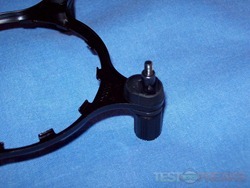
The last part is the attaching the above piece to the water block and to do that you use the ring I showed you above in the first picture of this section.You set the bracket with the screws on the water block and you push the ring upwards until it clips onto the bracket.
So then we’re off to the actual installation process in my computer.
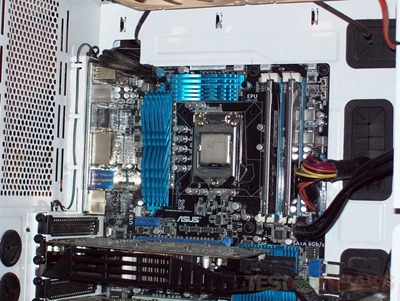
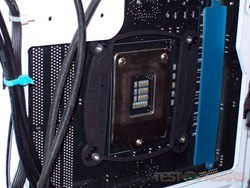
The first step would be to install the back plate, it’s simple just push it through the holes on your motherboard.
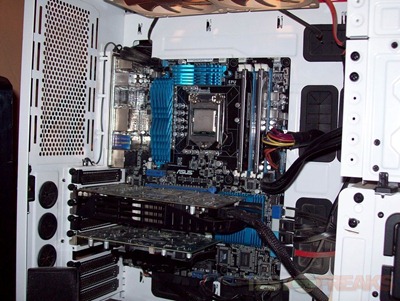
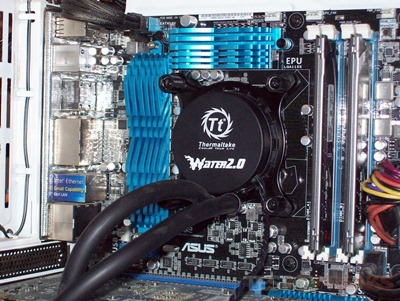
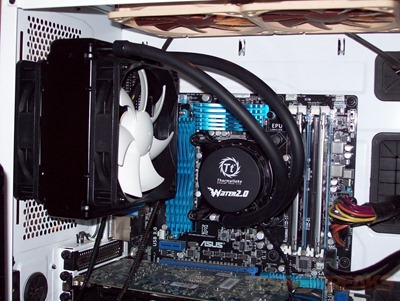
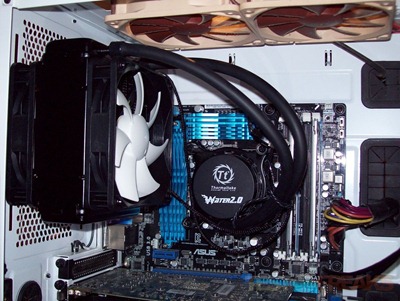
The next step would be to install the water block and it involved lining it up with the back plate and just fastening it down tightly. The areas area around my CPU socket is tight because of the heatsinks but the Water2.0 Pro fit just fine.
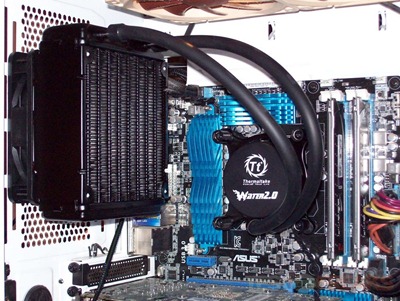
The next step would be to install the first fan and the radiator. This involves using the long screws and putting them through your case back, through the fan and into the radiator.
Next would be to install the second fan using the remaining four long screws.
The last thing to do is hook up the fans and pump to the power headers on your motherboard. My motherboard actually has two fan headers labeled CPU which makes life easier for things like this.
The Water2.0 Pro is made for cooling of course but it’s made more for the enthusiast, meaning it should be more than enough to handle a bit of overclocking.
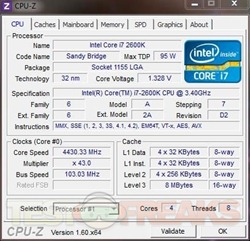
The Core i7 2600K runs stock at 3.4ghz, but I easily overclocked it up to 4.4ghz. I’d say and extra 1000 isn’t bad at all for a tiny bit of work.
On to testing, ambient room temperature was 24C (+/- .3C). I used CoreTemp to monitor and log the temperature during testing and then I averaged them out to get a single temp for the charts below.
I used several instances of Orthos Stress Prime to get 100% load on the CPU.
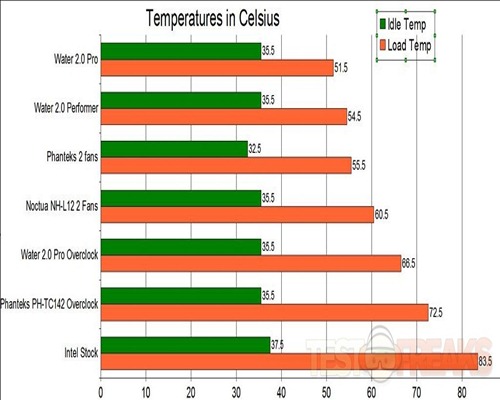
In the chart below I’m comparing the Water2.0 Pro to the Water2.0 Performer, Phanteks PH-TC142, Noctua NH-L12 and the stock Intel cooler.The stock cooler is just your basic adequate cooler, while the Noctua is not made for overclocking just better cooling in smaller cases.The Phanteks is a beast of a cooler and it’s made to keep things cool even under overclocking conditions.
The Water2.0 Performer is from Thermaltake as well, and it’s the more basic version with a small radiator. It’s not made for overclocking as it’s just for cooling really.
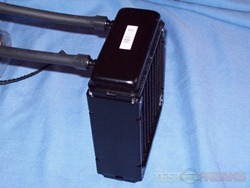
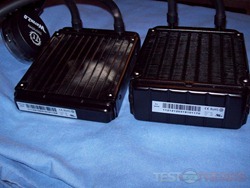
Here’s the Performer and Pro radiators for comparison to give you an idea of them.
So here’s the chart with both stock and overclock results for the Water2.0 Pro and Phanteks for comparison, the others are just running at the stock CPU frequency.
Well the chart there speaks for itself doesn’t it, the Water2.0 Pro performs very well at the stock CPU frequency.
Looking at the chart with the CPU overclocked we see it does very well, a good six degrees cooler than the Phanteks.
As far as noise levels it’s relatively quiet even under load. I can hear it, it does add a bit more noise to my system but it’s not overly so and it’s something I can deal with. I like my system quiet, and this works for me.
Conclusion:
The Thermaltake Water2.0 Pro is a great all-in-one cooling system that works very well at keeping even an overclocked CPU cool. The system is a closed loop making it maintenance free for those of us that want the performance of liquid cooling but not the hassles of it. The kit is made from quality components and I have faith it should last for a long time.
The Water2.0 Pro does require some assembly which can be time consuming but overall this setup is fairly easy to install as long as you follow the instructions and should fit fine in most chassis.
The performance of this cooler is excellent, better than high end air coolers.
The price is inexpensive I think for what you get, and for the performance and quality of the kit. The going price on Amazon is right around that of high end air coolers so why not go with the better performing water kit?
Pros:
+Fairly easy installation
+Excellent performance
+Quiet
+Well made components
+Decent directions
Cons:
-Lots of parts and assembly needed
| Grades: | |
| Overall |  |
| Design |  |
| Performance |  |
To learn more about our review policy please visit this page HERE.

