So you picked up your shiny new copy of Microsoft’s latest OS offering – Windows 7 and want to install it on your (cue dramatic music)…….. Intel based Mac. Mac fans will view this as blasphemy and Windows lovers will probably ask; “why didn’t you get a PC if you wanted to run Windows”. Well there are numerous valid reasons for having Windows 7 installed on one’s Mac and today we will guide you through the set up. My personal retort is because I can.
Naturally you don’t want to get rid of OS X when installing Windows, so thankfully Apple created Boot Camp which allows safe installation of a Microsoft Operating System ranging from Windows XP to the newest Windows 7. This is made possible by the fact that underneath all the Mac and Apple branding the components are basically a standard Intel PC.
Boot Camp works by creating a partition that is recognized by the Windows installation media on certain Intel-based Mac. According to the Apple website the following models are not supported:
– iMac (17-inch, Early 2006)
– iMac (17-inch, Late 2006)
– iMac (20-inch, Early 2006)
– iMac (20-inch, Late 2006)
– MacBook Pro (15-inch, Early 2006)
– MacBook Pro (17-inch, Late 2006)
– MacBook Pro (15-inch, Late 2006)
– MacBook Pro (17-inch, Early 2006)
– Mac Pro (Mid 2006, Intel Xeon Dual-core 2.66GHz or 3GHz)
To get Windows 7 installed you will need Mac OS X v10.6 Snow Leopard and the Boot Camp 3.1 Update.
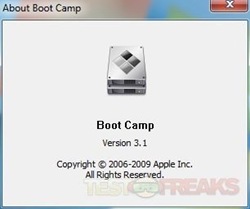
Initially when Windows 7 was first released Apple did not update Boot Camp to fully support the new Microsoft OS. You were able to install it and it worked but certain features were not supported. At the beginning of this year Apple released the Boot Camp 3.1 update, which provides support for both 32-bit as well as the 64-bit Home Premium, Professional, and Ultimate versions of Windows 7. The software update furthermore includes Magic Mouse and Apple wireless keyboard support, as well addressing some Apple track pad and laptop LED issue
Prior to starting the install process make sure your computer’s Mac OS X operating system, Boot ROM, other firmware and software are up-to-date.
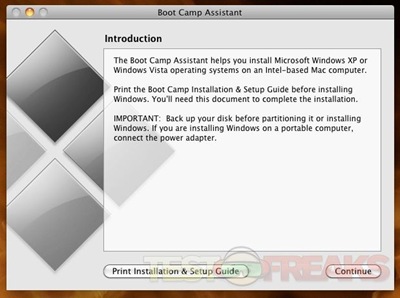
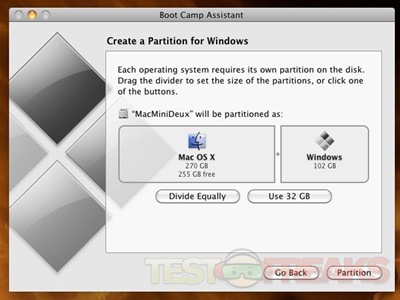
To start the process in OS X open Boot Camp Setup Assistant (located in /Applications/Utilities). You will be greeted by an introduction screen followed by a graphical partition manager from where you can adjust the size of the Boot Camp Windows partition; by default Apple starts at 5 GB but that is way too small for a Windows 7 installation. I would recommend a minimum of 40 GB to be on the safe side.
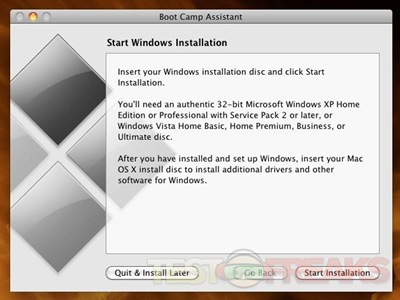
Once your partition size is selected click the Partition button and OS X will do the rest. After the partitioning occurs you will be asked to insert the Windows 7 install disc and press the Start Installation button which will reboot the Mac.
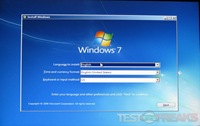
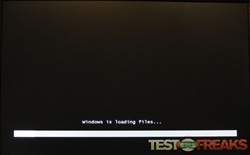
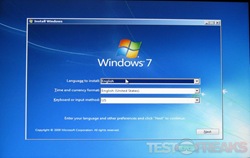
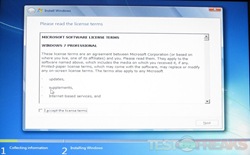
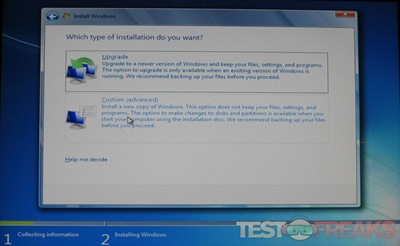
At this point the installation process will function like the normal Windows 7 install. You should be greeted with the familiar Windows is loading screen followed by the license acceptance dialog. Next choose whether to perform an upgrade or custom installation. For today’s tutorial I’ll be showing how to set up a fresh installation of Windows 7 so select the custom install option.
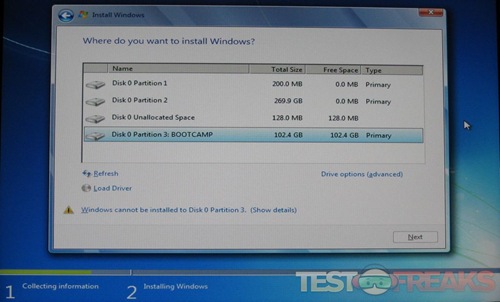
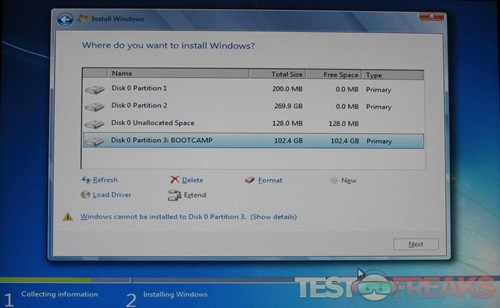
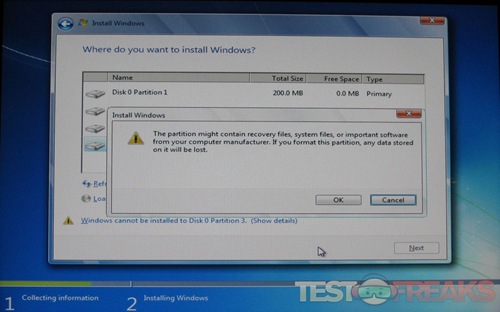
The next screen will show a list of partitions on your Mac hard drive. Highlight the one named Boot Camp and then press the drive options button. Click the format button, you’ll be asked to confirm, click yes and this will format the Boot Camp partition making it ready for the Windows 7 installation.
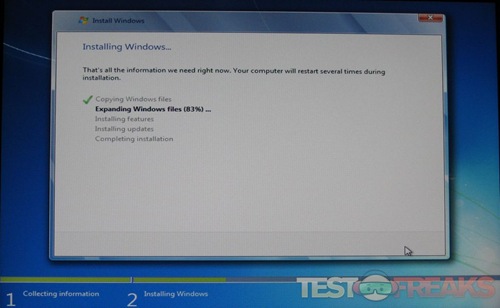
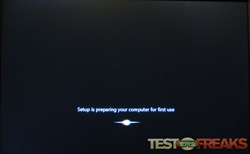
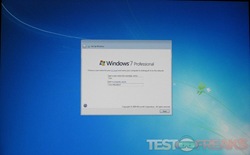
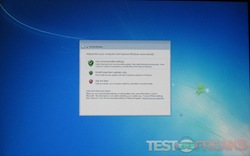
Now go grab yourself a cup of coffee and relax as Windows 7 will install itself. This process will take about 20 minutes to a half hour and requires no user intervention until the very end. Once Windows 7 reboots a user creation screen will appear.
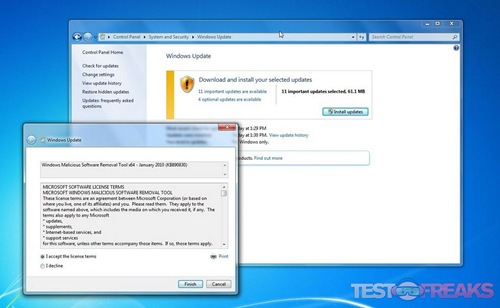
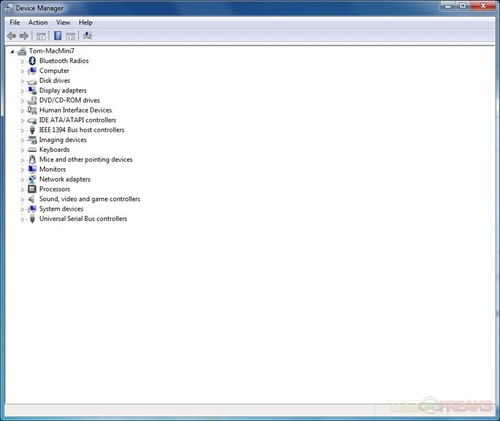
Congratulations your Windows 7 is installed on your Mac, now its time to run any Windows 7 updates and then install the Boot Camp drivers so everything works as expected.
Eject the Windows 7 installation media and insert the Snow Leopard installation disk. The disk should autorun the Boot Camp drivers for Vista which is compatible with Windows 7.
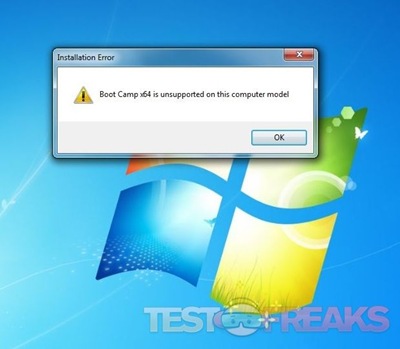
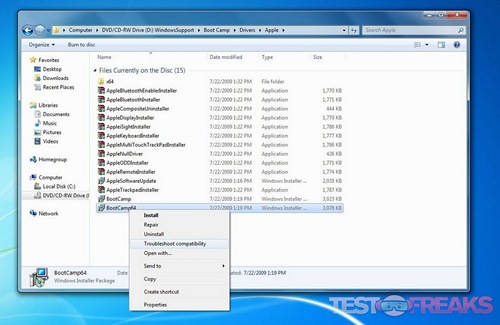
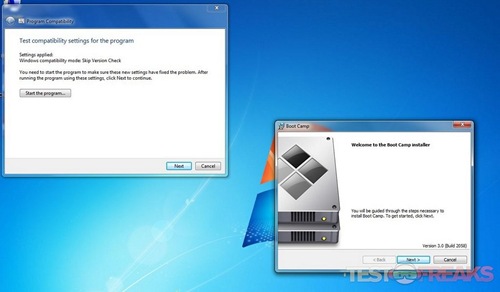
If you are running a MacBook or Mac Mini and are installing a 64-bit version you may get following error: “Boot Camp x64 is unsupported on this computer model”. This is easily resolved by opening the Snow Leopard installation disk folder; locating and right-clicking the “BootCamp64? application and selecting “Troubleshoot compatibility”. Click on “Start the program and the program should run; this works by disabling Boot Camp’s Version Check. Thanks to http://www.techulous.com/hardware/how-to-apple-boot-camp-64-bit-for-windows-7-on-unsupported-macs.html for the fix.
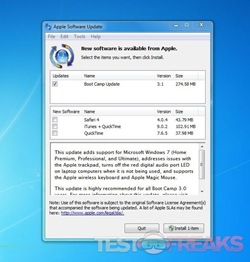
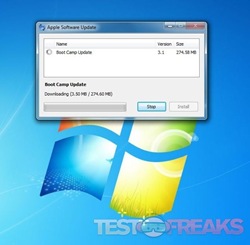
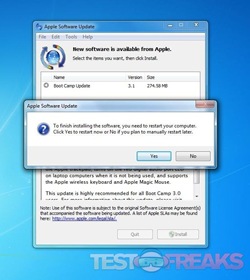
Once the Boot Camp drivers are installed you will be asked to reboot the machine. Go into the Apple software update folder and run it. There should be Boot Camp 3.1 drivers which can be installed from the update; run these and you will be done.
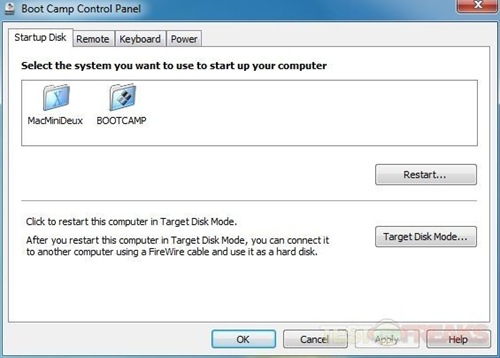
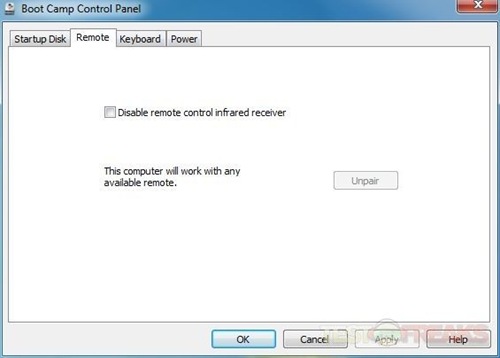
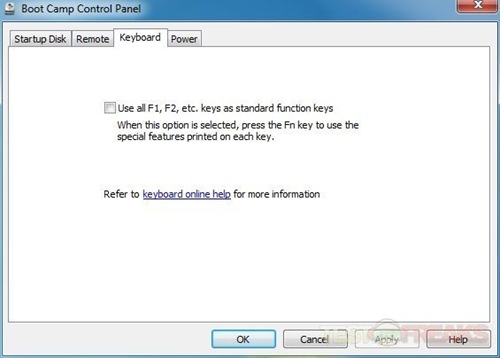
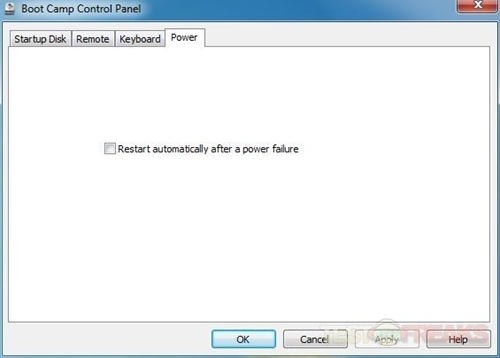
You should notice a Boot Camp icon in the system tray which runs the Boot Camp Control Panel the user can select the boot partition and control the remote, keyboard and power settings.
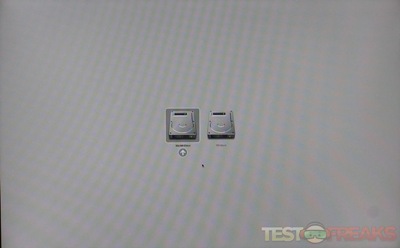
Another way to select the start up system between Windows 7 and OS X is by holding down the Option Key on your keyboard or if you have a Mac remote hold down menu button when booting up your Mac. This will bring up a graphical boot loader to select the OS you wish to boot into.
Congratulations once all this is done you now have Windows 7 installed on your Mac machine; now go show off your OS X/Windows 7 machine to your Windows loving friends.

23 comments for “How to Install Windows 7 on a Mac”