Up for review today I’ve got another PC case called the Evolution and it’s from a company called Cougar. This case is not exactly what I would call expensive coming in at around $100, but it’s got plenty of features that even enthusiast users can appreciate like room for large video cards, and SATA dock built-in and a removable hard drive cage. The case is all black, inside and out and it features a built-in fan controller for up to six fans to keep your system cool and quiet.
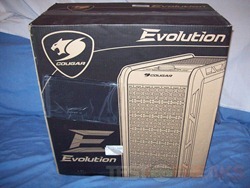
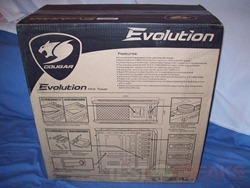
So the Cougar Evolution comes in a box as one might expect.
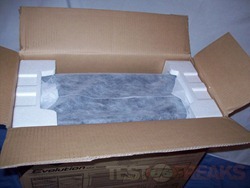
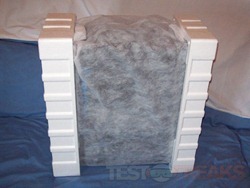
Inside you’ll find the case protected with stryofoam and a cloth bag over it so it’s packaged very well.
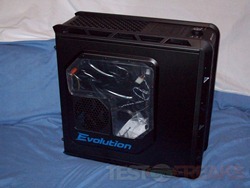
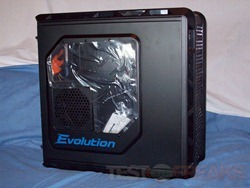
The case has one window and it’s covered with a piece of plastic for protection during transport. The word Evolution is in blue below the window.
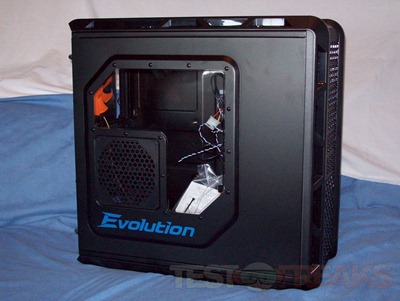
Here’s the left side of the case without the plastic on the window. The window is an inverted and backwards L shape around a vent with a space for a fan.
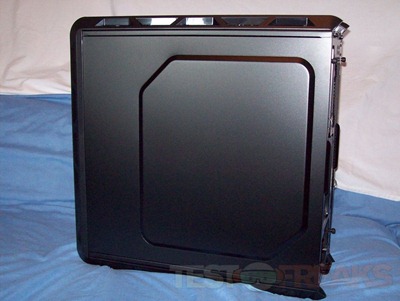
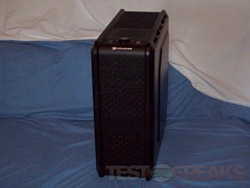
The right side of the case is plain black as is most of the case really, except for the word Evolution and the fans with have orange blades. The side panel does have a section that extends outwards a bit, this give you room to run wires behind the motherboard tray.
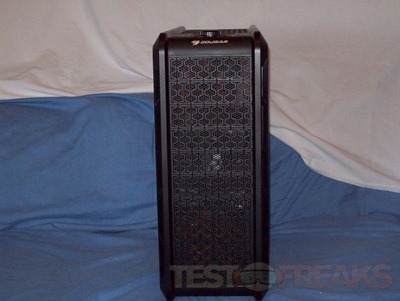
The front of the case is all mesh and there are three bays that are available to use. There are six bays in total but behind the lower three is an empty fan bracket that can be removed if need be. There’s one fan already installed for you on the bottom of the case where the hard drive cage is.
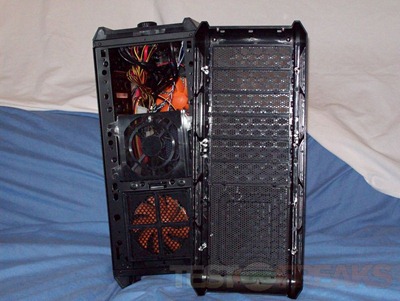
Here’s the view with the front bezel off and I should note it’s very easy to remove as it’s held on by metal spring style clips.
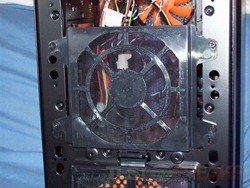
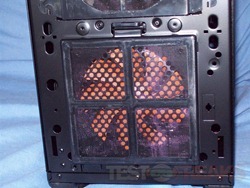
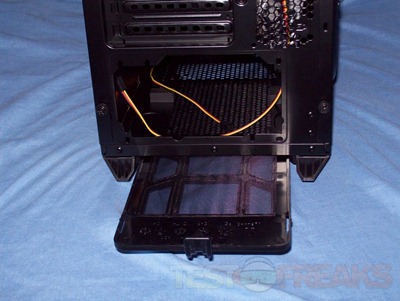
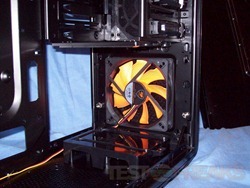
Then here’s a close up of the fan bracket and the bottom fan which has a removable air filter.
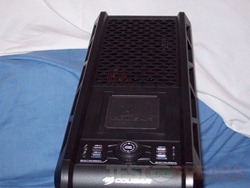
The top of the case does have spots for two optional fans. On the top is also an SATA dock that can fit 2.5” or 3.5” drives.
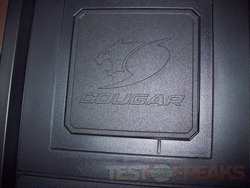
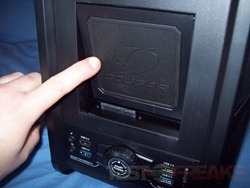
The dock looks like the Cougar logo and it’s spring loaded, just push down and the SATA connections will appear.
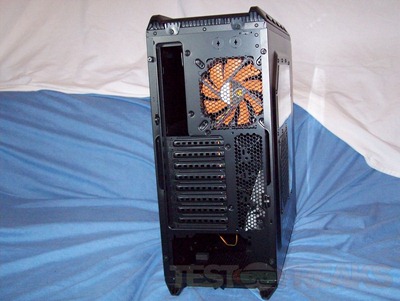
Then moving around the back you have you standard stuff here along with punch outs for liquid cooling at the top. The PSU gets installed at the bottom of the case like most these days.
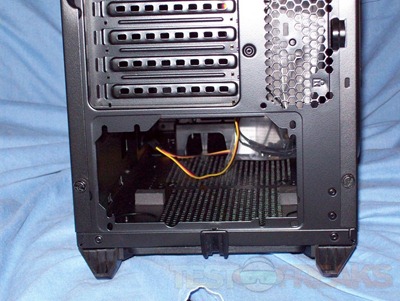
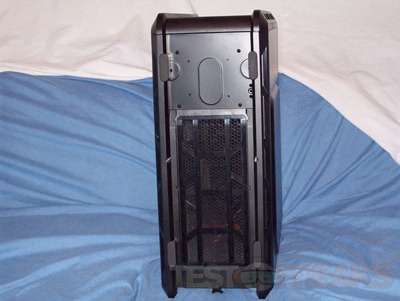
Under the power supply is a removable air filter that extends a little more than half of the case bottom.
…and here’s the bottom of the case:
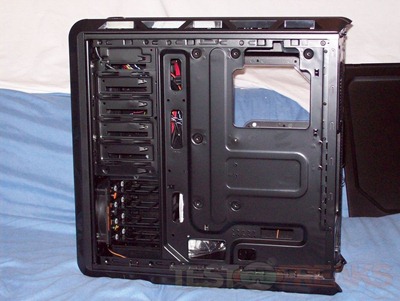
Ok, taking the right panel off first you’ll notice a nice sized cut out where the CPU would be located, this makes life easier when installing or changing CPU coolers. The tray also has several cutouts for routing the wires through. The inside of the case is painted black just like the outside.
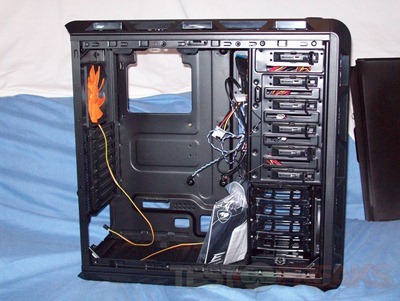
Then here’s the view with the left side off:
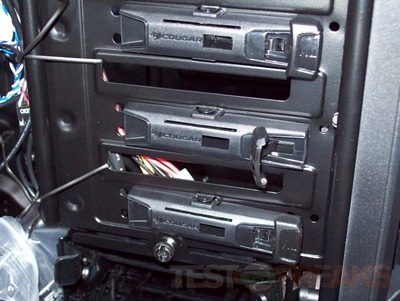
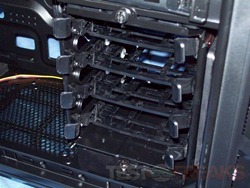
The optical bays use a tool-less locking system with levers.
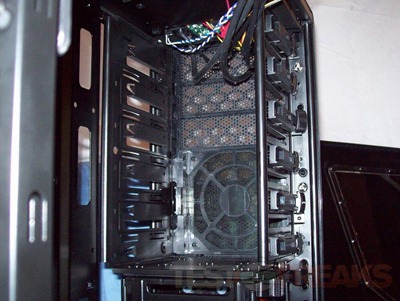
Then here’s the view from inside of the optical bays:
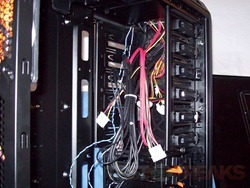
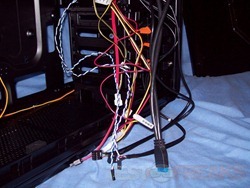
Hanging around inside you’ll find several connections for audio, USB, USB 3.0, power for the fans, and the motherboard headers along with power and data for the SATA dock.
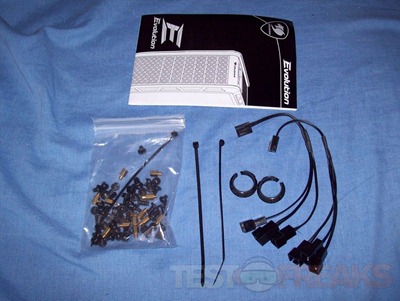
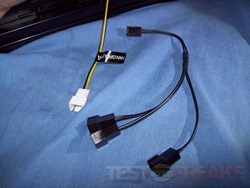
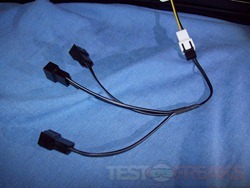
There’s a white box inside with the accessories which include user manual, zip ties, rings for liquid cooling holes, assorted screws and 3-1 fan connectors.
You’ll only find two actual fan connectors in the bunch of cables, the included adapters allow you to connect and control three fans per connection.
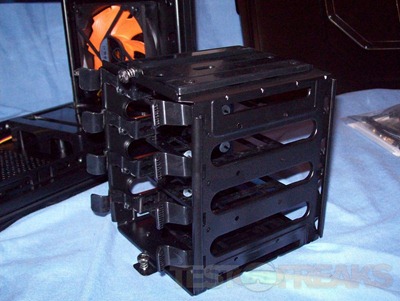
The hard drive cage can be removed if need be and it holds hard drives securely.
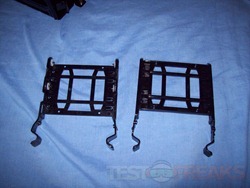
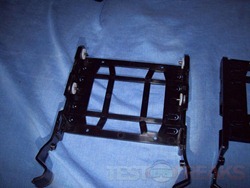
The hard drive racks are a semi-flexible plastic with silicone inside to keep the drives quiet while in use.
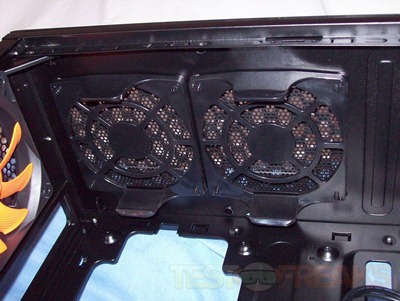
At the top of the inside of the case you’ll find two brackets for two more fans.
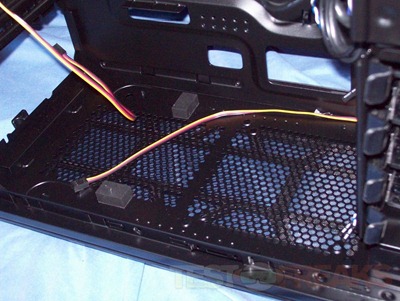
On the bottom of the case you’ll see basically all ventilation and a spot for another fan. The power supply rests on rubber blocks to help keep the vibrations down and the system more quiet.
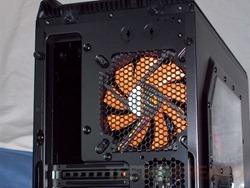
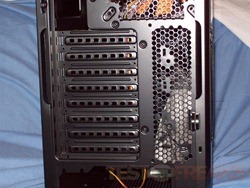
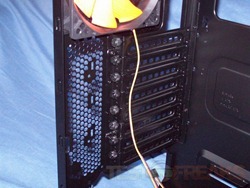
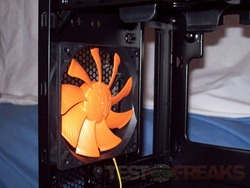
Here’s a couple views of the back of the case, you can see the fan and PCI slots here.
Specifications:
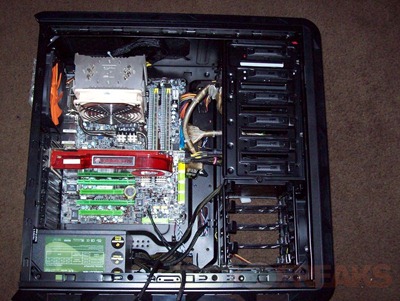
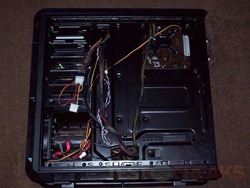
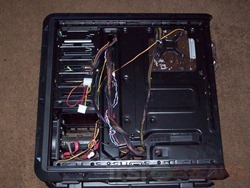
I got the system installed without any issues, I found there’s plenty of room to work inside of the Evolution case to get everything installed easily.
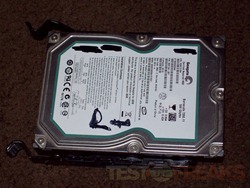
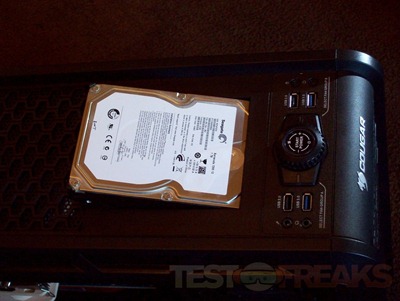
To install the hard drives you need to put them in the bracket which just involves bending the bracket and fitting the hard drive in place. Once the drive is in the bracket it can slide into the HDD rack which holds it tightly. The hard drive connection face towards the back or right side of the case so that’s where you’ll run the wires to for the power and data connections. I personally like this position as it makes for cleaner looking case.
There is room on the back of the Evolution motherboard tray for running your wires back there. The side panel isn’t flat it’s rounded out to make room for your wires.
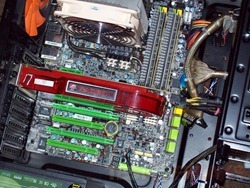
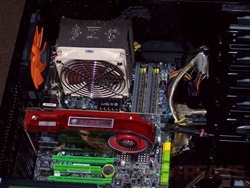
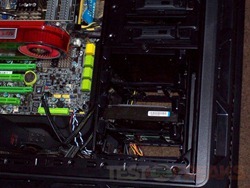
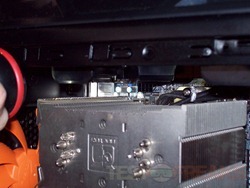
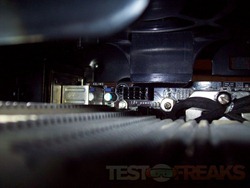
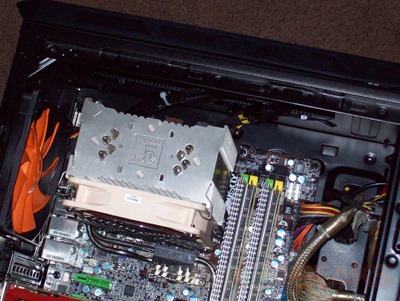
As you can see from these pictures there’s not much room at the top of the case at all. If you install the optional top fans you’ll even have less room. I had a very hard time getting the power connector connected to the motherboard, I actually ended up removing the fan brackets as they were just in the way making it impossible to get it connected. Removing the fan brackets was quite involved and fairly difficult as you need to remove screws and then pull the entire top section off which was very hard to do as it’s held on by clips which are unlocked by pushing them and they’re located in places that are hard to reach.
Here’s the view with the brackets removed, there’s plenty of room now:
On the top of the case is of course the SATA dock, it can fit either 3.5” or 2.5” drives with ease. The panel just slides down and the drive slips into the connectors. The dock comes in handy and having a direct SATA connection is faster than using a USB style dock.
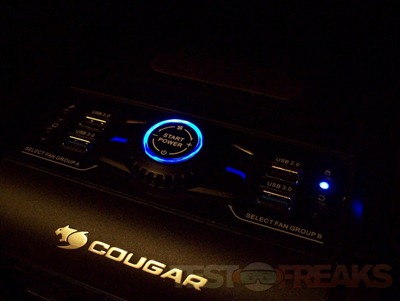
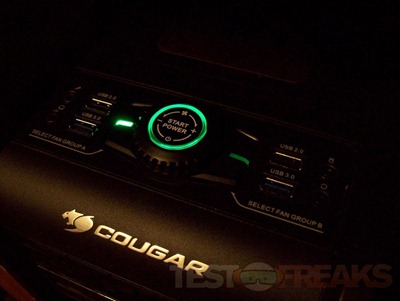
The fans are controlled with a knob that surrounds the power button. When you power up the computer and when you’re not adjusting the fans the LED is blue. There are two groups of fans than you can control, A and B. There are buttons labeled this on each side of control knob, press the button for what you want to control and it will change to green letting you know it’s ready to be adjusted. To the right of the knob is a singly blue LED that will blink for hard drive activity.
Speaking of fans, the two included seem to do a decent job of keeping things cool. When on low or almost medium they are barely audible, but if you turn them up to high they get extremely loud. To me they’re just too loud for comfort.
Conclusion:
The Cougar Evolution case is certainly one that can appreciate as it’s got plenty of room to work and fit large sized video cards. The inclusion of the SATA dock comes in handy for quick and easy file transfers from any drives you’ve got floating around. The fan controller is a nice addition and it’s simple to use. The Evolution case allows you to install up to six fans and control them with the controller for when you need more cooling or for when you want a quieter system. The case is very well made, it’s sturdy and designed well and I think it looks great personally.
The included fans can be very loud on high speed, so loud that it’s annoying. For the most part there’s plenty of room in the case but I ran into a problem at the top with the fan brackets being in the way of connecting up the second motherboard power connection.
Pros:
+Lots of room
+Great design
+Decent cooling ability
Cons:
-Fans can be very loud on high
-Not much room at top of case at all
| Grades: | |
| Overall |  |
| Design |  |
| Performance |  |
To learn more about our review policy please visit this page HERE.



3 comments for “Review of Cougar Evolution Full Tower PC Case”