Diablotek has sent us over another case for review, this one is called the Cyclops and it’s part of their gamer series. This would be considered a budget case as it sells for around $70 but just because it’s budget doesn’t mean it’s not full of some great features like five pre-installed fans for cooling. Once I got started installing my system in the Cyclops I did run across some rather small issues or annoyances so it’s not a perfect case but for a budget case it’s not bad. I especially like the looks of it, it looks like a gamer case. So read one to learn more…
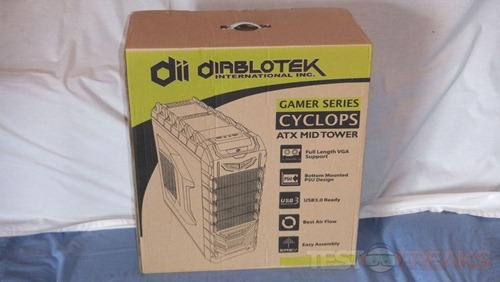
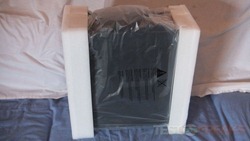
As usual we start off with the box, and it’s rather plain but it’s what’s inside that counts right? the case is packaged well with styrofoam and a plastic covering for protection.
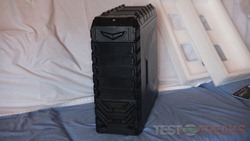
The Cyclops is a black case, both inside and out as you’ll find out.
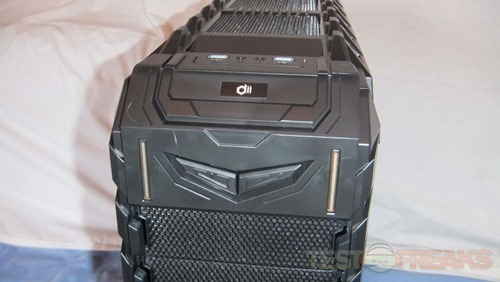
There are two large buttons on the top of the front bezel for power and reset and on either side of those are LED strips that light up to indicate power.
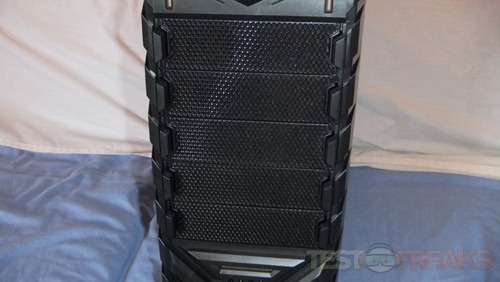
On the front are five 5.25” bays with mesh coverings on them.
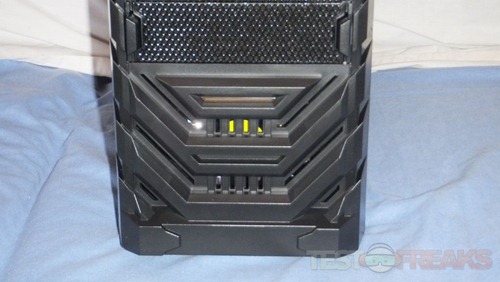
Below the bays is a nice looking design behind which is a 120mm cooling fan. There’s a also an LED strip here that lights up to indicate hard drive activity.
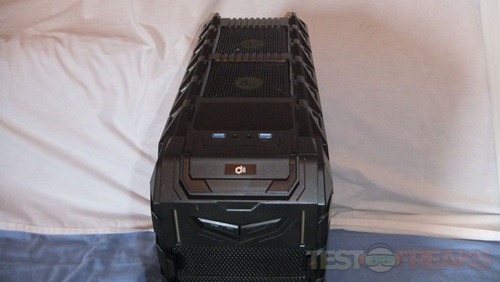
I like the jagged looks of the Cyclops case, the top has these jagged peaks and the design continues with the rest of the case.
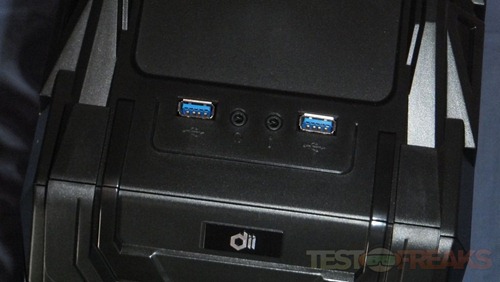
On the top you’ll find two USB 3.0 ports and the audio ports as well.
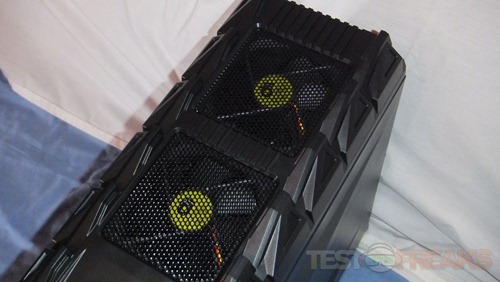
Behind the USB ports you’ll fine two 120mm fans pre-installed.
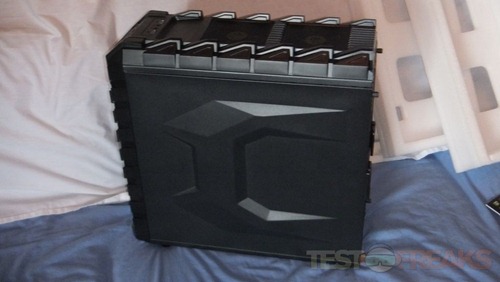
The right side panel of the case has a protruding design on it meant not only for looks but to allow room for routing wires behind the motherboard.
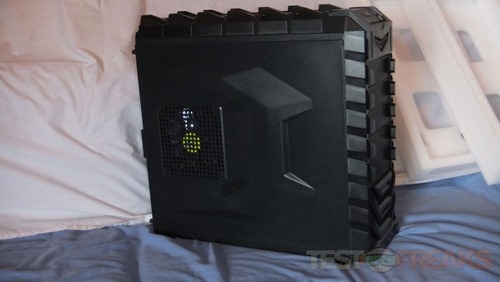
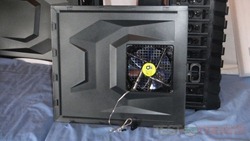
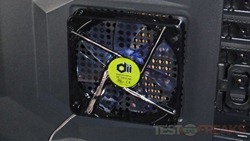
On the left side panel you’ll find a 140mm fan pre-install for you, this fan does have blue LEDs in it and the panel has the same design as the right. From this view of the case you can see how the jagged design continues down the front fo the case.
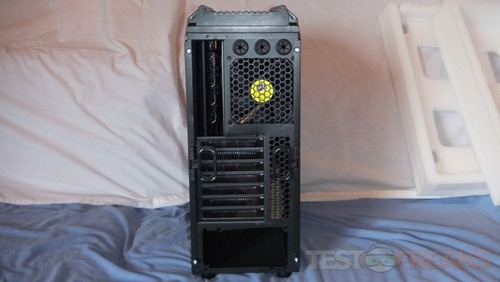
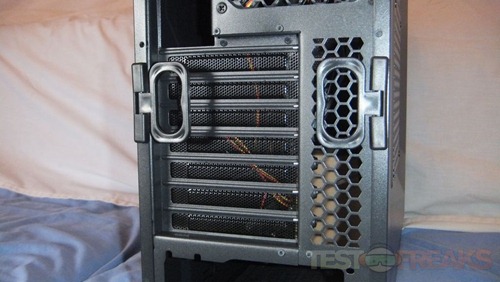
Moving around to the back you’ll find the common ports and slots and holes like you’d find on most cases these days.
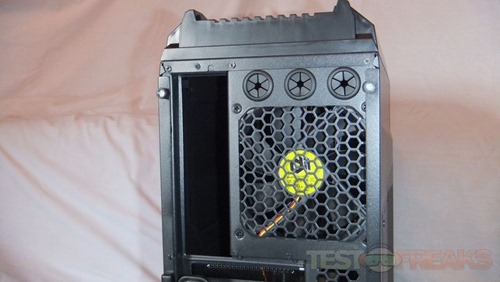
There is a pre-installed 120mm cooling fan in the back along with holes ready for water cooling.
The side panels are held in place with thumbscrews and there are handles that fold out to make removing the panels very easy.
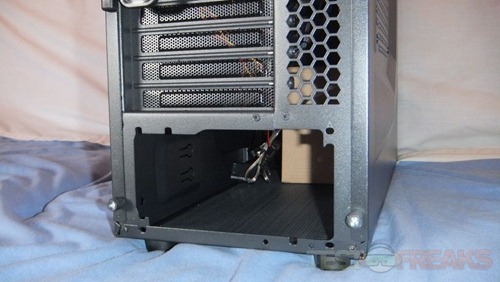
The Cyclops is a bottom mounted PSU style case that’s fairly common these days.
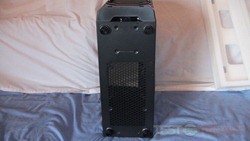
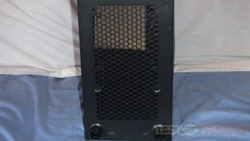
On the bottom of the Cyclops you’ll find four rubber feet and quite a bit of ventilation for the PSU and for an optional fan. There’s a holes in the bottom of the front bezel that’s used as a handle to remove the bezel.
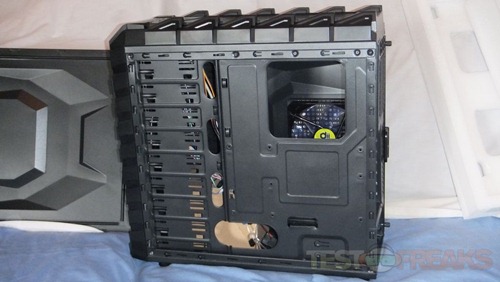
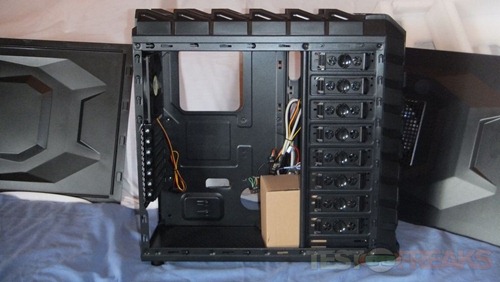
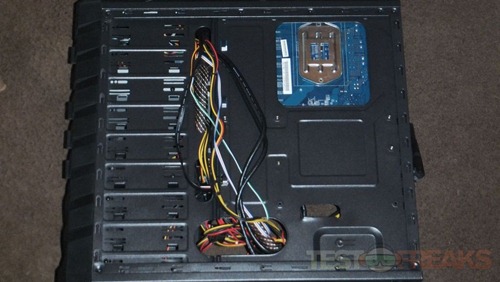
Taking the right panel off you can see the back of the motherboard tray with a large opening for installing or swapping CPU coolers without having to remove the motherboard from the case. There are holes for routing wires through and a few spaces to secure them in place as well.
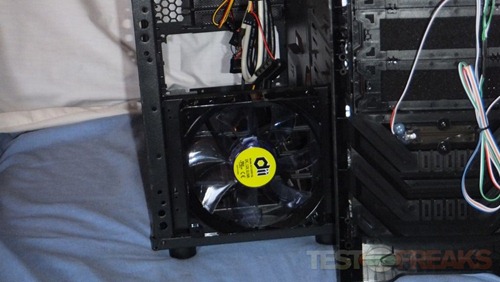
Taking the left panel off we can get a better look at the pre-installed fan, it’s black with clear blue blades.
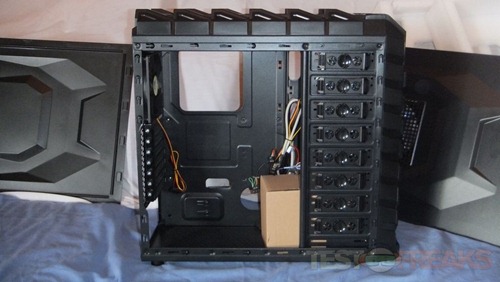
The first thing you’ll notice I think when you remove the panel is the rather large brown box in the case, it’s the accessory box.
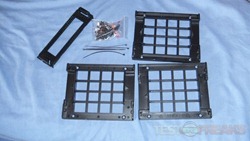
In the accessory box you’ll find a few zip ties, bag of screws, 5.25” to 3.5” bay adapter and three trays.
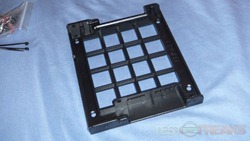
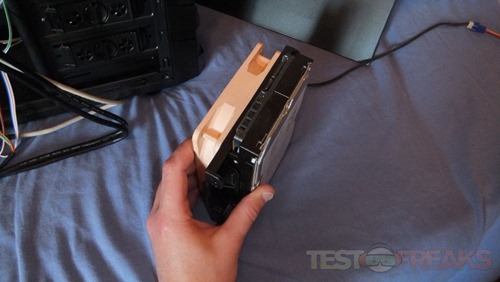
The trays are used to install your hard drives and they can be used to mount them horizontally. The trays also have holes in them for additional fans as they can be used as fan holders for the front of the case. The users manual also suggests you can mount a hard drive on one side and a fan on the other to help keep your hard drive cool.
On the left side of the case the bays have tool-less clips, but there are none on the right side. The users manual says use the clips on the left and screws on the right which doesn’t make much sense to me.
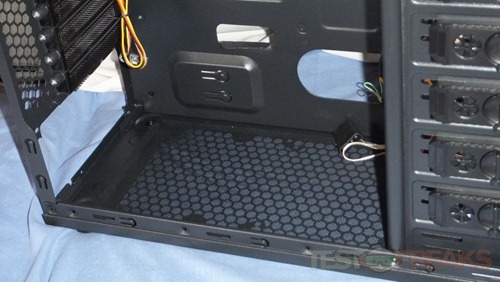
Here’s the bottom of the case from the inside, there’s a mesh screen air filter here.
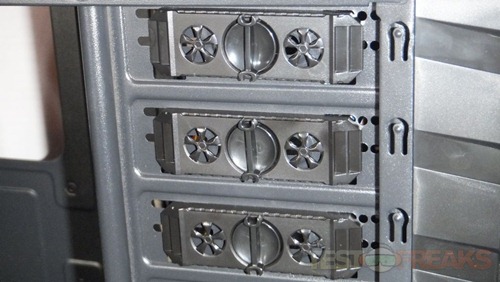
Here’s the back of the case from the inside showing the PCI slots and the fan:
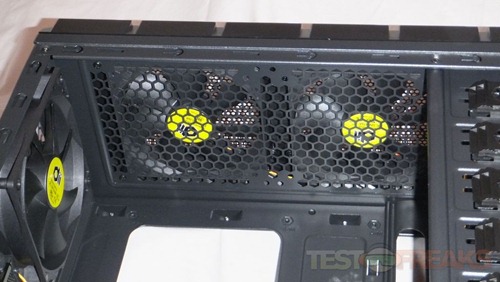
Then here’s the top of the case where the two fans are mounted, it’s nice to see there’s fan grills on them.
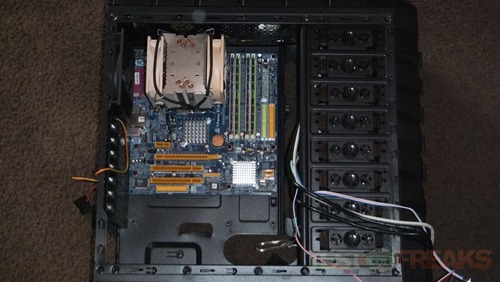
Here’s a couple views looking at the bays, it’s hard to see but at the bottom of the case are four holes for mounting a 2.5” SSD or 2.5” HDD.
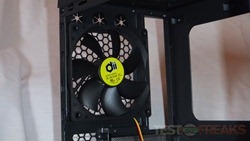
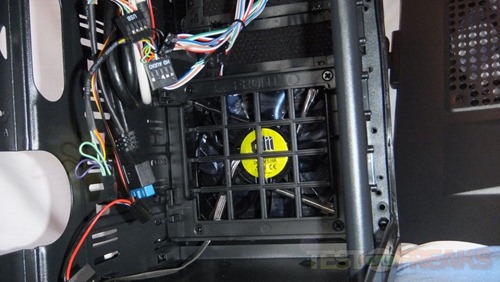
Here’s the inside view of the front fan and you can see two of the spots sticking up for mounting the SSD here as well.
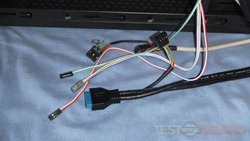
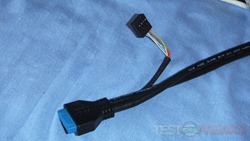
The included wires are the standard stuff with the exception of the USB 3.0 header, you’ll find a lead coming off of it with a USB 2.0 header on it. This is something I think should be included on all cases as it allows you a chocie to use USB 3.0 or USB 2.0, especially if your motherboard doesn’t have a USB 3.0 heard on it.
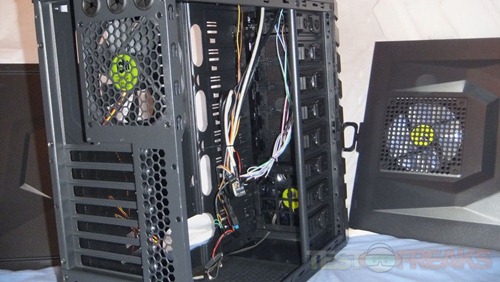
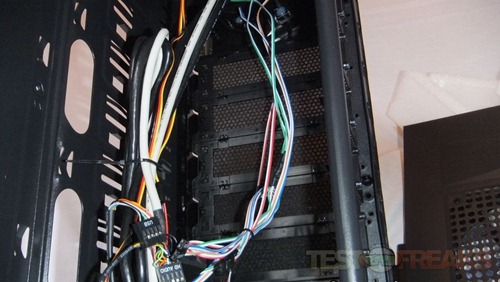
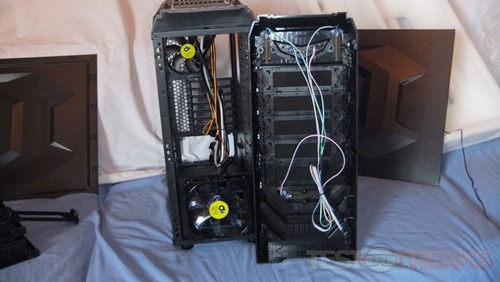
As I mentioned above there is a handle to help you remove the front bezel, it just pops off and on fairly easily. Here you can see a plethora of wires hanging around that will be connected to your motherboard.
Specifications:
There’s one more thing I should note about the installation process. When I was trying to put the motherboard I/O plate cover in the case it was really hard to get in as the metal seems rather thin and flexible at the back of the case. It didn’t just pop in like other cases, I had to fight with it for several minutes to get it correctly in place as the metal kept flexing making the I/O plate pop back out. It was a frustrating and rather annoying experience.
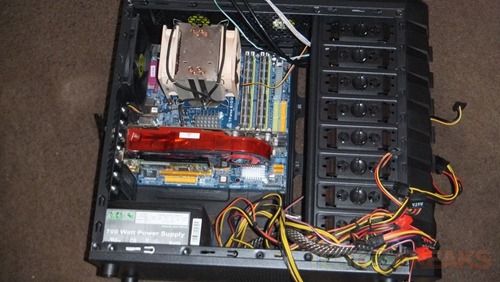
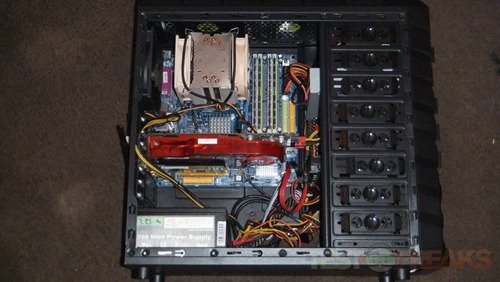
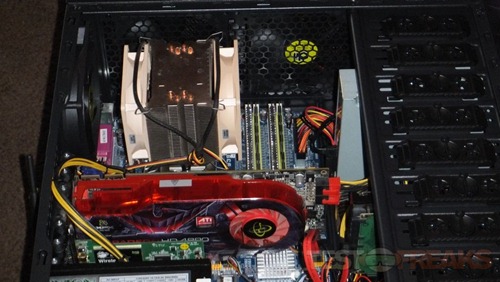
So then I proceeded with the rest of the installation, this is for my kids computer where they mostly play online games and I’m using an ATI Radeon 4890 which is a rather large video card and it fits in the case just fine with space left over.
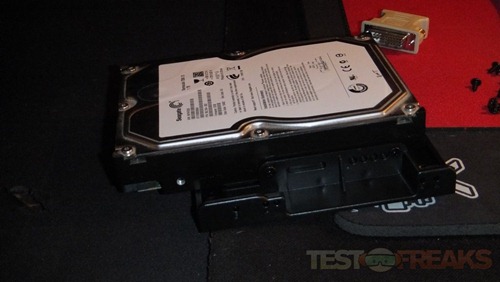
To install the hard drive you need to use the included trays and use the screws to attach them to the trays.
Then you just slide it into place and secure it with the clips and then screws on the opposite side.
I’m not sure about the clips though as that makes the case only half tool-less. The clips are used on the one side and not the other meaning you use the clip on the left side and then screws on the right. That doesn’t make much sense to me at all. Personally though I prefer using screws for everything as all clip systems seem to not fully secure any drives really.
I don’t understand how you’re supposed to fit five hard drives in this case since there are only three trays included and then you can mount one vertically so that’s only four drives total. You cannot remove the bottom tray to use it as a regular tray as the front fan is attached to it as that’s how the fan in mounted in the case. Then if you use one of the trays for a 3.5” device like a card reader or maybe even a floppy drive then you’re down to three hard drives. Unless of course they were supposed to include four trays and only sent me three?! Maybe they’re counting the space at the bottom for a 2.5” SSD or 2.5” HDD as another space for a drive which is possible. So then I guess you can fit five hard drives in there, just not all 3.5” in size. Then again the specs state you can fit five 3.5” devices in the Cyclops case, but you really can’t.
If I want to get really picky here, the specs state: The Diablotek CYCLOPS case provides Five spaces for external 5.25” drive bays, and Five spaces for internal 3.5” drive bays. To me that reads there’s ten bays in total, five for each, but there really isn’t as there’s only nine in total which you can see just by counting the bays, there’s only nine of them! Here’s the same picture below I showed you earlier in the review, there are eight clips for the bays and then at the very bottom is another space without a clip for a total of nine. If you go back up and read about the trays there’s only three extras included so you can still only fit four 3.5” drives in total in the case. Either they forgot to include another tray or the specs are wrong?!
Mounting the drive vertically where the front fan is though pretty much blocks most of the incoming air, not sure if I like that design or not. If you opt to add another fan/drive combination it’s installed vertically and takes up three bays so it really limits your options. Feasibly it could be fine as toss a 3tb drive in there and you should be good on space so you might not need more drives. I guess it all depends on your storage needs as to the configuration of the drive in the case.
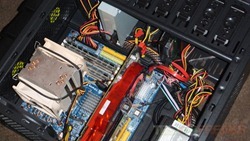
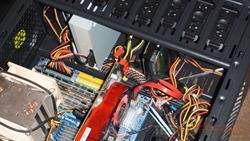
Depending how many hard drives you have and how long your video card is you may not be able to put the drive across from the video card. You can see in the picture below how close the power connectors are to the hard drive. I mounted it offset, the hard drive is one bay down from the video card as it was just too tight with the connectors from the video card and hard drive.
The right side panel is designed with space to allow you to run cables behind the motherboard tray. The panel has a design that protrudes outwards so you can fit the cables back there which is a great feature I think.
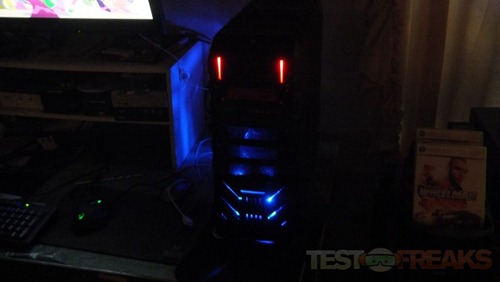
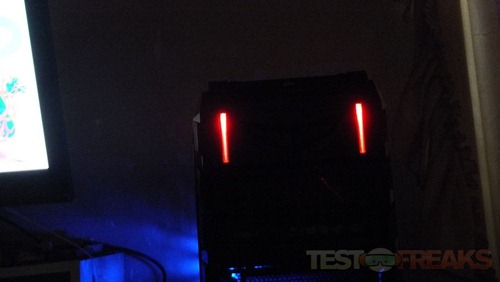
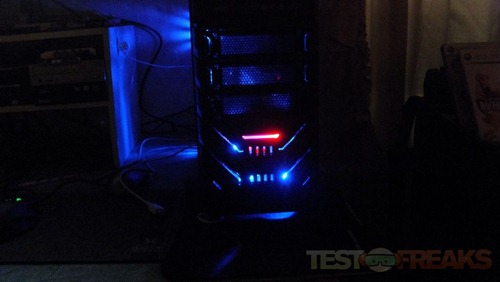
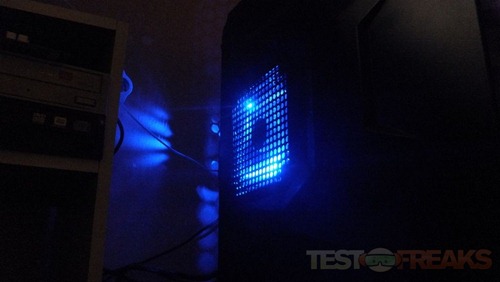
There are five fans pre-installed in the case for cooling and I can’t say they’re exactly silent but they’re not overly loud either and five fans should be more than enough to keep your system running cool. The side fan is very bright and the front fan is fairly bright as well. The lighting of this case is rather unique it looks as though it has two red-eyes at the top which doesn’t make much sense to me as the name of the case is the Cyclops?!
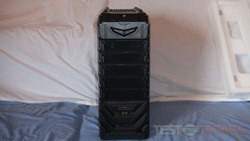
Here’s the whole front of the case:
Then here’s those two ‘red-eyes’ that indicate power essentially.
Towards the bottom of the case, where the front fan is located, you’ll find the hard drive activity light. It’s lit blue and then changes to red when activity is detected. The blue glow or light you see through the front bay covers is actually the very bright side fan.
Here’s that side fan, yes it’s very bright. The light comes out the side, through the front and out the back as well.
Overall I really like the looks of this case, but I think I would have rather had red LEDs for the fans, but that’s just a personal preference. I think red would have just made the case look much better.
Conclusion:
The Diablotek Cyclops is a great looking case with plenty of room for your components to fit into it without much fuss. I have to admit that I really like the looks of this case, there’s just something about it aesthetically that I find attractive and I think it’s the whole pointed or jagged theme of the outward appearance. The Cyclops is what most would consider a budget case so it’s bound to have a few issues and it does but they’re not glaringly large problems, mostly just small issues or annoyances really.
Some of the design aspects of the Cyclops are questionable like the fan/hard drive combination mounting system as it does block most of the airflow into the case. I do like the fact that there’s not really a hard drive cage so you’re not limited to where to install your hard drives, you can put them anywhere you need to depending on your space requirements. The specs list that you can install five hard drives in case and that’s true but it’s not true. When I read the specs I thought of standard 3.5” hard drives and I think most other people would as well, but Diablotek really means four 3.5” hard drives and one 2.5” HDD or SSD can be installed. Not a big issue but if someone is looking to buy this online and reads that they might be disappointed when it arrives to find you really can’t fit five standard hard drives in the case. Tip to Diablotek: please check your specs and features listing as something is wrong somewhere, either you forgot to include something or the specs and features listing is wrong.
The last Diablotek case I reviewed, the 

Pros:
+USB 3.0 with USB 2.0 adapter
+Great looking
+Plenty of room for larger video cards
+Low price
+Decently made overall
Cons:
-Metal is rather thin in some spots
-Can’t really fit five standard hard drives in case
-Mounting the drive vertically with fan blocks most of air
-Using the fan/drive mounting combination blocks three bays
| Grades: | |
| Overall |  |
| Design |  |
| Performance |  |
To learn more about our review policy please visit this page HERE.




4 comments for “Review of Diablotek Gamer Series Cyclops ATX Mid Tower Case”