Usage and Testing
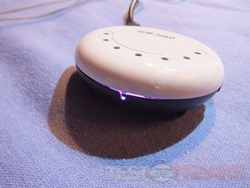
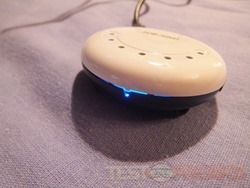
The first thing you’ll need to do is charge the MeCam and that’s done with the included USB cable. The LED lights up to let you know it’s charging. The are two LEDs inside and they can be blue, red or purple, solid or blinking, depending on what you’re doing.
The MeCam is meant to be worn and just let it go recording your life so I used it to make videos and take still pictures and I wasn’t impressed at all. The camera is supposed to be 720p for video and 5mp for stills, but it doesn’t seem like it at all to me.
I’ve got a video for you, it’s two videos I put together into one. The first 30 seconds or so is take outside about 11am and it’s very sunny and bright out. The second half of the video is about 30 or seconds as well and it’s taken at a little after 7pm and it’s just starting to get dark out but in the video you can barely see anything. My kids are right next me and you really can’t make them out at all.
For the first half of the video I was holding the MeCam and for the second half it was attached with the safety pin to the strap on my backpack. I don’t know about the whole safety pin thing, it works yes but I stabbed myself a few times while trying to get it fastened to my bag. Annoying to the say the least. I also found the safety pin doesn’t like to actually stay on the MeCam at times, it just sits under the clips on the back of the Mecam.
The buttons are small but you can find them with feel for the most part. I guess if you use it a lot it’ll be easier to find them by feel.
To record video you just turn it on and the LED lights up purple then goes to solid red letting you know it’s ready. Press the video button and the LED starts blinking red to let you know it’s recording, press it again to stop recording.
To take a still picture you press the capture button in and the red LED turns off and the blue LED turns on then off and then the red one comes on again to let you know it’s ready.
To use the infrared LEDs you hold the capture button in and a second LED will light up, this one is blue right next to the red one and it looks purple really.
The MeCam has a still camera built-in as well so I had to take a few still pictures for examples for you.
The next three pictures were taken at the same time as the first half of the video. The back of the my home is wooded so there are lots of trees and shade, but it’s still sunny out and bright. The first picture is just the ground/brick patio with leaves and the second is a pile of leaves. Nature photography! Even though it’s bright out the pictures look faded and washed out, almost as if they were taken in the evening in lower light.
This was taken a few feet away with direct sun hitting the leaves, very bright, same time as the two above. Not exactly what I would call a clear picture at all.
Here’s just a couple pictures, the first is no IR LEDs and the second is with them. Color and details are not good at all and these were taken at my desk with a 40 watt desk lamp and the overhead ceiling light on so it was fairly bright.
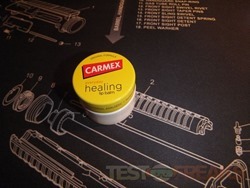
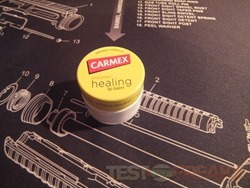
To give you a better idea, here are two picture taken with my regular camera, the first is with flash and the second is without. These are taken at my desk with the desk lamp on and the overhead light on as well. You can plainly see it’s a jar a Carmex with yellow lid and the mat under it is black.
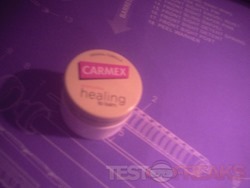
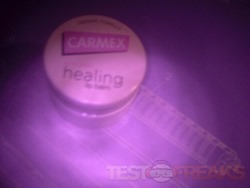
Here are two more pictures taken with the MeCam, same exact conditions, desk lamp on and overhead light on as well. The first picture is just normal and the second is using the IR LEDs. The black mat has turned a purple color and the jar isn’t exactly in focus in either picture. The still camera is supposed to be 5mp but it looks like pictures taken with a 5 yr old cellphone camera. I honestly expected better pictures from something with a 5mp resolution.
So take it as is I guess, it’s inexpensive and I think it’s more of a novelty than anything else.




4 comments for “Review of MeCam Personal HD Camera”