Today I’ve got a big review of a big case for you; It’s the latest case from NZXT called the Switch 810 and it’s just full of features that anyone is sure to appreciate. Personally I like this case a lot, it is big but that just means there’s more room for installation and upgrades. The version I got is white in color which is, I think, a nice change from the common black that we see all of the time. The Switch 810 is a full tower case made for those that need the room for things like watercooling or large high-end video cards, but that’s not to say the average user won’t appreciate the other features like the built-in card reader, hot-swap bay, lighted rear ports, plenty of wire management options and just many other features too numerous to list here in the intro. So let’s just get into it…
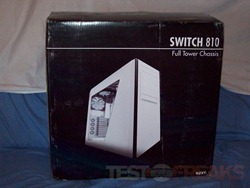
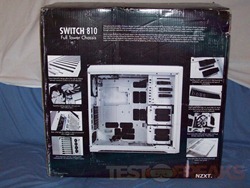
As usual we start off with the box. It’s a big box for a big case.
Inside we find the Switch 810 packaged very well with styrofoam and surrounded by a plastic bag.
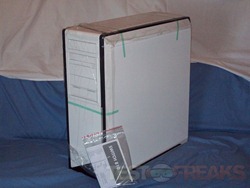
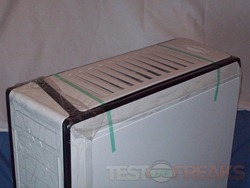
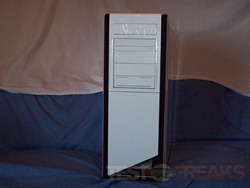
Once I got it unwrapped I found the user manual and I see that there’s even more protection on the case itself in the form of clear plastic covering over a lot of it.
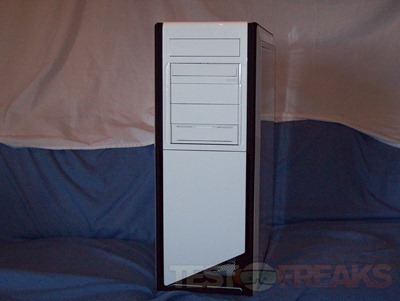
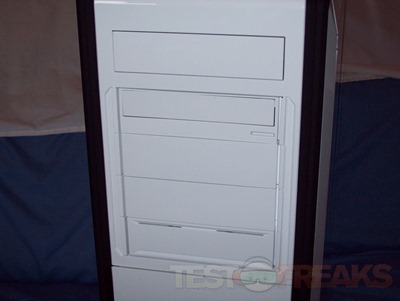
So here’s the case from the front. It features a stealth style optical drive bay with three more 5.25” bays beneath it. The bottom on though looks a little different as it is actually a hot-swap bay.
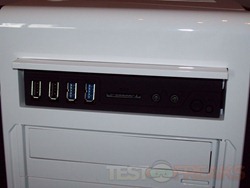
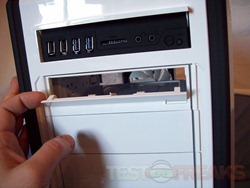
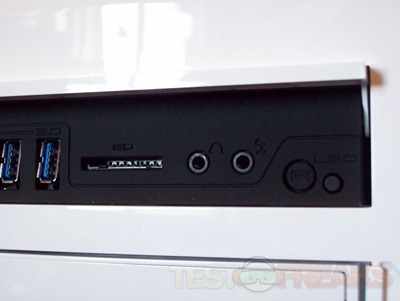
Above the optical drive bay is what looks like another 5.25” bay but it’s not, it’s a door that slides up and back to reveal USB 2.0 and USB 3.0 ports along with an SD card reader, audio jacks, a reset button and an on/off switch for the lighting on the back of the case. THere’s also a picture below of the stealth optical bay opened for you.
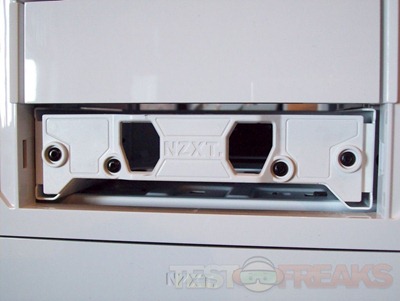
When you remove that bottom cover you can see the hot-swap tray, it is secured on the inside with thumbscrews so it’s not exactly easy to get out.
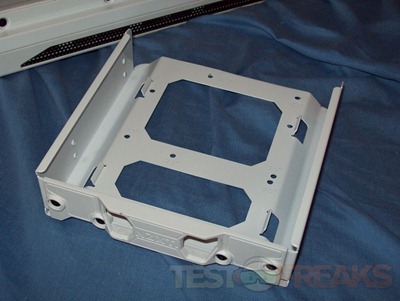
The try can accomodate 3.5” or 2.5” drives. It’s a metal tray with a plastic front, the holes there are for your fingers making it easier to pull the tray out.
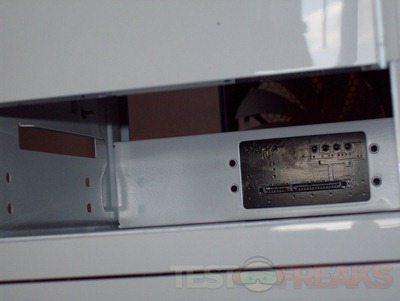
Here’s the view inside of the hot-swap bay, there’s an SATA data and power connection there. When you slide the rack in the drive just connects up with them.
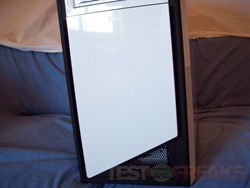
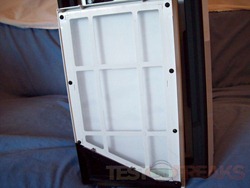
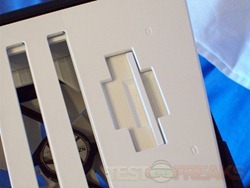
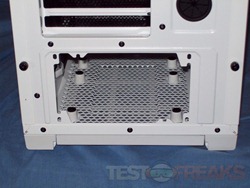
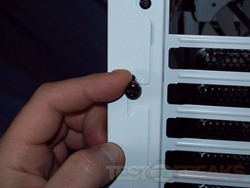
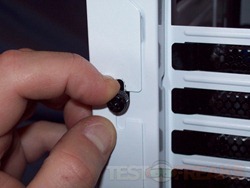
Below the bays is what looks like a white panel with the NZXT logo on it. It’s held in place by a spring loaded locking mechanism, you just push in and it pops out so you can take it off to reveal a filter on the back of it.
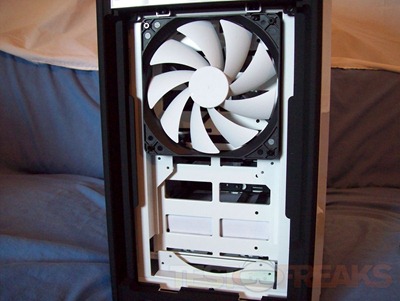
Behind the door is a 140mm fan pre-installed and space for another is more cooling is desired, you can use 120mm or 140mm fans here.
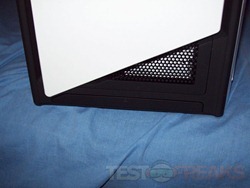
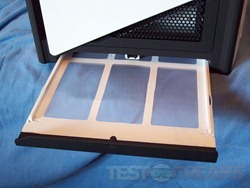
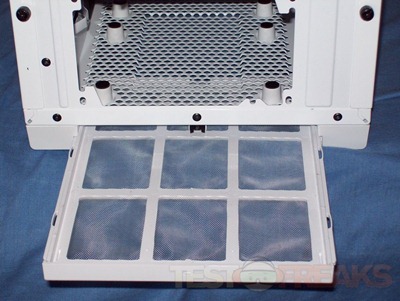
Below that door is a pop out filter, it’s the same type of spring mechanism, just push in and it will pop out.
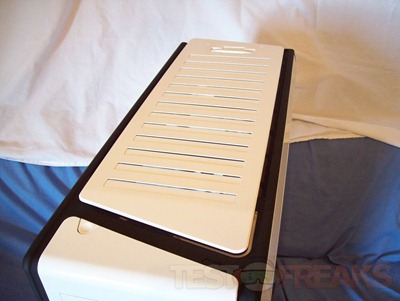
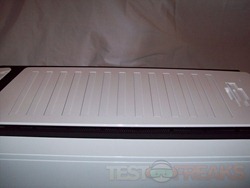
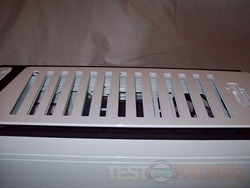
Let’s move to the top of the case. The Switch 810 features an innovative cooling vent system here. It’s meant to provide extra cooling when opened or help make the case quieter when closed.
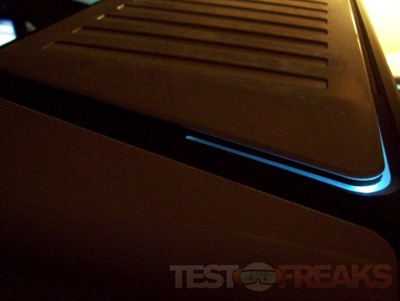
The power button is located here as well, along with LEDs for power and HDD activity. The LEDs are white which you’ll see later in the review.
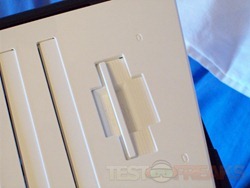
The vents are opened and closed with a slider at the back.
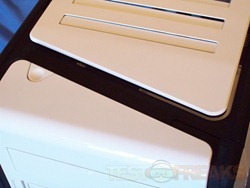
Here’s a side view with the vents opened and closed:
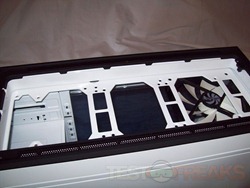
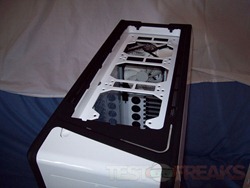
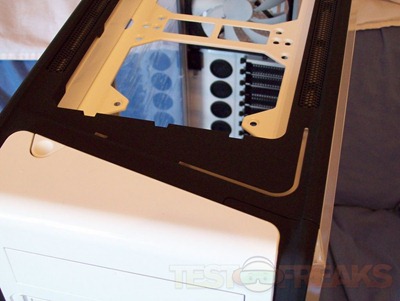
The top comes off so you can install radiators for liquid cooling if you want. The same spring lock mechanism is here as well.
With the top off you can get a better look at the LEDs as well. The power indicator is on the right and it’s rather large.
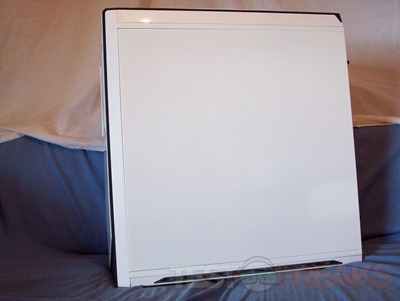
The right side of the Switch 810 is just all white in color, not much to see really but some vents on the bottom.
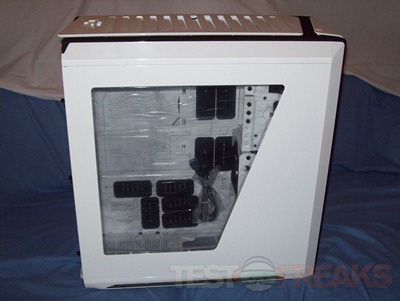
The left side features a large angled window, it’s not quite clear, it’s slightly smoked color.
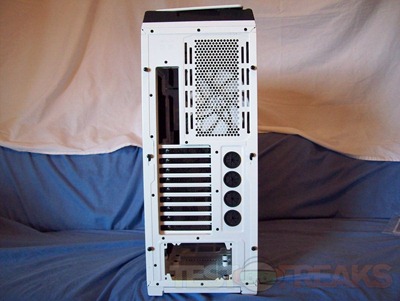
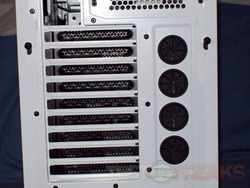
Moving on to the back of the case. The Switch 810 features lighting over the PCI slots and the I/O ports, it’s white and you’ll see it lit up later in th4e review.
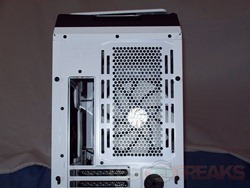
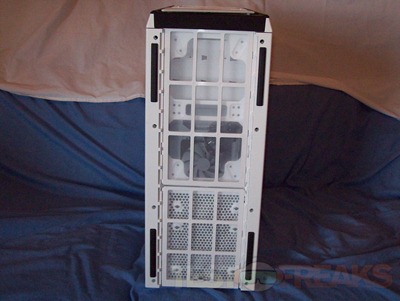
One fan comes pre-installed for you at the top. There’s four holes for liquid cooling and the sides are held on by three thumbscrews on each side.
The middle thumbscrew doesn’t actually come out, it’s a spring loaded lock, you slide it down to release the panel. This makes taking them on and off easy, and you won’t have to put the other screws back in if you don’t want to.
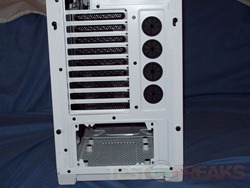
On the bottom of the case is another pop out fan filter, this one is of course for your power supply.
Here’s the bottom of the case, you can see basically the whole bottom is a filter, two of them actually. The feet are just long rubber strips to keep the case from moving and stable.
Specifications:
Switch 810
Hybrid Full Tower Chassis
Experience the pinnacle of chassis design! Switch 810 is an epic hybrid case built for the hardcore PC enthusiast. This full tower chassis introduces a first of its kind concept for more versatility and adaptability to any configuration. It can be modified for superior water cooling or superb airflow through seamless operation. The Switch 810 is the ultimate powerhouse suitable for any type of PC enthusiast – whether you are liquid cooling, silent performance, or extreme airflow. You will have full control to customize all the features of Switch 810 based upon your preference.
Some unique features that set Switch 810 apart is the adjustable Hybrid Fins that reduce sound up to 40-60% when closed or open passageways for maximum airflow. Keep dust out by simply shifting the Hybrid Fins closed. Switch 810 has a rear LED light for illuminating the I/O in the dark, removable HDD cages for bottom radiator installation, a stealth bay, ability to mount triple 120/140mm radiators with 90mm of space, and potential to install up to 7 HDDs. For the first time, NZXT is introducing advanced HDD cages equipped with two 140mm pivot fans for directing airflow to the VGA and CPU. Anything is achievable with this chassis. You can only explore the infinite possibilities of PC expansion with the Switch 810.
Features:
-Unique hybrid full tower chassis optimized for extreme liquid cooling, airflow, or silence
-Supports high-end water cooling solutions up to three fans for push and pull configuration: 90mm of internal top space with top 360/420mm and bottom 140/240mm radiator support for unmatched liquid cooling
-Four watercooling cutouts for easy liquid cooling management on the rear panel
-Spacious CPU cutout for mounting high-end CPU coolers without removing the motherboard
-Removable top 5.25” plates to accommodate wide radiators
-Clever hybrid fin design allows the user to choose between maximum airflow or sound reduction
-Innovative right-mounted HDDs for easy hard drive replacement
-Removable HDD pull-out cages and large storage capacity for 7 hard drives
-Equipped with two 140mm pivot fan slots for directing airflow at 15? to the VGA and CPU
-Rear white light for visibility in dark environments with a toggle switch
-Dual high-speed USB 3.0, hard drive dock along with a SD card reader for transfer and quick access to multimedia
-5.25" hard drive hot swap with SATA III support
-Nine expansion slots for installing EATX motherboards with Quad SLI or Triple Crossfire
-Supreme cooling capacity with up to ten 140/120mm fans
-Stress-free wire management and 23mm clearance in the rear allows for superb wire-tucks
-Ten large specialized cutout holes for easy cable management
-Easily removable bottom filters in the front and rear to prevent dust from entering
-Tool-less 5.25” and 3.5”/2.5” SSD hard drive installation for convenience and ease of accessibility
-Large acrylic window with a view to show off the interior of your rig
Specs:
MODEL: Switch 810
CASE TYPE: Hybrid Full Tower
FRONT PANEL MATERIAL: Plastic/Steel
DIMENSIONS (W x H x D): 235 x 595 X 585 mm
VGA Clearance Maximum: 375mm (w/out fan), 350 (installed), 285 (full pivot)
COOLING SYSTEM:
-FRONT, 2 X 120/140mm (1x 140mm included)
-REAR, 1 X 120/140mm (1x 140mm included)
-TOP, 3 X 120/140mm (1x 140mm included)
-BOTTOM, 2x 120/140mm
-INTERIOR, 2x 120/140mm (1x 140mm included)
SIDE, Large acrylic window
DRIVE BAYS:
-4 EXTERNAL 5.25" DRIVE BAYS
-6 INTERNAL 3.5" DRIVE BAYS
Screwless Rail Design
MATERIAL(S): Steel, Plastic
EXPANSION SLOTS: 9
WEIGHT: 9.1 kg
MOTHERBOARD SUPPORT: E-ATX, XL-ATX, ATX, MICRO-ATX, Mini-ITX
Price: $164.49 (from Amazon at time of review)
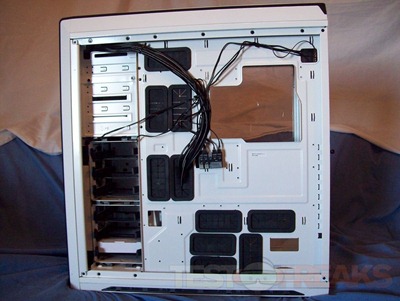
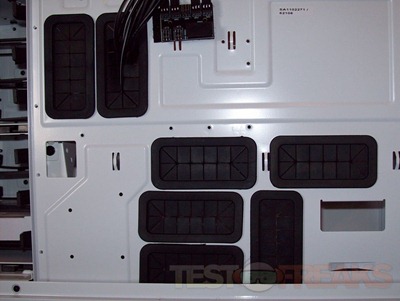
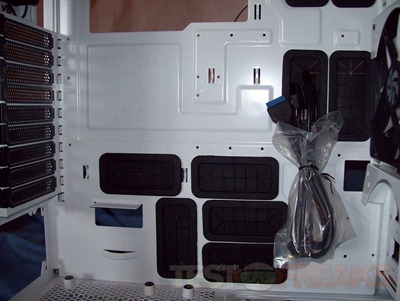
Taking the right panel off you’ll immediately notice all of the wire management spaces for you there and the large cut-out where the CPU would be located to make installation easier.
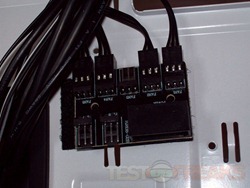
Off to the left are two hard drive racks and you’ll notice in sort of the center is a PCB board, this is the fan controller or actually power hub with three empty spots for expansion. Yes it’s not actually a fan controller, it’s just a place to connect your fans for power.
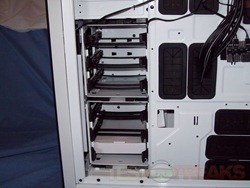
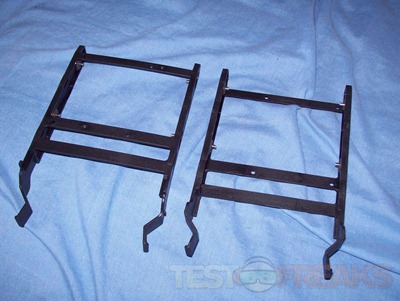
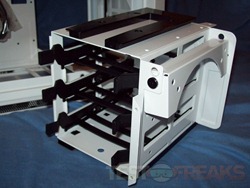
The hard drive racks are plastic and have rubber vibration dampeners inside of them. The racks are tool-less you just sort of bend them outwards and put the pins into the screw holes of your drives.
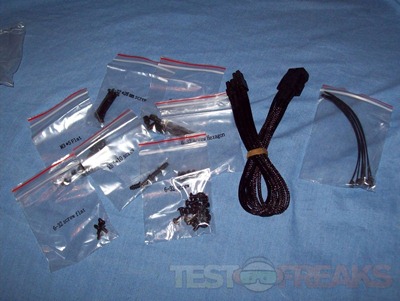
There is an accessory bag included inside which has a power cable extension, some zip ties and bags of screws neatly sorted and labeled for you.
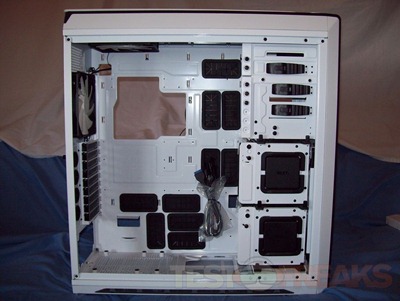
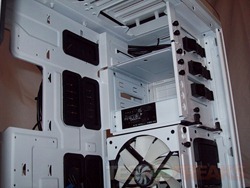
Here’s the view from the let side with the panel off:
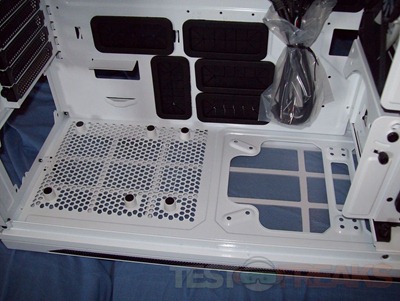
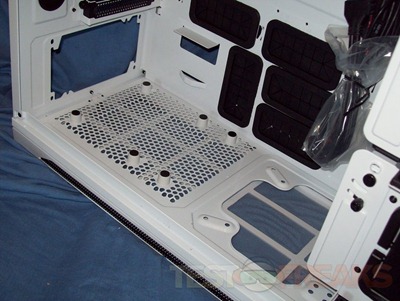
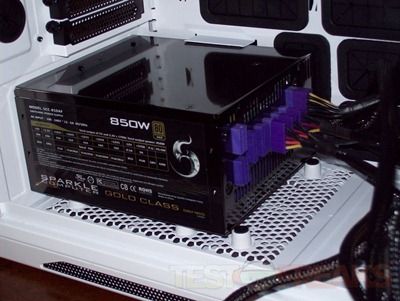
On the bottom of the case are stand for your power supply which are topped with rubber to help keep it quiet. There’s also space for another fan to be installed.
The wire management holes are all rubberized for protection. Depending on the length of your power supply you might lose access to one of the holes, no big deal as there’s plenty more.
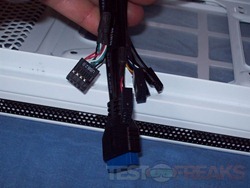
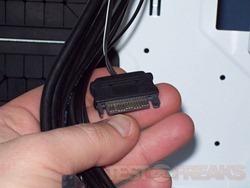
Of course you’ll the common motherboard connectors hanging around along with one for USB 3.0 and an SATA connector.
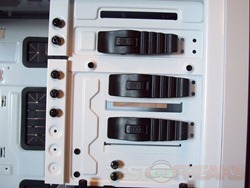
The optical bays are tool-less, you just use the plastic spring clips to holed things in place.
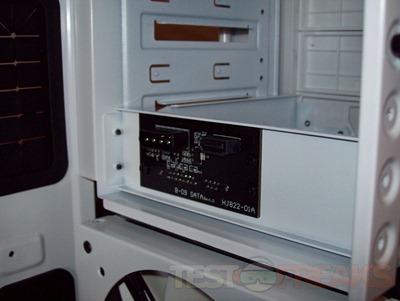
Oh, here’s the view of the back of the hot-swap bay. There’s an SATA data connection there and a molex power connector, not sure why they choose a molex and not an SATA power connection though.
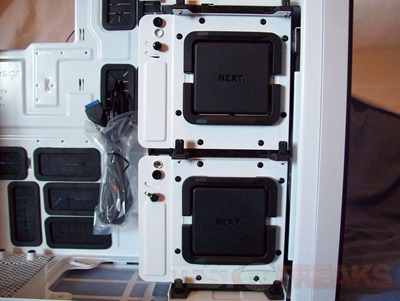
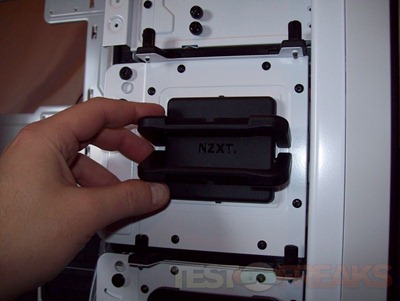
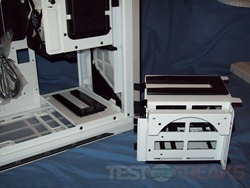
There are two removable hard drive racks that are secured in place with thumbscrews.
The racks feature folding handles to make them easier to pull out.
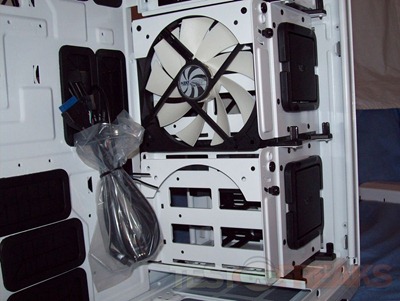
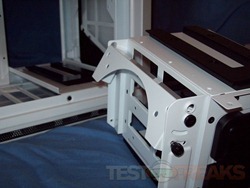
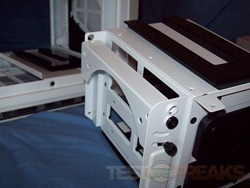
On the side of the racks you’ll find space for two fans with one pre-installed for you.
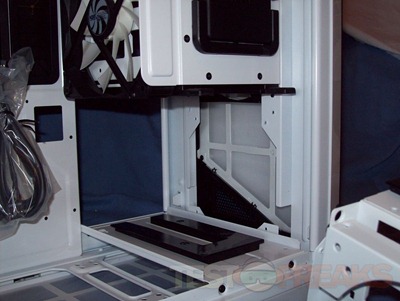
Here’s one of the racks pulled out, the one without the fan.
You attach the fan at two points on the top and it can be titled at an angle to direct the airflow if need be.
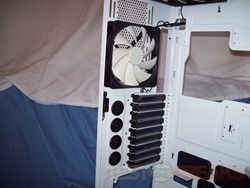
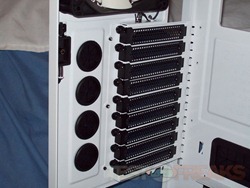
Here’s a couple shots of the back of the case from the inside, you can see the fan of course and the wires for the LEDs on the rear of the case.
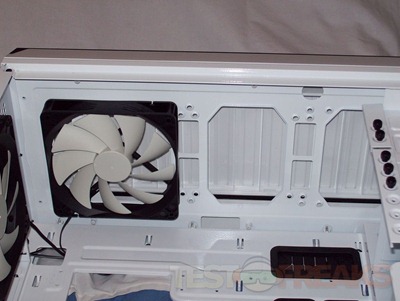
Then here’s the view of the top of the case, there’s one fan pre-installed and space for another two actually.
So that was the tour of the case, let’s get my system installed in it….
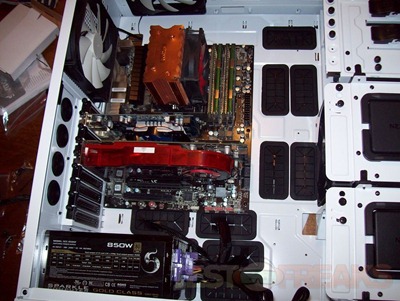
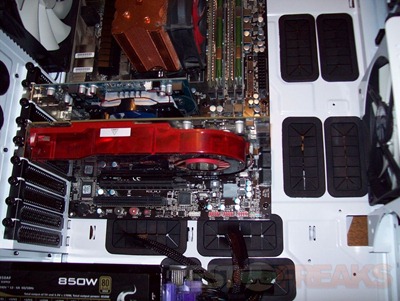
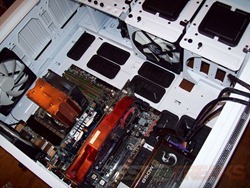
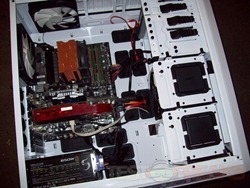
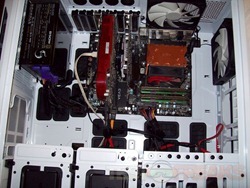
As you can see there’s plenty of room for large video cards in the Switch 810.
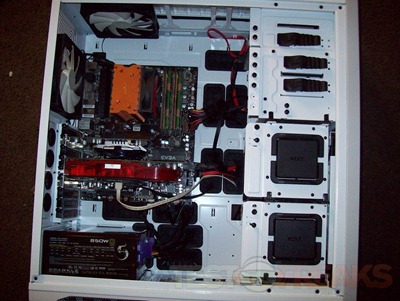
My motherboard is a regular ATX style and it comes down to the top of the wire management holes so I can still rum my wires through them. Obviously with a larger board this might be an issue.
The PSU I’m using is long so it covers the first holes for cable management, I mentioned this might happen a little earlier in the review.
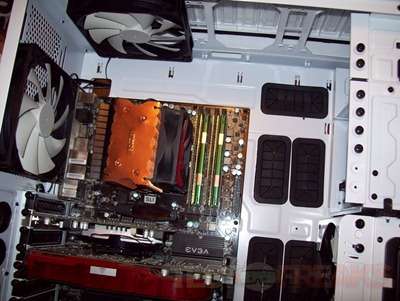
One thing I love about this case is the space, you’ll find plenty of room at the top of the case. Many cases have lots of room but neglect this top area for some reason. The extra space up top makes installing CPU coolers and the motherboard much easier.
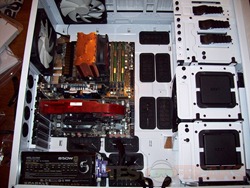
Here’s a few more views of the installation process and the completed installation. There’s more than enough room in the Switch 810 for everything I’ve got and plenty of room for expansion.
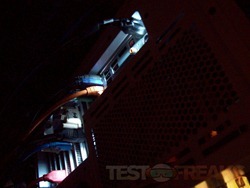
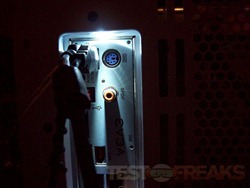
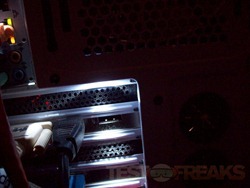
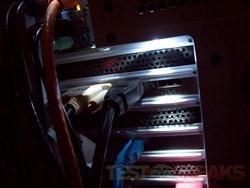
Here’s those white LEDs I told you about on the back of the case. I guess they’re useful, but only is the case is powered on. The top is fine, you can swap USB and such with the power on, but the bottom where your video cards would be is rather pointless as you’re not going to change them with the power on are you?! The LEDs are nice and bright and small amount of the light does come into the inside of the case as well but not enough to really see anything by.
Here’s the top:
Then here’s the PCI slots lit up:
Here’s the top power LED I mentioned earlier, it’s curved around the top cover and not very bright really. The HDD activity LED is white as well, with the same brightness, but I caught it when it was off of course…
As far as cooling ability, the Switch 810 works fine, it’s just as good as the Thermaltake Overseer that I recently reviewed.
The sound from the fans is audible yes, but it’s just a hum and not very loud at all I think. For me it’s just bearable but I think I will swap the fans out for quieter ones shortly as I prefer a virtually silent case.
The top vents are intriguing yes, not not actually useful really. I didn’t notice any real difference in the cooling or sound levels honestly. It think the vents would prove more useful if you had more fans installed or radiators installed at the top of the case.
The built-in card reader is a nice addition but it’s very limited as it’s only for SD cards. Yes you can use an adapter for microSD cards, but I’m accustomed to having a 3.5” bay multi card reader where I don’t need adapter and it reader pretty much any cards out there. I think I’ll be installing that back in the case soon.
The Switch 810 is a very large case, that’s a good thing and a bad thing. The good thing of course is the space inside of the case, there’s plenty of room for pretty much any type of system with multiple large video cards and water cooling. The downside is where are you going to put such a large sized case at? it most likely will not fit inside of the types of desks that have spaces for cases in them.
There’s a few small issues with the Switch 810, but they’re minor ones, the good greatly outweighs the bad here in this case…
Conclusion:
The NZXT Switch 810 is my new favorite case, my system will remain in it for some time to come surely. The Switch 810 has plenty of features that anyone can appreciate. It’s got great looks and there’s plenty of room inside making it easy to install your system with even the largest videos cards and complicated water cooling setups. The case is very sturdy and it’s aesthetically pleasing, it’s been designed well with great thought in mind as to the end user and what they plan to do with it or put into it. This case has plenty of room for expansion, there’s several fan pre-installed for you but there’s room for even more if need be.
The case is relatively quiet, but I think a fan controller would be a nice addition or I would use quieter fans. It’s not overly loud by any stretch, it’s just a bit loud for my personal tastes.
I think anyone who gets this case will be more than happy with the plethora of options it has. It’s one of the nicest cases I’ve had the chance to review in a long while, NZXT did a great job on this one.
Pros:
+Very well made
+Lots of room inside making installation easy
+Excellent cable management
+Great case for watercooling
+Looks great
+Keeps everything cool
+Built-in card reader
+Fans are quiet
Cons:
-Limited card reader
-Big case
-Only one hot-swap rack included
| Grades: | |
| Overall |  |
| Design |  |
| Performance |  |
To learn more about our review policy please visit this page HERE.



1 comment for “Review of NZXT Switch 810 Hybrid Full Tower Chassis”