Today for review I’ve got another PC case, it’s the new on from Raidmax called the Viper. These case features three 120mm cooling fans pre-installed, along with tool-less installation for your hard drive and 5.25” bays. The case also features fold out handles on the side panels for easy removal and holes already there for your water cooling setup if that’s what you’re running. The case is a bit small, but it looks good and it’s well made. I’ve put a system into it so read on to see how it worked out…
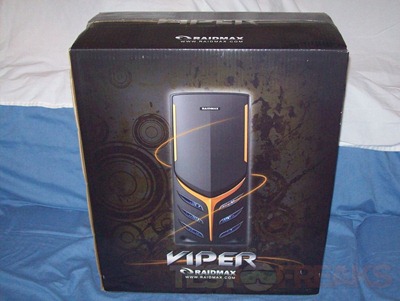
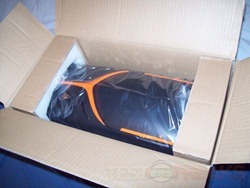
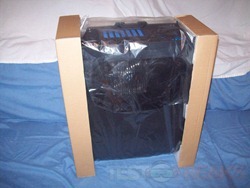
As usual we’ll start with the packaging. The box looks nice and the case is packed well with styrofoam, cardboard and a plastic bag.
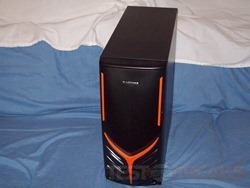
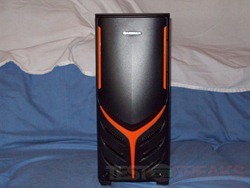
You can get the case is a few colors but I got the black with orange accents. The entire front bezel is plastic as one might expect, the rest of the case though is metal.
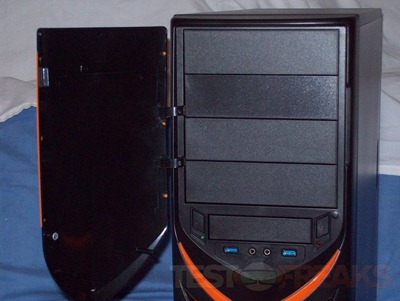
The front has a door that sits almost flush wit the case, just a very slight indentation for your fingers to grab and open the door. Sadly the door only opens to the right and can’t be switched. For me this doesn’t work as my PC is on my left. There are four 5.25” bays and on 2.5” bay.
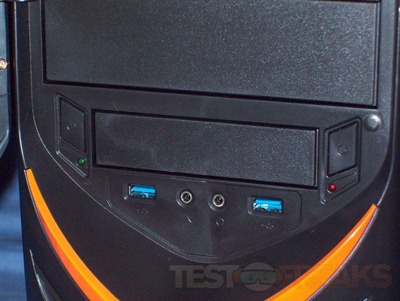
Beneath the bays is the buttons for power and reset and then the UBS 3.0 ports and the audio jacks.
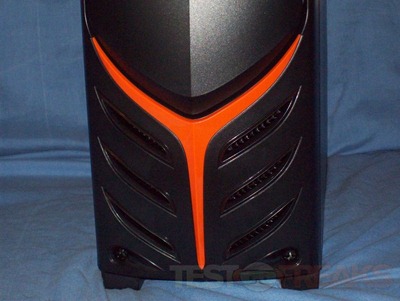
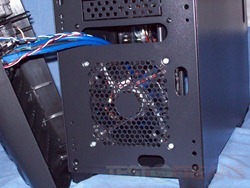
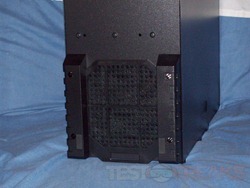
Below the bays you’ll find a, interesting vent design behind which is a 120mm intake fan for cooling.
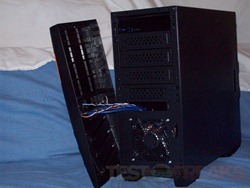
Here it is with the bezel off:
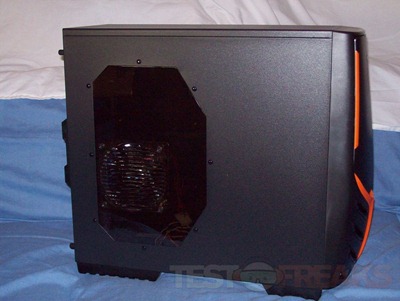
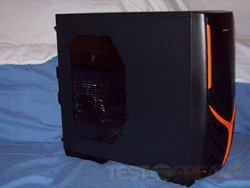
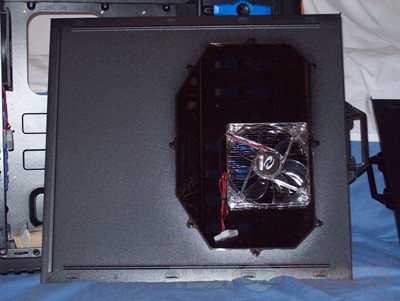
The left side of the case does have a window and a 120mm fan pre-installed. You can get this case with or without the side window.
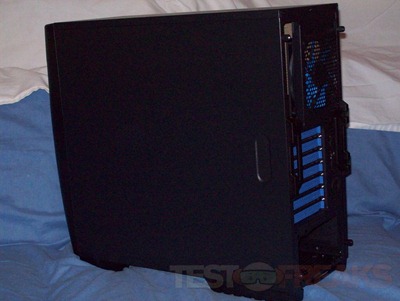
The right side is just plain black.
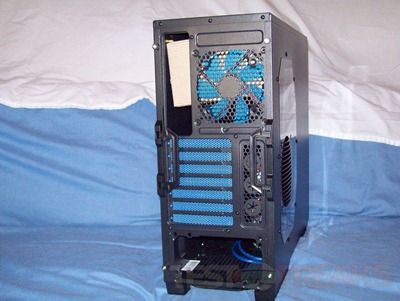
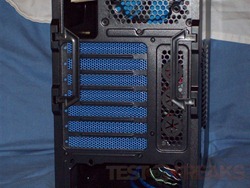
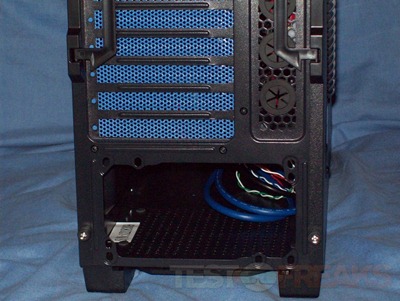
Moving around to the back you’ll find the usual ports and slots. The PCI slots covers are blue as is the rear exhaust fan. There’s also holes for water cooling and the side panels are held on with thumbscrews for easy access.
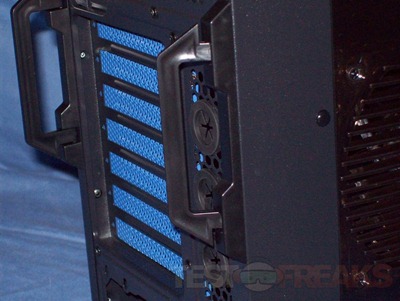
One interesting feature is there there are fold down handles for the side panels, they make getting them off a bit easier. They are just plastic though so I am a bit suspicious if they’ll last, especially if you’re someone who’s often in and out of their case.
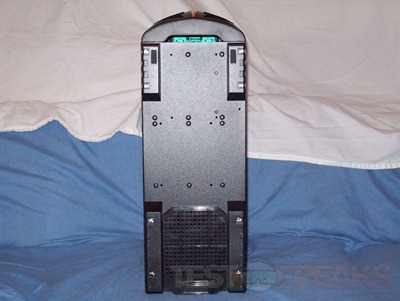
The Viper case has nice large feet that will keep the case very stable. For most people this might not be an issue but I’ve got three small children and things get knocked down all of the time.
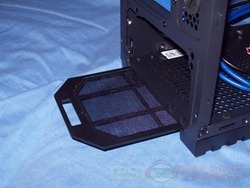
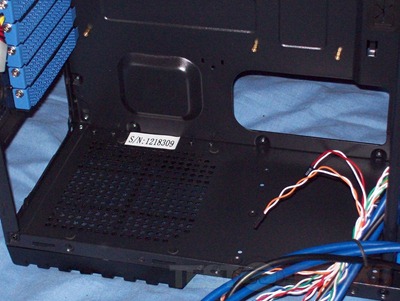
Your power supply will get mounted in the bottom of the case and there’s a removable filter there for it.
Taking the right panel off I was happy to see the large cut-out area for easily changing CPU coolers. There’s also rubberized slots for passing your wires through without damaging them and a large space on the bottom for wires.
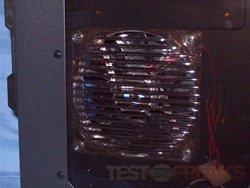
Here’s the left side panel off so you can get a better look a the fan, notice there is no fan grill here so you might want to be careful with wiring.
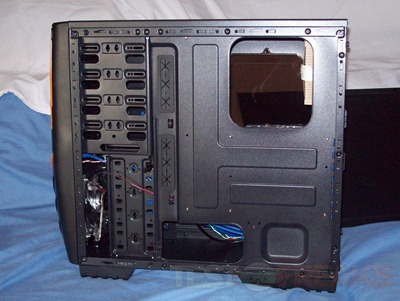
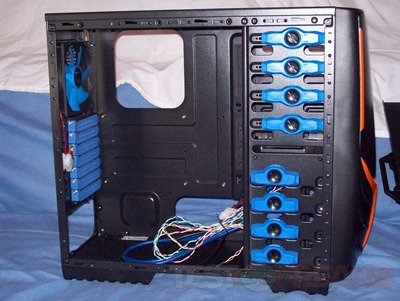
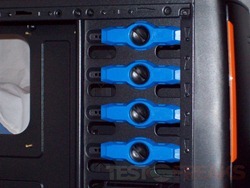
Here’s what the case looks like with the panel off, the bays are tool-less and the clips are blue in color. I’m not sure about the whole, black, blue and orange color scheme. I would think that if the accents are orange then so would other parts of the case. Oh well, I didn’t design it.
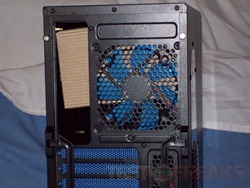
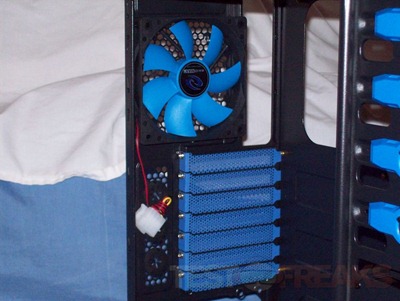
Here’s the view from inside of the PCI slots and the rear fan. The fan uses a regular Molex connection for power.
Then here’s the bottom view where the PSU would be:
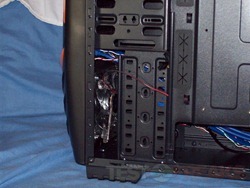
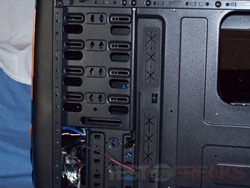
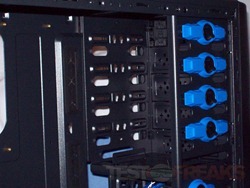
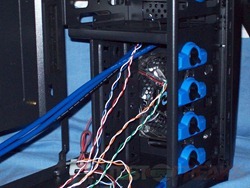
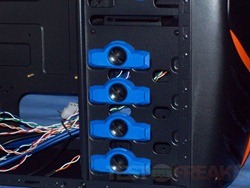
Here’s a few views of the hard drive and 5.25” bays for you:
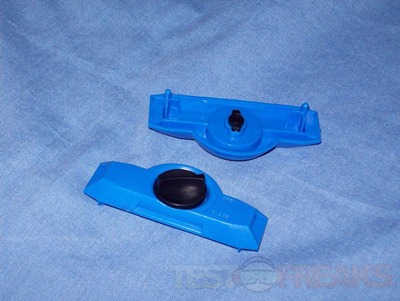
The clips for the bays are just plastic and they’re only for one side.
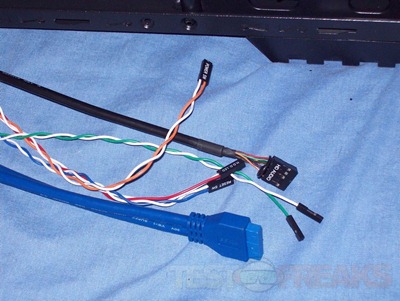
Hanging around inside you’ll find the standard connection for audio and the motherboard headers along with a USB 3.0 header connection as well.
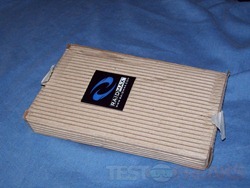
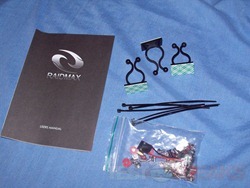
There’s a box of accessories, in which you won’t find much really. There’s a bag of screws for installation and a little speaker, but there’s also some zip ties and wire management clips.
Specifications:
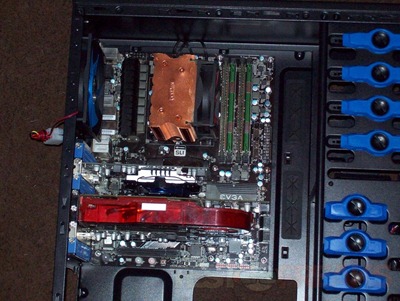
The video cards seem to fit as well.
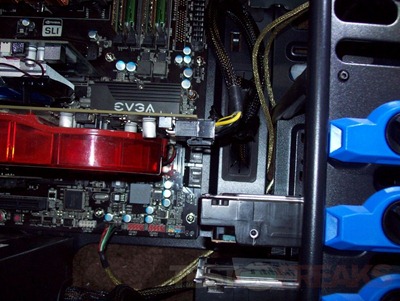
Once I got the hard drives in though I found that I couldn’t put my fourth hard drive in because of the larger video card, or more specifically the power connections on the card. Here’s a picture showing where the HDD would be, but it won’t fit because of the connections on the card and then those that would be on the hard drive itself.
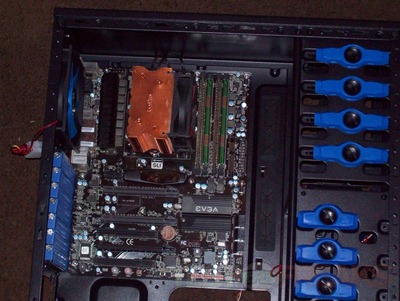
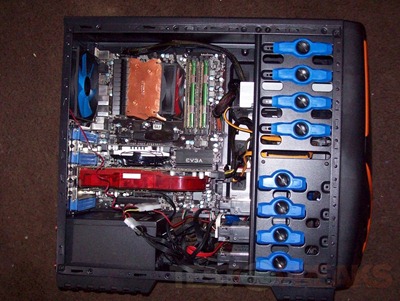
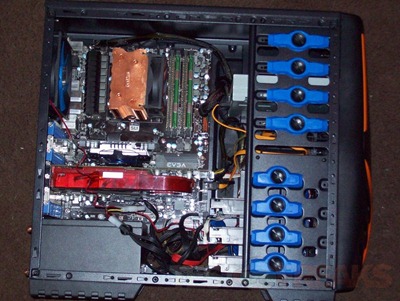
Here’s a couple shots of the completed installation. I also found that I couldn’t run the CPU power cable behind the motherboard because there was no room for it to fit through. I just had to run it across the top of the case. The Viper case seems a bit small really and slightly cramped I think, but that’s just my opinion though. Depending on your setup it might not be as cramped. During installation I found the fan power cords to be a bit short, it worked but it would be nice if they were longer.
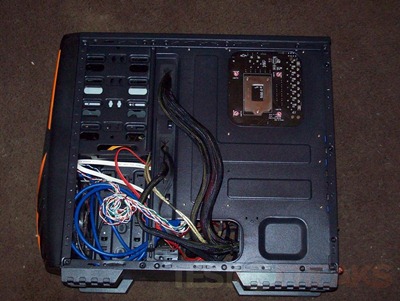
Here’s the back of the motherboard tray with my wires run back there. I really only have a few thick wires back there and it’s very hard to get the side panel on, it was buckling outwards, so there’s not much room to have a lot of wires back there. To get the side panel back on I had to almost lay on the case to hold the top and bottom of the panel in the track to slide it into place.
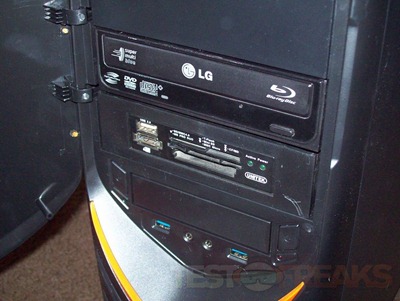
Here’s the front with my card reader and BD/DVD drive installed. I could have used the existing 2.5” slot for my card reader but I already had it in the adapter from my previous build so I opted for just using a 5.25” bay for the reader.
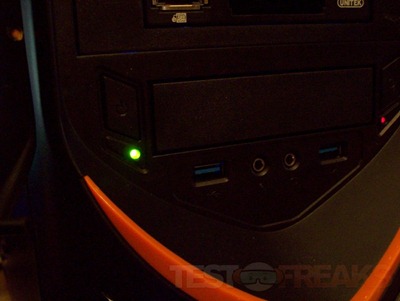
Here’s what it looks like in the dark. There’s a green LED to indicate power and then a red LED on the right that blinks with hard drive activity.
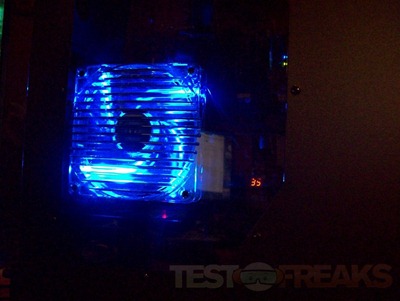
Then here’s the side fan in the dark, it lights up a rather bright blue. One thing to note is a very annoying buzzing is coming from the side fan. I tried to tap on it and move things around and the bussing wouldn’t stop. I found that if I put my hand in front of the fan, without actually touching the case, the buzzing would stop. Apparently there’s something with the fins that is causing the buzzing noise as the air flows over them. I’m not sure if it’s just with this case or not though.
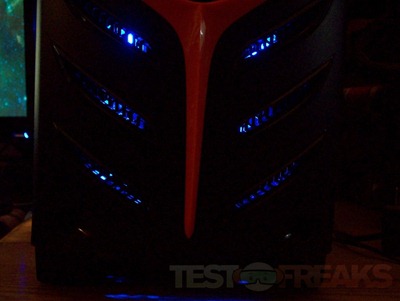
Then finally here’s the front view in the dark. The front fan has blue LEDs in it that shine through the slot that make for a nice looking presentation.
Conclusion:
The Raidmax Viper isn’t a bad case overall, it looks great and it seems well made. It is lightweight and the tool-less installation does make things go along quickly and easily. I do like the addition of the handles on the side panels, it makes taking them off very easy. The extra large feet make the case very stable so it can’t be knocked over accidentally.
The case does have some small issues that I think can be forgiven especially considering the price of the case, it’s selling for under $70 most places I’ve looked. Still though you need to be aware that you might not be able to use all of the hard drive slots if you have large video cards.
Pros:
+Interesting styling
+Installation is easy
+Wire management accessories included
+Rubberized holes to pass wires through
+Pop out handles for easy removal of side panels
+Large feet make the case very stable
+Inexpensive
+Sturdy
Cons:
-All hard drive bays not accessible with large video cards
-Annoying buzz from side fan
-Fan power cords are rather short
-Not much room on back of motherboard tray
| Grades: | |
| Overall |  |
| Design |  |
| Performance |  |
To learn more about our review policy please visit this page HERE.



1 comment for “Review of Raidmax Viper PC Case”