Installation and Testing
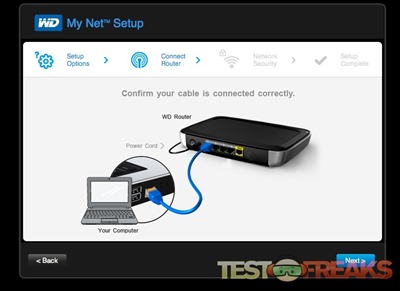
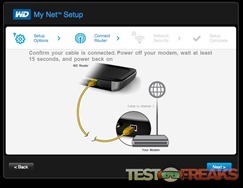
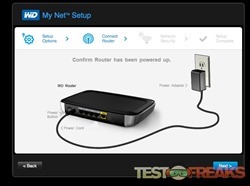
You’ll physically need to connect the router’s AC adapter along with a connection to the router’s Internet (WAN) port to a broadband modem. Setup can be done wirelessly or wired. If using a wired setup run one of the included Cat5e cables to your computer from the Western Digital router.
If connecting the router wirelessly select the My Net AC1300 network from the list of wireless networks on your computer or devices settings.
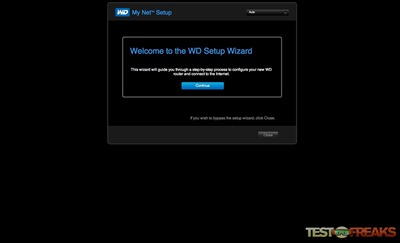
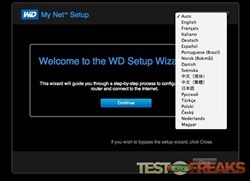
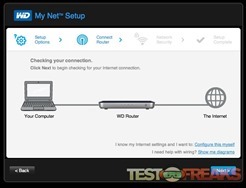
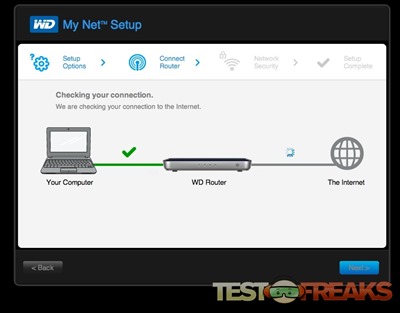
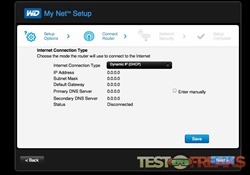
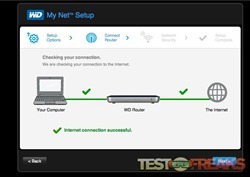
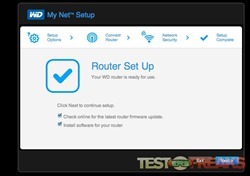
Setting up the My Net AC1300 router is a very smooth and fluid process. In the past I’ve set up routers from NetGear, D-Link, Linksys and Belkin all of which have been more complex than getting the Western Digital router up and running. The first time the router is plugged in opening your web browser will start the setup wizard. An intuitive interface guides the setup process.
The default IP address is 192.168.1.1 however if your system already incorporates that address such as those with FIOS then the My Net AC1300 will use 192.168.6.1 as its address. If you do not see a welcome screen, in the address field, type http://wdrouter or http://wdouter.local on Mac computers. This should bring up the WD Setup Wizard Welcome screen display. The default login credentials are “admin” and “password” for the password.
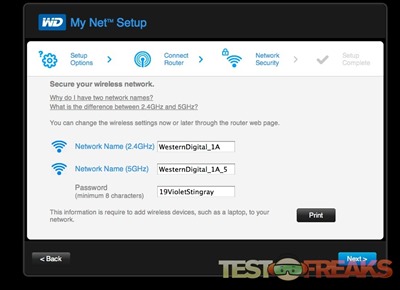
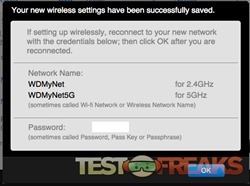
The My Net AC1300 is dual band router, which transmits on the 2.4Ghz and 5 Ghz frequencies. It is backwards compatible with all 802.11 formats from the turtle like 802.11b to current 802.11n. Mobile devices designed to use 802.11ac will be able to take advantage of wireless speeds up to 1.3Gbps; this of course is dependent on distance and other environmental factors. The wizard assists in creating two wireless networks – one for the 2.4 Ghz and another for the 5 Ghz; it even generates a password if you don’t have one in mind.
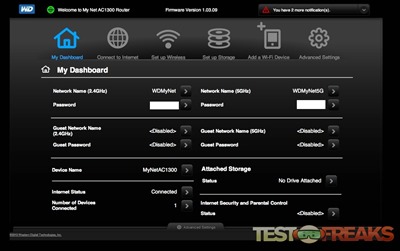
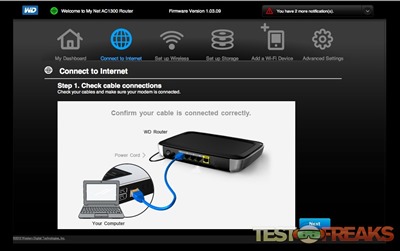
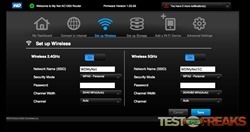
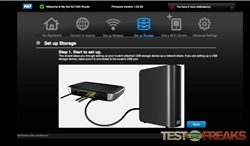
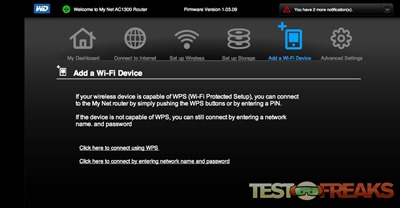
Western Digital’s My Net AC1300 web based GUI is comprised of six sections – My Dashboard, Connect to Internet, Set Up Wireless, Set Up Storage, Add Wi-Fi Device and Advance Setup. My Dashboard provides an overview of the router’s set up including wireless networks, device name, Internet status, attached storage, Internet security and parental controls.
The Connect to Internet, Setup Wireless and Setup Storage tabs are fairly self-explanatory. They are primarily modifying the router’s settings after running the Setup Wizard.
Wireless devices can connect to the My Net AC1300 in one of two ways – entering the network name and password manually or using the WPS (Wi-Fi Protected Setup) method. WPS can use the physical button on the front of the router, the virtual button in the web interface or using PIN numbers created on either device. Using the WPS requires the connecting device to have that capability as well. I was able to connect a couple of printers, the My Net AC Bridge, Logitech Squeezebox Radio and several other wireless devices using WPS. For the tech challenged it is a great way of connecting devices wirelessly.
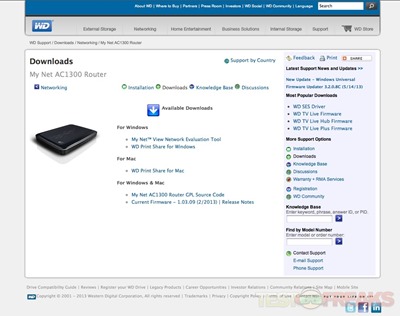
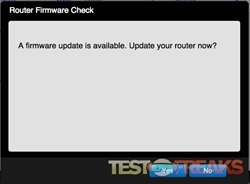
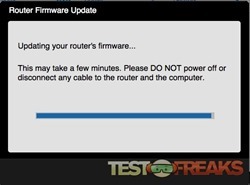
Western Digital also offers downloads on their website for both Mac and Windows users along with firmware updates. The firmware can be updated from within the Web GUI or downloaded on a PC or Mac and then uploaded onto the My Net AC1300.

1 comment for “Review of Western Digital My Net AC1300 Router”