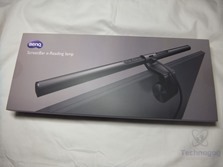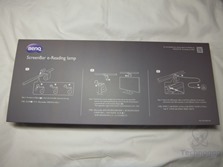
BenQ makes some great products for sure, I’ve got two of their desk lamps and I love them, I use one of them every single day at my computer desk and the other I use multiple times per week to illuminate my 3D printer set up and area around it. Today for review I’ve got another LED light from BenQ but this one is a bit different than the others I’ve looked at as it actually mounts right on your monitor so it saves precious desk space. The light is called the ScreenBar and it has touch sensitive controls power and adjustments to hue and brightness and it also has an ambient light sensor built-in so it can automatically adjust to the light in your room. The ScreenBar use very little power, it’s powered by just a single USB port from your computer or even from a portable mobile charger. The BenQ ScreenBar is a unique product for sure, it’s easy to use and it looks great. Read on to learn more…
Specifications and Features
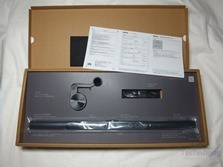
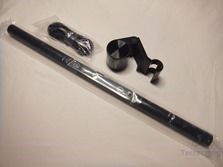
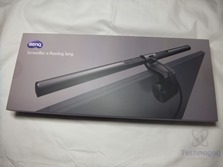
When you open the box you’re greeted with three things, a USB cable, mounting bracket and the ScreenBar itself which are in their own separate sections of the box for protection during shipping.
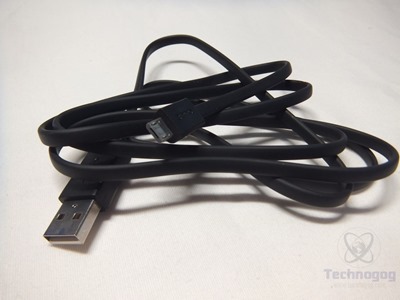
The micro USB cable is flat and it seems well made, it’s about 60 inches long which should be more than long enough for typical placement and usage. One end has a standard USB connection and the other in a micro USB connector.
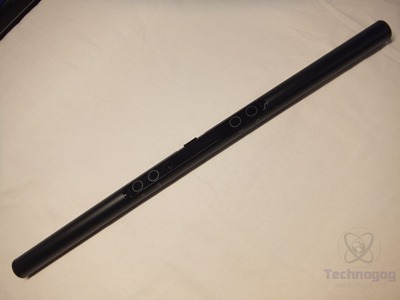
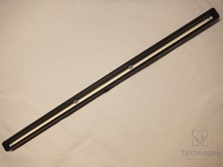
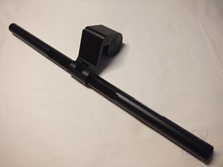
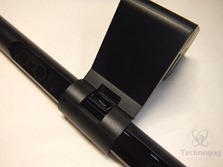
The ScreenBar is 45cm or almost 18 inches in length. The light is cylindrical in shape expect for a flat part at the center where the touch sensitive controls are located.
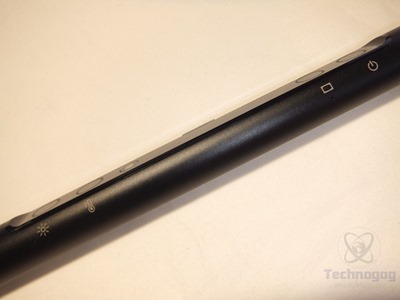
On the front edge of the ScreenBar are pictures to let you know what each button is for. From left to right the buttons are Dimmer, Hue Adjustment, Auto Dimmer and Power. There’s also what looks like a tiny hole under the Auto Dimmer picture, that’s actually an LED that lights up green to let you know it’s activated. The power and auto dimmer buttons work just by tapping them, but you have to touch and hold the dimmer and hue buttons for them to cycle through their levels.
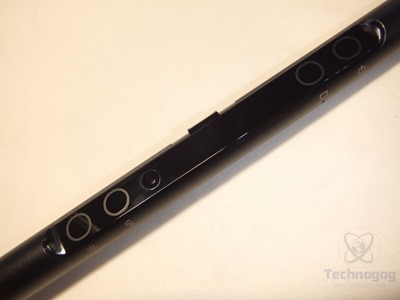
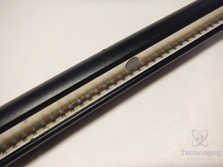
If you look at the top closely it looks like there are five buttons there but one is actually the ambient light sensor that works in conjunction with the auto dimmer so the ScreenBar knows how the set the light level and color and adjust it automatically for you.
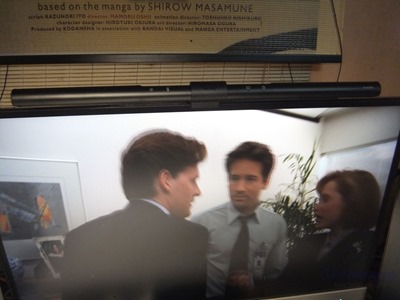
The bottom of the bar is where the LEDs are and they’re not just sitting there flat, they’re actually angled vertically at 90 degrees with a reflective surface inside to deflect the light away from your monitor to prevent glare on it and point the light onto your desk or workspace. The are 90 rectangular LEDs behind a glass cover which alternate between white and orange in color and these produce the color temperature ranges from 2700K to 6500K by lighting each up or not and in combination for everything in between.
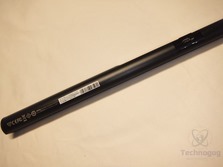
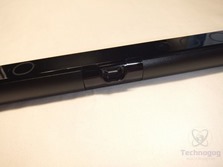
On the back of the ScreenBar is the ID label and certifications and the micro USB power which provides power to the lamp from basically any USB connection, your monitor or computer or the adapter than comes with most phones will work as well. You can eve use USB power bank that you would use to charge a phone or tablet while on the go, so it’s very versatile in terms of power sources and it obviously doesn’t use much power at all.
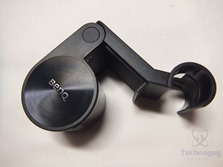
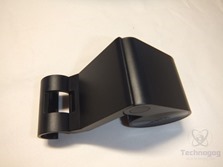
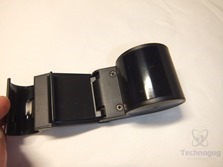
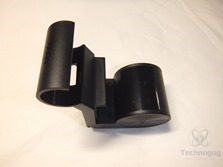
The mounting bracket consists of two main parts, the counter weight which has the BenQ logo on it and then the mount for the ScreenBar itself. The mount has a spring in it which allows it to open to fit and secure to your monitor top edge. There are rubber pads on the inside edges to keep the light where you put it and to protect your monitor from damage.
Assembly of the ScreenBar is very easy, nothing to it really, you just angle the bar into the bracket and turn so the micro USB port is visible and it locks into place. Just a few seconds really, and then attach the USB cable and conenct to a power source and you’re ready to go.
My main monitor is the AOC 2757, it’s 27 inches in size and I currently use the BenQ WiT e-Reading Desk lamp and I love it, but you can never have enough light I think so I’m using the ScreenBar with the AOC monitor.
Installing the ScreenBar on the monitor is very easy, you install it by lightly pulling the clamp apart and setting it on the top edge of the monitor and the counter weight and spring do the rest. I wasn’t sure how it was going to work with the AOC monitor as it’s very thin, but it clamped in place and it’s rock steady on top of my monitor. I should also note that the mount also lets you rotate the ScreenBar itself +/- about 10 degrees forward and back to adjust the angle of the light to better suit your preferences.
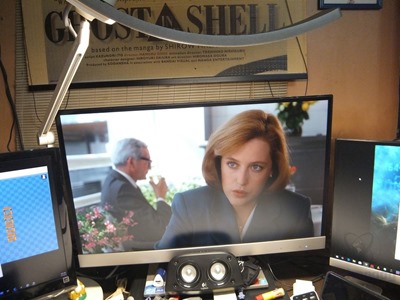
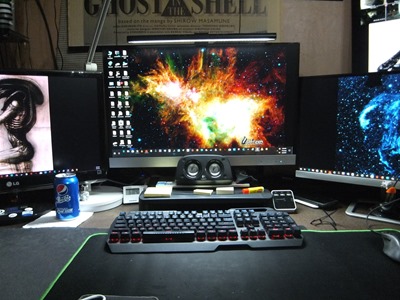
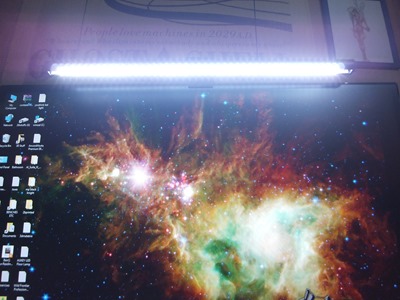
Here’s a farther view of the ScreenBar in place on my monitor and powered on, you can see it illuminates quite a bit of the area in front of the monitor but doesn’t product any glare on the monitor itself.
Here’s just a picture from below showing the LEDs on:
Conclusion
The BenQ ScreenBar LED light is certainly a unique product that I think most people would be very happy with having illuminate their work area.
The ScreenBar is very simple to assemble and install, just a few minutes and you’ve got light really, it couldn’t be much simpler.
Using the ScreenBar is just as as easy as well, there are only four buttons and one is the power button so really only three functions buttons for the lamp. You can easily adjust brightness and hue with the touch sensitive buttons, or you can let the ScreenBar do it for you as it can sense the ambient light in the room and automatically adjust the lighting to match.
The ScreenBar is very well made and it looks great and it has a space saving design, it takes up no space on your desk at all since it mounts right on the top of your monitor.
I very much like the fact that the light uses very little power, it’s powered by just a single USB port from your computer, monitor, phone adapter or even a portable USB battery powered charger.
Objectively I can’t find anything at all wrong with the BenQ ScreenBar light, it’s very well made, easy to use and it looks great. My personal preference though would be that the light be able to get brighter, I like a lot of light when I’m working specifically. It could be that I’m just not accustomed to the ScreenBar yet though. As is I do use the light, I’m using it right now as I type this in fact, but I much prefer to use it at night with the auto dimming function enabled as it’s great for watching movies with, there’s no glare on the screen and it provides just enough light for me to see what I need to on my desk. What I’m trying to say is that for me this couldn’t be my only desk light as I do other projects at my desk that do require more light than the ScreenBar can provide. For me, the ScreenBar does have its uses though and I am happy with it.
To end this I do have a 20% off code for you to use at Amazon to purchase the BenQ ScreenBar if you’re so inclined to. The code is BENQ20SF and you have to make sure you select BenQ America Corp as the seller through Amazon. Click 
| Grading | Scores Out of 10 |
| Overall |  |
| Design / Aesthetic |  |
| Value / Price |  |
| Performance / Usage |  |
Disclosure: This product was given to me for review by the company for review purposes only for free or at a discounted price.
To learn more about our review policy please visit this page HERE.

