Have you ever needed to tile a picture of some sort of texture – fabric, grass, sand, water, stones – only to find that when you do, you can see the sides of the images repeated throughout? It looks awful! People have to tile images for all sorts of reasons. These reasons range from simple things like tiled computer backgrounds to more complicated endeavors, like texturing a 3D image in a digital rendering, video game or virtual world.
This how-to will show you two of the most popular methods for taking a regular image and making it seamless using Photoshop CS4; one of the industry’s most popular image editing tools. With the right steps, a little know-how and a splash of artistic ability, anyone can learn to take any image and remove the edges for a nice, natural tile.
Adobe Photoshop is a piece of software that runs on both Mac and PC, so it is readily available for most people’s systems.
There are many plug-ins out there that you can purchase for Photoshop that will help with creating seamless images. Many of them specialize in certain types of textures, such as wood or metal, and won’t work well for all types. For that reason, and because doing the process manually isn’t incredibly difficult, I’d recommend learning how to create seamless images by hand. The technique you are about to learn can be used on any type of texture to eliminate the seams and craft fine-looking tiling.
In case you are unable to follow along with the video, here’s how it goes…
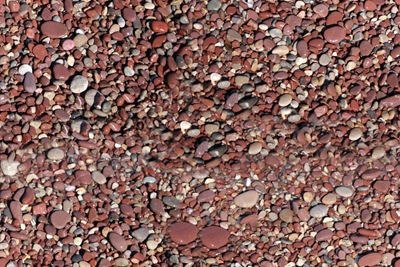
Step 1: Locate the image that you’d like to use and open it in Photoshop. The image used in the tutorial video is of red sand rocks.
Step 2: Navigate to Filters > Other > Offset, and move the sliders on the window that appears until you can see all four seams of your image creating a + sign. The exact numbers aren’t important, as long as you can see all the seams. Ensure that the “Wrap Around” radio button is ticked. If you move the sliders and never see seams, the image you are working with is already seamless.
Step 3: Select the Clone Stamp tool on your toolbar.
Step 4: While holding Alt, click your mouse and drag it along a section of your image that you would like to use to cover up the seam. After letting go, use the mouse button to “paint” the area you selected over the seam.
What this is doing is essentially copying a section of your image and letting you use what was copied as “paint,” much like the brush tool, but with bits of your image instead of color. It then blends these bits of image with the surrounding area, making it a useful method for covering up seams.
One pass over the seam will likely not look perfect. You will probably want to select a few areas and keep going over the seams, blending until the seams are gone and the resulting area looks as natural as possible. You should try and capture bits of your picture that will blend well with the area around where it will be pasted. If your image is something like sand or grass, where the whole image looks relatively the same, this process may be easier than if your image is something like stones, which was used in the tutorial, and has lots of different colors and sizes throughout.
Keep grabbing bits of image and replacing area like this until you are satisfied with the result.
Step 5: Save. You’re done.
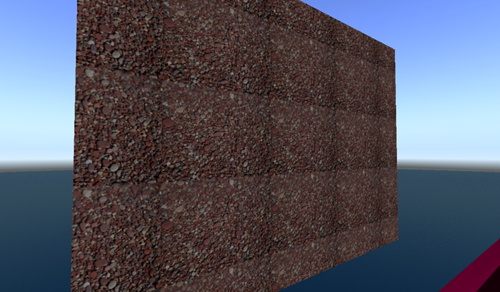
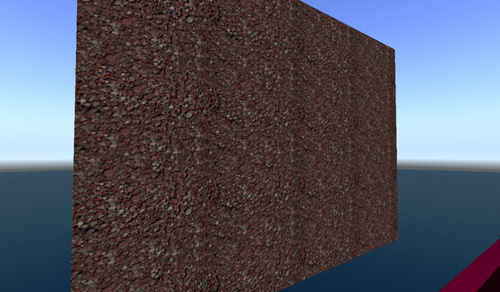
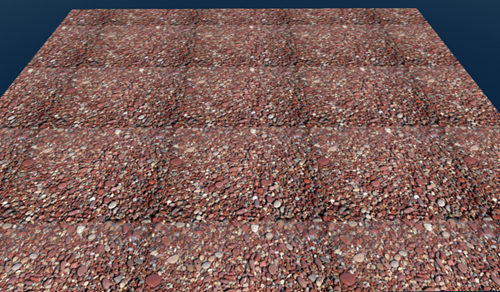
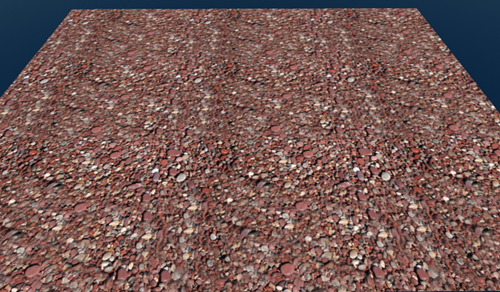
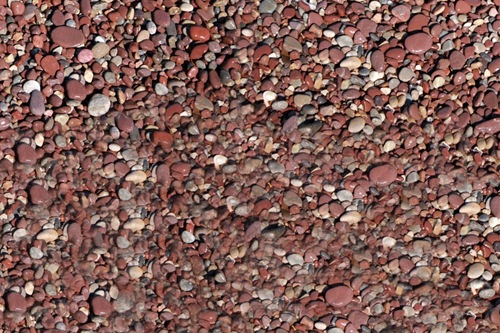
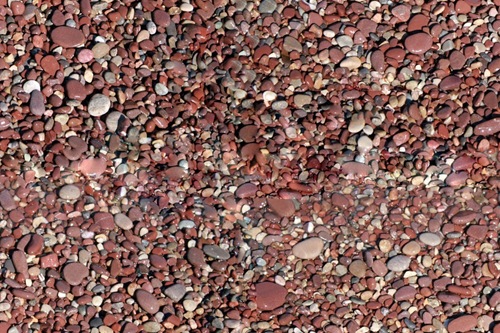
Your image, when saved, likely won’t look a lot different from the original –that’s because the majority of the work you did was on the edges. Tiling the image, you’ll see a difference. Take a look at the below pictures to see how the image from the tutorial video went from its original form to a seamless version. The pictures were taken in Second Life, where the image was tiled 4x in each direction (16 instances of the picture tiled on one block).
Before and After:
Before and After:
This process can also be done using the Healing Brush tool instead of the Clone Stamp tool. The process for using this tool is exactly the same, but it lays down the image in a slightly different manner. Some people prefer one, others prefer the other, and others choose depending on the image at hand. Try them both out and see which one suits your particular image’s needs the best.
Creating seamless images doesn’t have to be hard. As with anything, practice makes perfect, but with the above instructions you should be on your way to fashioning seamless images in no time.


16 comments for “How-To: Creating Seamless Textures with Photoshop CS4”