Installation and Usage and Web Interface
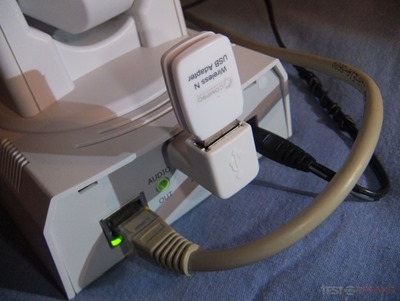
For installation it depends how and where you’re setting it up. If you have access to an Ethernet cable or you’re setting it up near your router then I’d personally go with the Ethernet cable hook-up but you can do it wirelessly via the included wi-fi dongle. The picture below shows both hooked up, but I used the wired as I set it up near my router but the picture is just to show you the dongle in the USB port.
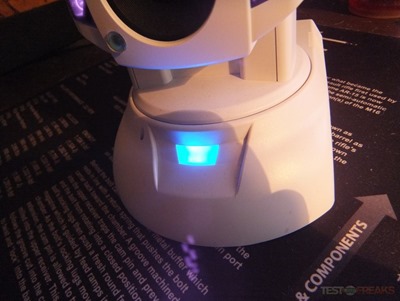
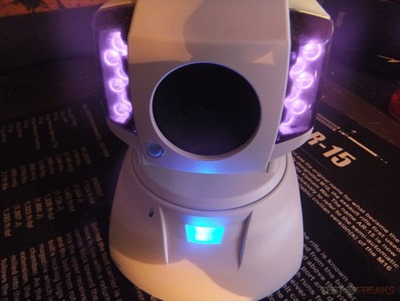
The TN600W does have an LED on the front to indicate power. It’s purple when you first turn it on then it turns blue once the camera has set itself up and is ready to go. You can turn the LED off though if you want to, personally I’d want the LED off as not to attract attention to it.
Normally you can’t see the infrared LEDs but most digital cameras will be able to see them, so there they are all lit up when they’re activated in a low light situation. There are twelve of them and that seems more than enough for most situations. I found the LEDs can easily light up an entire room in the dark to make it look almost like daytime. Like any camera I’ve ever come across with night mode, the TN600W will turn to black and white when it’s dark, this is just how they are, so it’s not unexpected.
You can access the camera via your browser and FireFox does work but not everything works. To be able to use everything and all of the functions you’ll need to use Internet Explorer as it uses ActiveX.
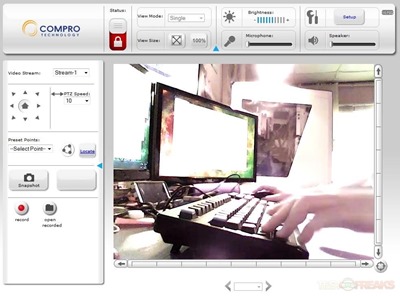
From your browser you can have full control of the camera, pan and tilt and snapshot and even talking if you have a microphone on your computer. You’ll see the live view in the center with various controls on the top and left side. At the top right corner is the Setup button to configure the camera. Essentially what you’re doing via the browser is accessing the camera directly as you input the camera IP address into your browser and it will open up asking for login credentials.
In the Setup section you’ll find a lot of choices down the left side.
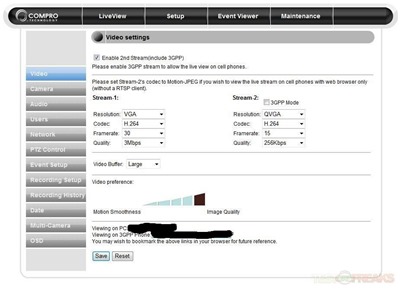
The first choice is for Video where you can set the Stream and preferences and I blacked out my IP addresses of course.
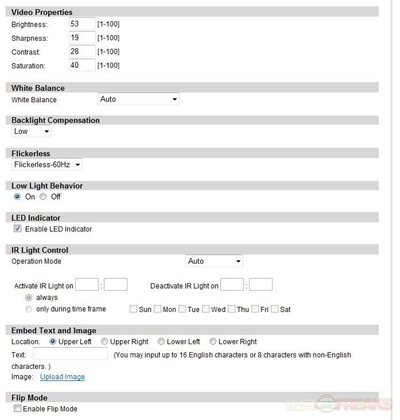
From all the settings you can pretty much configure the camera exactly how you want to and change settings like brightness levels, the LED on or off. The second menu selection is for Camera and here you can make all of your adjustments and fine the tune camera to how you want it to look and act.
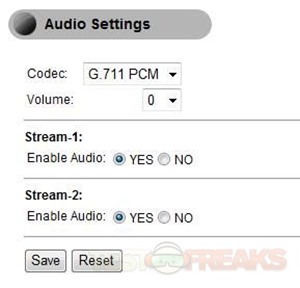
Audio settings is simple, you can change the codecs and enable or disable streams from here.
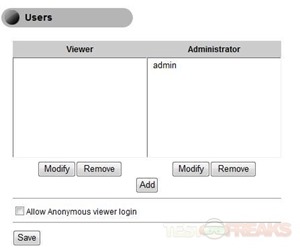
Users I think is self-explanatory right? Add users to access the camera..
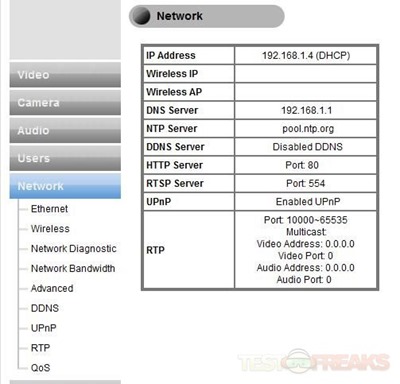
Network settings gives you many choices, it opens up to what the current settings are and then you have a sub-menu on the left side with choices for Ethernet, Wireless, Network Diagnostic, Network Bandwidth, Advanced, DDNS, UPnP, RTS and QoS. I think the average user won’t need to access any of those option of choices but it’s nice to know they are there for the more advanced users.
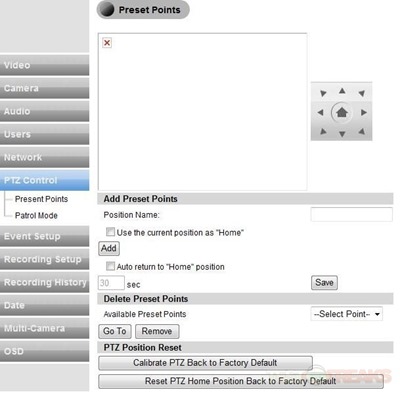
Under the Preset Points menu item you can set points for the camera. Let’s say if you want the camera to look out the window, move the camera to that point and create the point and it will be saved and then you just press the button for the point and the camera will go there. You can create many many points, up to 30 of them I believe, which should be more than enough for most people I would think.
Event setup is just that, but before you use it you’ll need to have other things in place like how you want notifications and how the events are triggered.
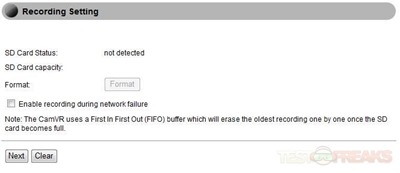
You can insert a microSD into the back of the camera and have it record to the card as well. Obviously I don’t have one in there at the moment, but if I did it will tell me the capacity and then you can access the recordings to see what the camera captured.
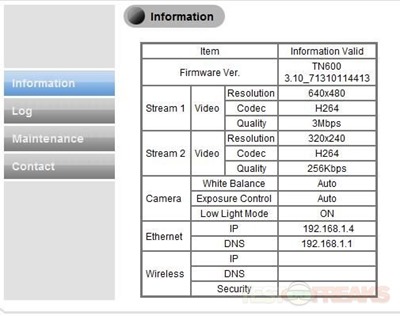
Lastly is just information about the camera itself and from here you can update the firmware via the Maintenance tab.
I found the web interface to be spotty, it didn’t work all the time for example above where there’s supposed to be a live view there’s a little red X instead. I could not get it to work every time all the time, sometimes it worked and sometimes it didn’t, not sure what was going on there. What I mean there is the Live View part only, the rest worked fine, I could adjust and change the settings as needed except when it came to changing things like brightness etc.



3 comments for “Review of Compro TN600W Plug-n-Play PTZ Cloud Network Camera”