Installation and Usage
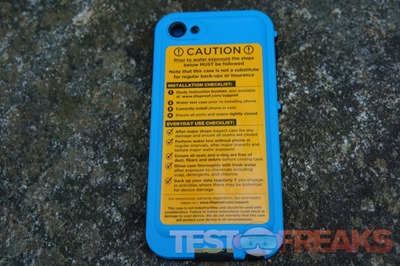
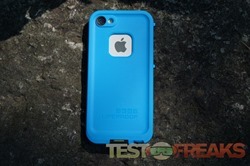
The installation process is a bit more complicated than most standard iPhone 5 cases. Prior to water exposure you’ll want to check the O-ring for any dust or particular matter and make sure it’s clean. Lifeproof even has a large warning sticker on the back of the case with recommendations prior to initial installation.
Next you’ll need to assemble the case without the iPhone 5 in place making sure that the port door is closed and the headphone jack is securely covered. At this point submerging it under water for about an hour should perform the water test. Once the test comes back with a dry Lifeproof fr? you are ready to install the iPhone 5.
Prior to installing the iPhone 5 into the Lifeproof fr? remove any screen protectors from your phone and thoroughly clean the iPhone with the included cloth. Next check to make sure the seals are clean and insert the iPhone into the front of the case aligning the rear.
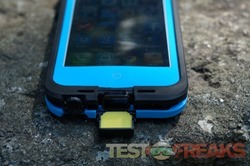
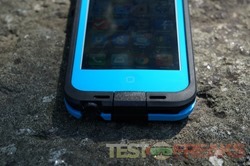
With the back facing down, press firmly around the case and ensure all the latches are completely closed. Make sure the headphone jack cover is screwed in securely and the charge door is closed prior to going into dirty or wet environments. For the day-to-day use you should periodically keep the seals clean, rinse with fresh water after use, perform regular tests and check the seals after impact.
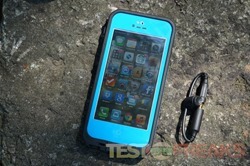
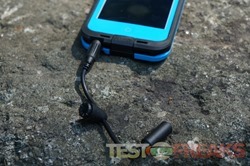
The headphone adapter screws into the jack cover opening allowing the user to plug in their own headphones into the Lifeproof fr?. There is an opening on the headphone adapter to place the jack cover so as to avoid losing it.
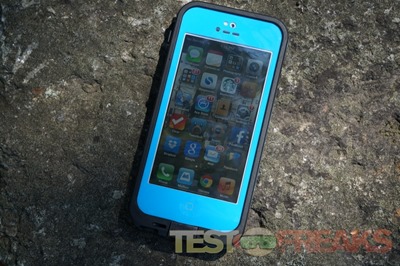
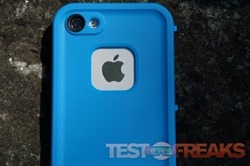
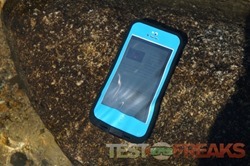
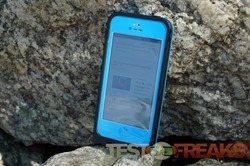
Once installed the Lifeproof fr? adds some bulk to the iPhone 5 but not an incredible amount. You definitely don’t feel like you are using an Otterbox case here. The color options for the case allows the iPhone 5 to have a splash of color you would not normally have with a naked phone. The front has a rubbery feel allowing the Lifeproof fr? to feel secure in the user’s hands.
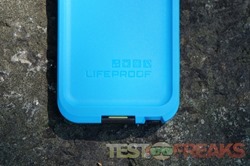
Removing the Lifeproof fr? is easier than the installation. Start by removing the headphone jack cover, open the charge latch then in the bottom left-hand corner locate the notch and twist the back of the case open with a coin and pull open the rear of the case.
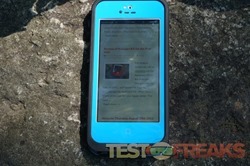
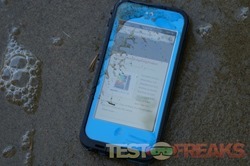
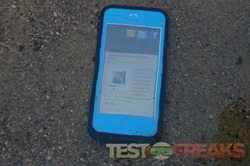
In terms of daily use the Lifeproof fr? can be both a godsend and a curse. Its overall construction is durable and will keep the iPhone 5 safe from harm whether it is from a fall, dirt, dust, debris or liquid. I was able to use my iPhone 5 on the lake and beach without worrying about sand or water damage to my phone.
Lifeproof uses a CrystalClear optical-glass lens for distortion-free photography.
My drawbacks with using the Lifeproof fr? involved using it with charging docks and with my Mountek nGroove car mount. The bulkiness of the case made it difficult for the Lightning cable to reach my iPhone 5. Once the Lightning cable was inserted it was much harder to remove it than if the iPhone 5 was not housed in the Lifeproof fr?.
Acoustically the sound ports on the Lifeproof fr? are an improvement from the iPhone 4 version, yet they do tend to get distorted if the volume is set at a high level.
Finally installing and removing the case can be an arduous process, especially when having to water test it periodically. This is not a case designed for those who frequently switch their cases such as my daughter.

