Testing and Usage
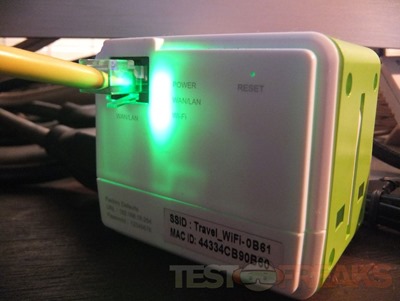
To use the Satechi Smart Travel Router you just need to plug it into and electrical outlet and it powers on. There is no on or off switch which I guess is fine as I’m sure it’s not using that much power but still I’d like to be able to turn it off if it’s not needed. I’m in the United States so that’s the plug I used obviously and when powered on the LEDs light up green. Once it’s setup and running it works just like any other router or wireless access point.
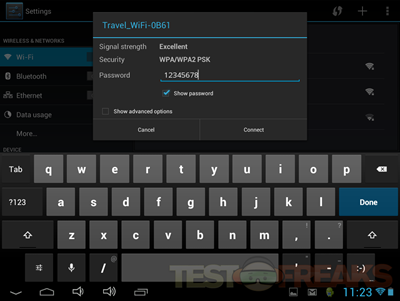
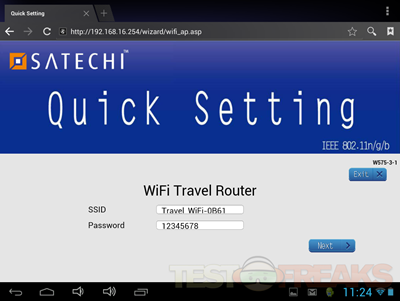
To access the router settings you can scan the QR code or go to the page via your web browser and the IP address on the side of the router. You’ll need to connect to the router first and you just enter the default password of 12345678 to do that.
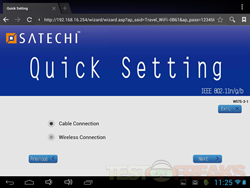
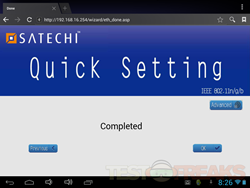
Once you login you’ll be greeted with the main page with just very basic settings. The page is to choose between cable and wireless connection and then you’re done. The cable connection is the Ethernet cable plugged in and the Smart Travel Router acting like a wireless access point or repeater. The Wireless connection option is for the client choice which you then just pick the access point you want to connect to.
There is a button or choice for Advanced settings and here you can access the router itself, and I have to say I was shocked by all the settings in there. The Satechi Smart Travel Router is tiny and I was just expecting some basic settings, but there’s all kinds of options for you to go through and adjust just like any other standard router will have.
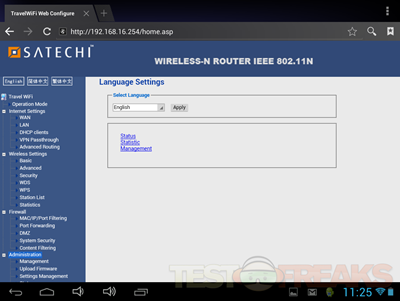
The first page is just language settings, but on the left side you can see the menu tree which I expanded to show you all the options. I wasn’t going to go through each one but I decided to do it, just briefly so you know what to expect and see what’s going on.
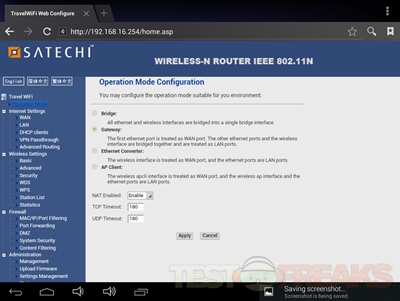
The next menu option is operation mode configuration where you can set how you want the router to work, bridge, gateway, converter or AP client with options for NAT, TCP and UDP.
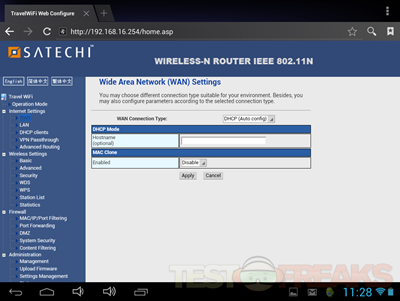
Next is WAN settings, not much here.
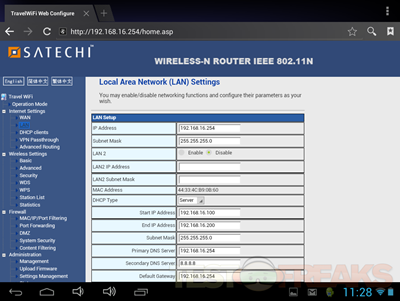
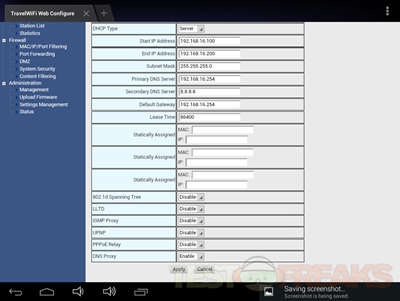
Next up is LAN settings and here you have a lot of settings to go through.
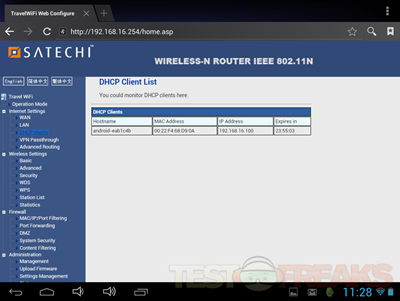
The next is DHCP client list and this is basically just who or what is connected to the Travel Router.
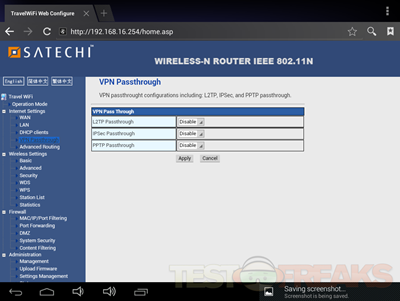
Next is VPN Passthrough with just three choices for L2TP, IPSec and PPTP.
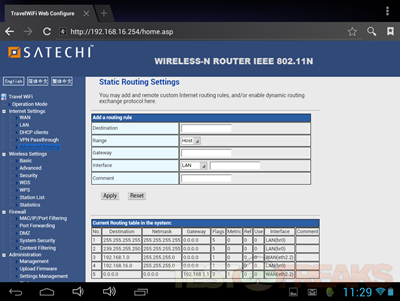
The last choice in this section is for Static Routing Settings where you can add your own rules.
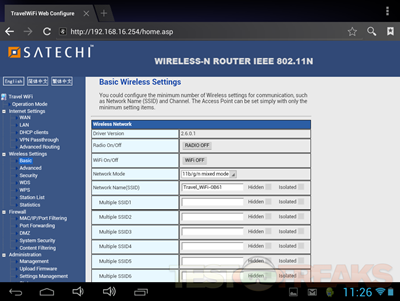
The first choice in the Wireless Settings section is Basic Wireless Settings and there’s a lot here for being called basic.
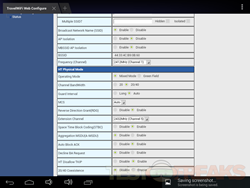
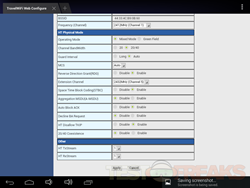
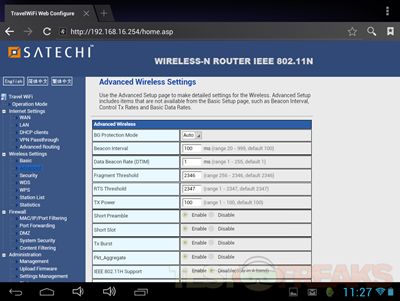
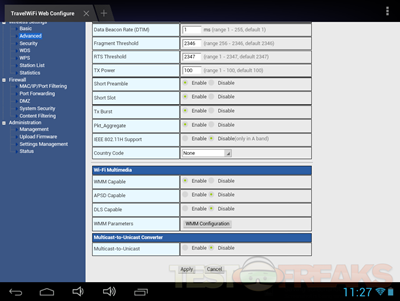
Next is Advanced Wireless Settings, which actually seems smaller than the basic settings.

3 comments for “Review of Satechi Smart Travel Router”