Testing and Usage
For testing I used the Crimson Pro for my normal everyday activities and of course I had to do some gaming. I should note I did not use the wrist rest, I personally do not like them and I like having the keyboard feet extended so the keyboard is at an angle while typing.
Typing on the Crimson Pro is very nice, not sure that’s the right word, but I love typing on it and I don’t want to stop using it all.
They are Cherry MX Black key switches and some people don’t like them for typing but I do, I have no issues with them for gaming or regular use.
Gaming was fine, no issues there, the keys are responsive and actuate quickly for any type of game.
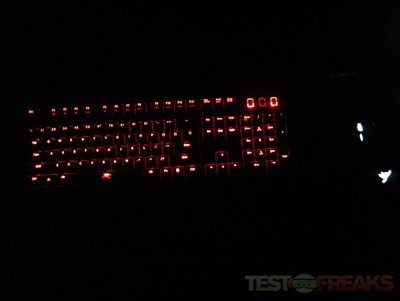
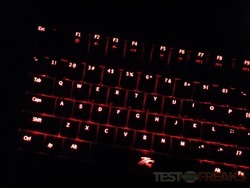
One of the great features of the Crimson Pro is the backlighting, it’s red obviously. I’ve come to like backlit keyboards quite a bit as I’ve come to prefer not really turning any lights on except for my small desk lamp. The backlighting has four levels of brightness which does include off as a level are these are controlled by the Fn key and the numpad numbers 5 and 8. The 8 key is for adjusting up or brighter and the 5 key is for adjusting down or dimmer. There is a fifth option for the lighting and that’s a breathing mode or the fourth click of the numpad 8 key. Breathing mode is where the lights go slowly from low to high and back again.
Here’s a picture taken in the dark, about midnight actually, and my Feenix Nascita is next to it:
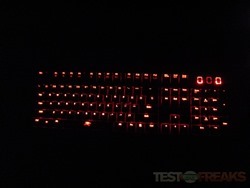
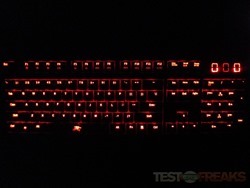
Here’s a couple more without my mouse in the picture.
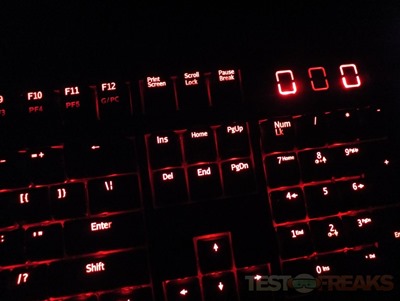
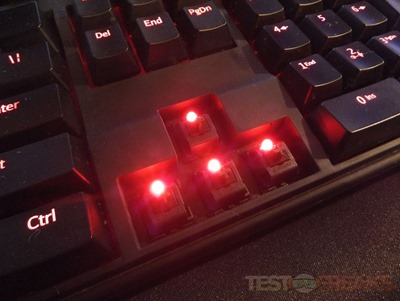
The LEDs under the keys are located at the tops of them and for the most this is fine for the majority of the keys as that’s where the markings are so they’re lit up very well. The one small issue is the keys with two rows of lettering on them like the function on the top row. The function labels are brightly lit but the secondary functions are very dimly lit. In the dark you can still see them and even in the light, so it’s not a big concern, but just something that should be noted.
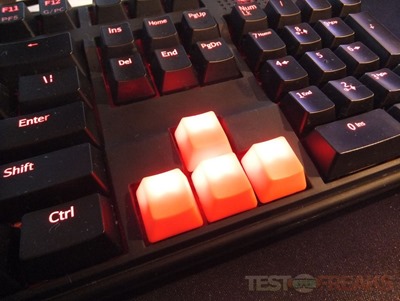
Here’s what the LEDs look like under the keys, I used the key puller to remove the cursor keys and it works well.
I didn’t replace the WASD keys, I replaced the cursor keys because that’s what I wanted to do. I used the key puller that was included to remove the original keys and it worked very easily. To use the puller you just line up the puller with the right and left sides of the keys and push down and then pull up with a little force. The puller will clip onto the bottom edges of the keys when you push down to help you remove the keys. The orange keys are translucent so the light shows through but you can really tell with these that the LEDs are on the tops of the keys. Only four keys are included, I would have liked to have seen more personally.
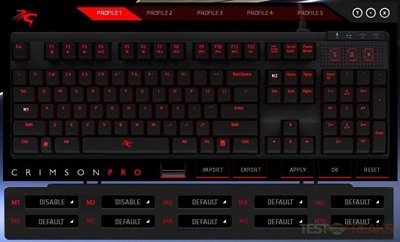
There is software that comes with the Crimson Pro and it’s so you can reprogram the keys, create profiles and create macros. The interesting thing about the software is that is doesn’t run all the time like some does. You run the program, make your changes, hit apply and you’re done. You can create five profiles with different configurations for each one. You switch profiles by pressing the Fn key and the corresponding PF key, like PF3 for profile 3.
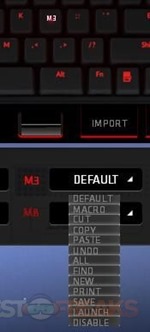
To program a key you click on the memory button like M3 and then you click on the key you want to program and it starts blinking with the label and then you can select from the drop down menu what you want the key to do. One of the options I like is the ability to disable the keys, like I never use Caps Lock but I always seem to hit it accidentally so I disable it.
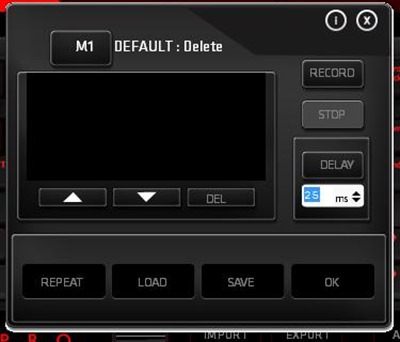
There are those options from the drop down menu but you can also program macros for gaming. Click the macro option and up pops a window to create and record your own macro.


5 comments for “Review of Sentey Crimson Pro Mechanical Gaming Keyboard”