The Review
Setting up a network based device can sometimes be an arduous process. However, this is not the case with Synology as their DiskStation devices are simple to get up and running.
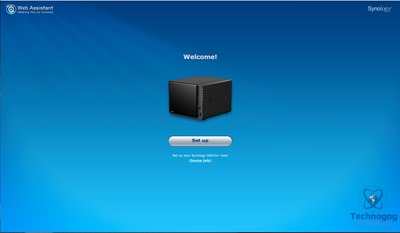
Following the included Quick Installation Guide takes the user through drive installation, power and network cable connections then NAS setup via the Web Assistant. Using one of the following addresses http://find.synology.com or http://diskstation:5000 will connect to the DS415+ on the network via a web browser.
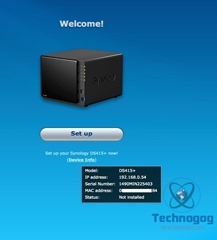
This initial screen provides information about the unit including the model, IP address, MAC address and device status.
To help locate and setup the DS415+ you can also download Synology Assistant from the Synology site.
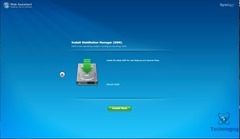
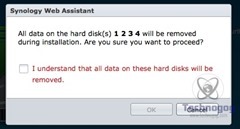
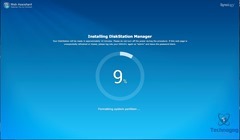
Clicking the setup button will guide the DSM (DiskStation Manager) installation. There will be a warning about all the data being erased from the hard drives you’ll need to check off and then the install should start. This process takes about ten minutes usually less from my experience.
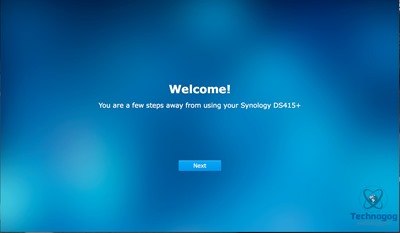
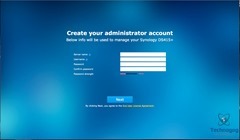
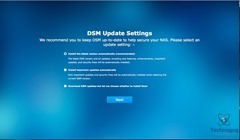
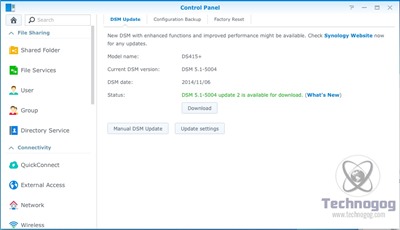
At this point a welcome screen should great the user and setting up an Administrator account is your next task. The next screen asks how you wish to handle DSM Updates. Like Windows you can have it done automatically or just downloaded with the user deciding when to install.
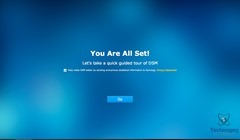
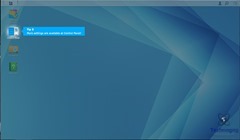
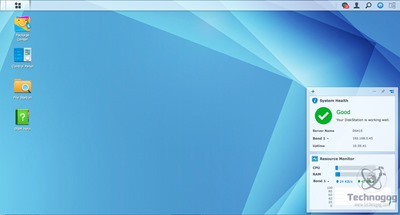
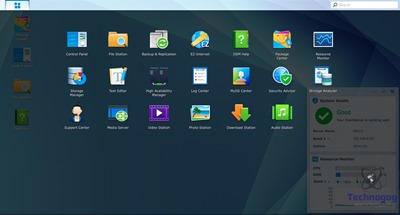
For the new Synology users there is a quick guided tour when first booting into the DSM home screen. Like previous iterations Disk Station Manager has a Windows/Linux style look and function. If you can navigate either of those OSes then this should fell quite familiar.
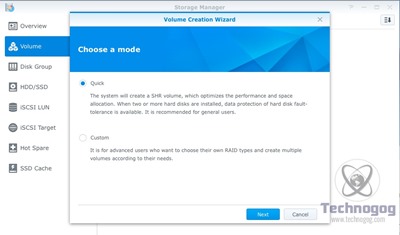
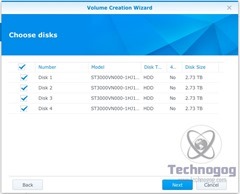
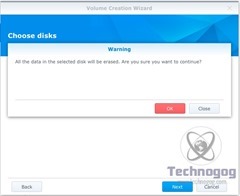
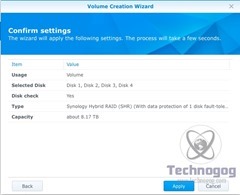
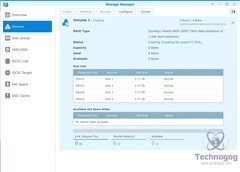
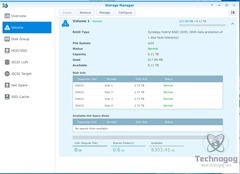
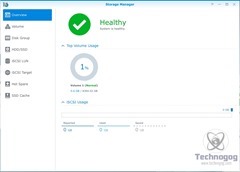
Next choose Storage Manager from the Main Menu section and use the Volume Creation Wizard to set up the hard drives. The user will be able to setup a specific RAID configuration by choosing Custom or using SHR (Synology Hybrid Raid) via the Quick option.
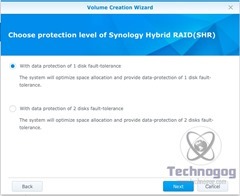
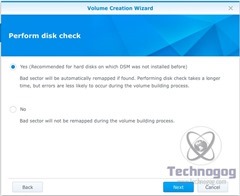
Using SHR with more than two hard drives allows having one or two disk fault tolerance. The former provides more storage while the latter more protection. Before the Volume is created there is an option to check the disks for errors, which maps out any bad sectors. Depending on the capacity and number of hard drives the volume creation process can take quite some time.
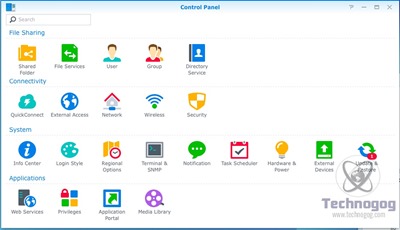
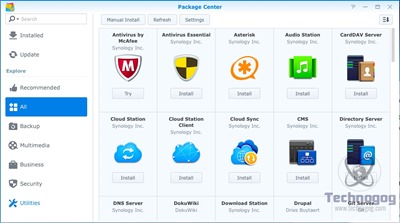
Now you can explore the DSM interface and familiarize how to manage the DS415+. From within the Control Panel is where the DS415+ can be optimized and configured. The Main Menu screen is where applications installed from the Package Center are found.
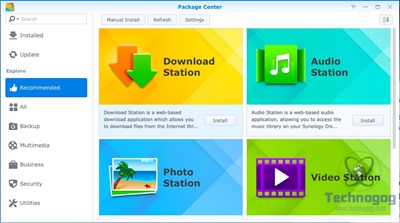
From the Package Center is the Synology equivalent of an App Store, from here the user can enhance the capabilities of the DS415+. Whether the DS415+ is for the home user or for a business there are plenty of apps to augment the Synology experience.



3 comments for “Review of Synology DiskStation DS415+ NAS”