Setup and Interface
If the Synology DS713+ is purchased as a bare unit, then hard drives will need to be installed. This process is simple and involves screwing the drives onto the pair of removable trays. Once this is done, just slide the drives back in the Synology DS713+. You can lock them into place using the included drive keys; just take care not to lose these keys or else you won’t be able to replace the hard drives.
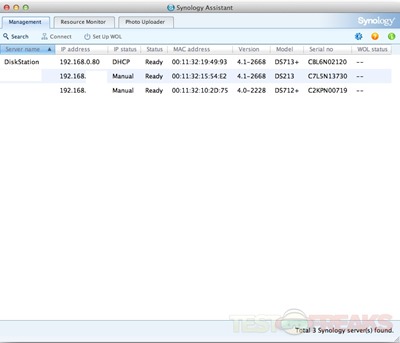
On the included installation disc is the Synology Assistant, which locates the NAS on your network since the Synology DS713+ using DHCP to set its initial IP address. A static IP can be set during the device setup.
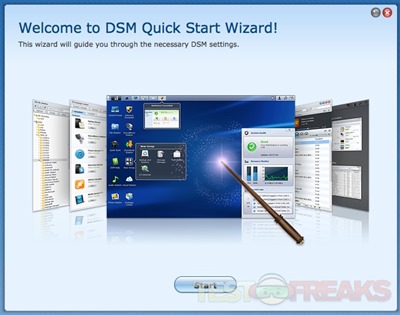
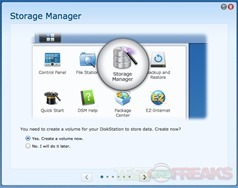
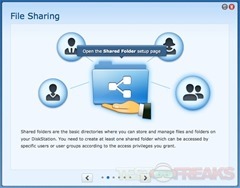
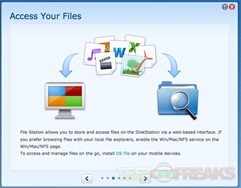
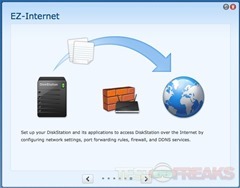
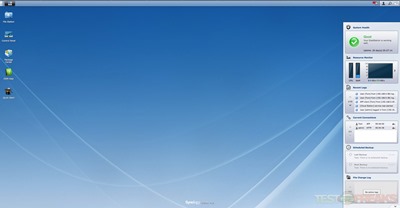
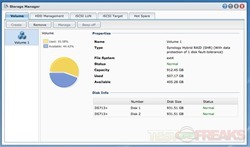
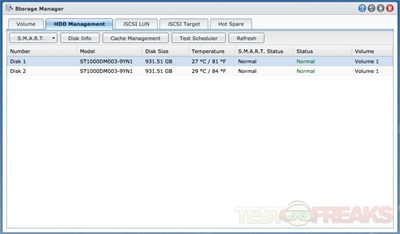
Once the DiskStation is identified double click on it to open the web based DSM GUI. The initial login is Admin for the user name and a blank for the password. For the novice Synology user a wizard will guide setup for Storage Manager, Shared Folder setup, File Access, Package Installation, Cloud Station syncing and EZ-Internet access. For advanced users all this can be done using the Control Panel and Disk Manager.
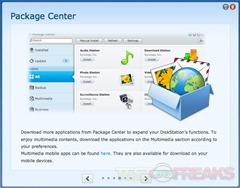
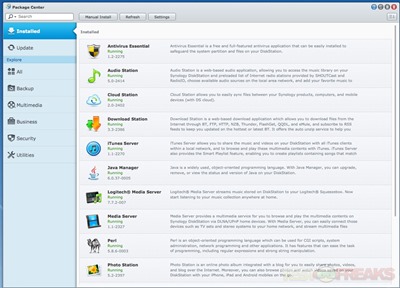
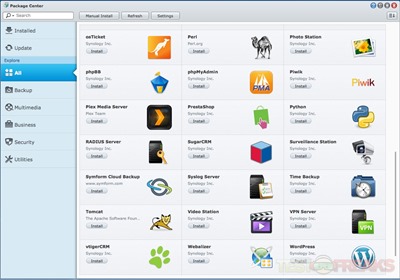
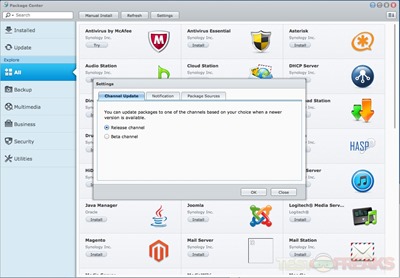
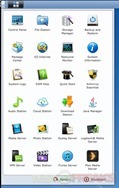
The latest DSM 4.2 update will not look much different than the previous version. The only difference within the DSM interface that I observed was the Package Center has a different layout. Here is a listing of the available packages.
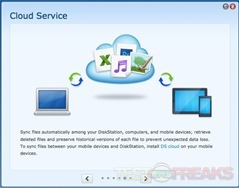
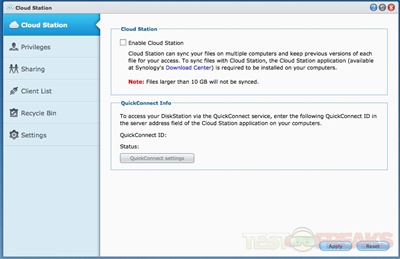
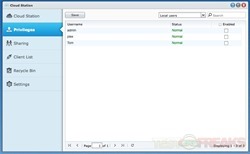
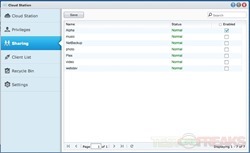
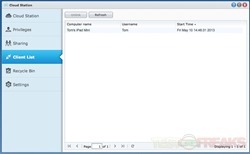
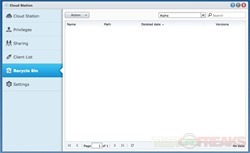
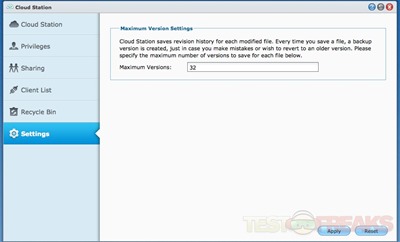
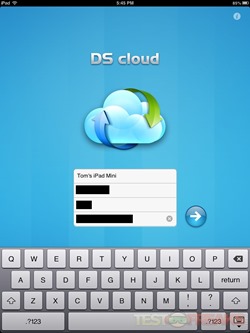
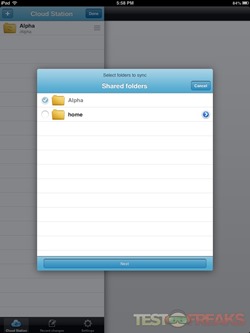
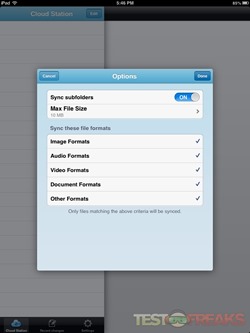
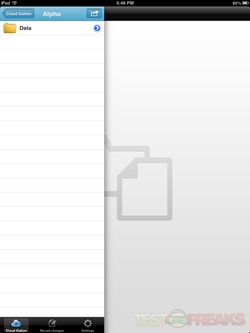
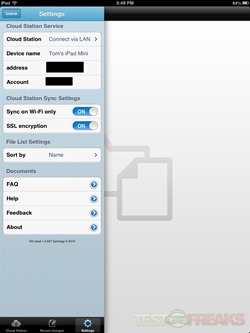
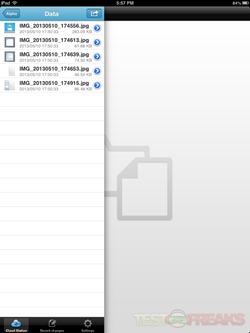
Added features of DSM 4.2 can be found with Cloud Station which is a cost free Dropbox style service which allows the syncing of files with a maximum size of up to 10 GB, unlimited accounts and file versioning going back up to 32 revisions. For iOS users DS Cloud allows iOS users to sync files from their mobile devices.

7 comments for “Review of Synology DiskStation DS713+”