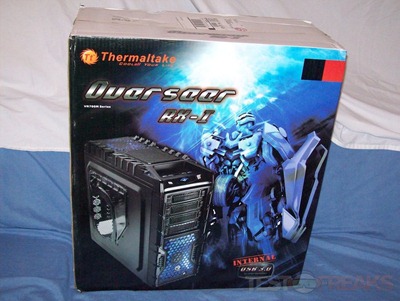
I like cases with lots of room in them, I used to like small cases but I’ve since changed my mind on them as I like the room to move and route wires to keep them out of the way. Today for review I’ve got the Thermaltake Overseer RX-I PC case which is a full tower style that offers plenty of room for everything. Once you open up the Overseer case you’ll find more than enough room for everything in your system including large video cards and large coolers. The case offers excellent cooling abilities with two 200mm fans pre-installed for you, and a 120mm fan as well. The Overseer even comes with an integrated SATA hard drive dock so you can easily swap drives for transferring files of even booting from another drive. All in all I like the Overseer case a lot, it has features that I think many will appreciate in a case.
As usual we’ll start with the packaging, the case is packaged well with styrofoam and plastic around it for protection.
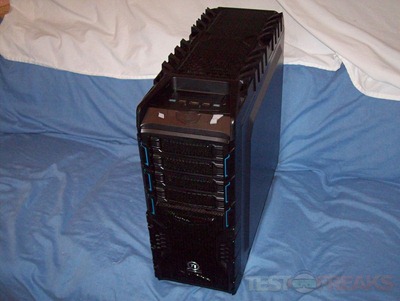
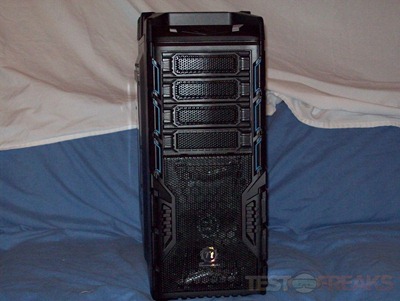
Then here’s the case, it’s mostly black with blue highlights around the drive bays.
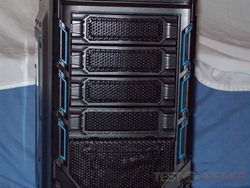
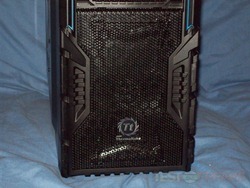
On the front of the case you’ll see three regular 5.25” bays and one that can be used for a 3.5” device like a card reader. Below the bays you’ll find a meshed are, behind which is the front 200mm fan which has blue LEDs in it, and then the Thermaltake logo is there as well.
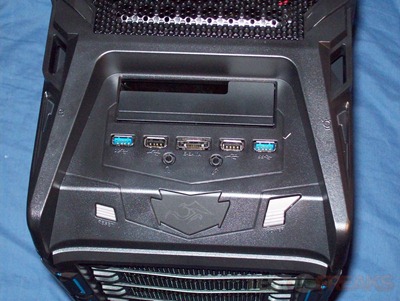
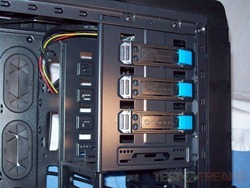
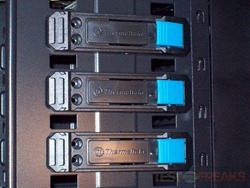
Moving to the top of the case you’ll find power and reset buttons along with eSATA, USB 2.0, USB 3.0 and audio connectors. One of the great features of the Overseer case is the addition of the SATA dock that’s located on the top as well.
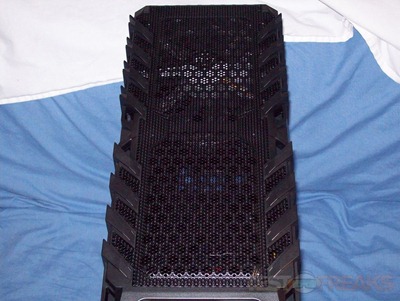
Here’s the view of the top of the case behind the control panel, it’s just mesh and there’s one 200mm fan installed towards the back with space for another one. This fan has blue LEDs in it as well. The top section has an interesting ‘fin’ look to it, I like it.
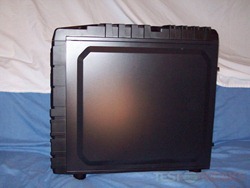
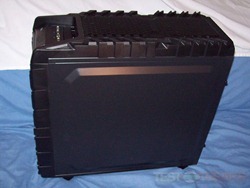
The right side of the Overseer is just plain black, but you’ll notice the panel sort of bulges out, this is to provide extra room so you can stuff all of your cables back behind the motherboard tray and out of the way and yet still get the side panel back on with ease.
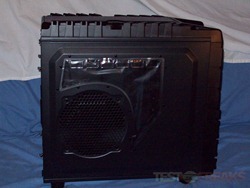
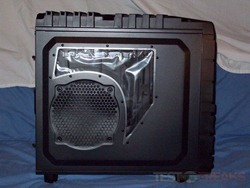
On the left side of the case you’ll see a small window and space for another 200mm fan if you desire more cooling.
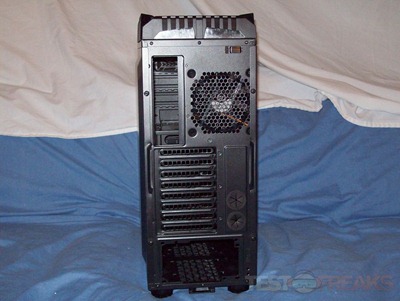
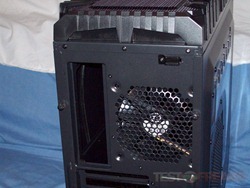
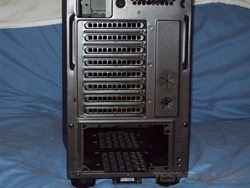
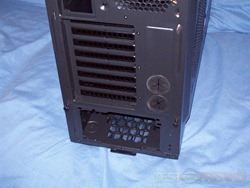
Moving around the back of the case you’ll find the normal stuff here, I/O port, PCI slots and then there’s holes for liquid cooling and a security lock for your peripherals like mouse and keyboard towards the top. The side panels are held on with thumbscrews so you can take them off and put them back on easily.
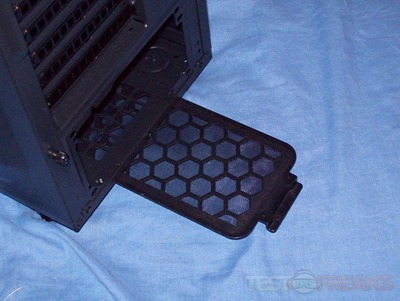
Under the power supply is a removable dust filter, it just slides in and out for ease of cleaning it.
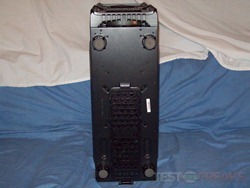
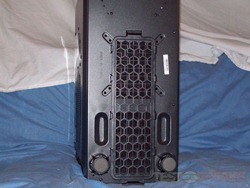
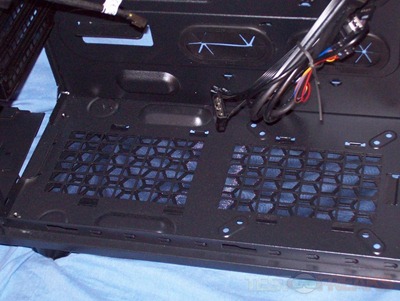
Here’s the bottom of the case, it has nice tall rubberized non-slip feet to help promote airflow, and here you can see the removable filter. There’s also a space for another fan and the filter extends to that fan as well.
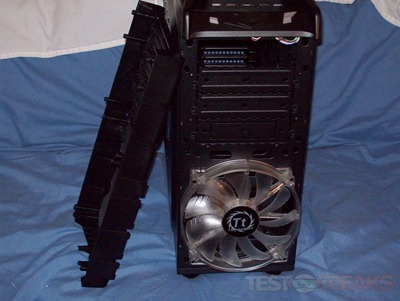
Here’s the front bezel removed, you can get a better look at the 200mm fan and the bays. The bezel just pops on and off with ease.
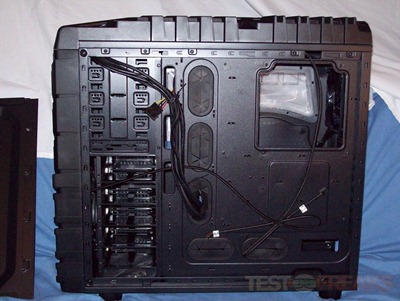
Moving on here’s the right side of the case, or the back of the motherboard tray with the side panel removed. Here you’ll find plenty of rubberized slots for routing your wires through and a nice large cut-out where the CPU would be located so you can quickly and easily swap CPU coolers if needed. You’ll also notice that the inside of the case is painted black to match the outside.
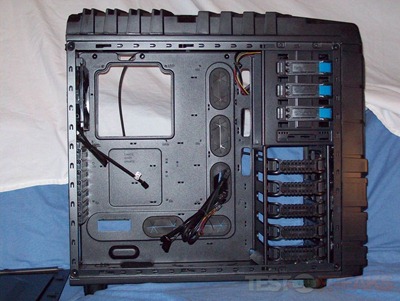
Then here’s the view with the let panel removed:
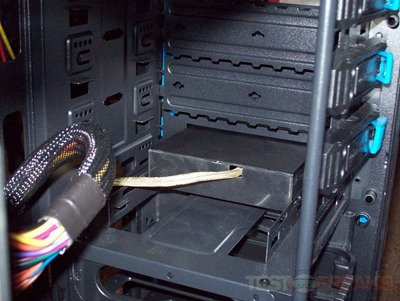
The 5.25” bays are tool-less, they use a spring lock latch system.
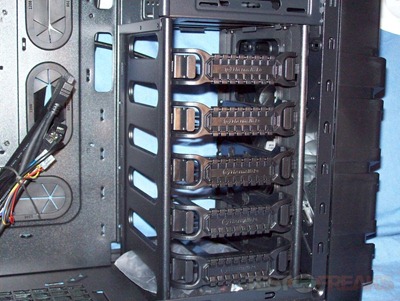
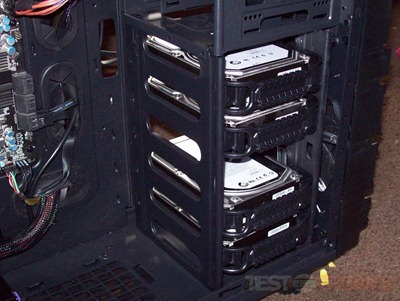
The hard drive cage is located beneath of course and can hold five drives. The drive trays can be used with 3.5” or 2.5” drives.
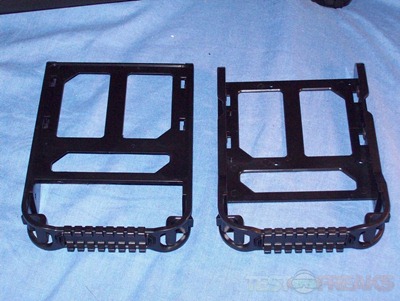
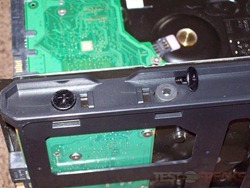
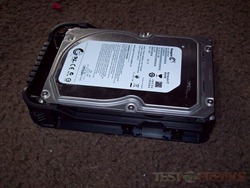
Here’s a couple of the racks, one upside down and one right-side up so you can see them better.
Here’s the bottom of the case, you can see the filter here and where the optional fan can be installed.
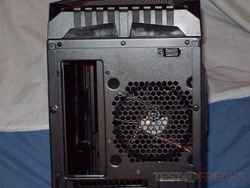
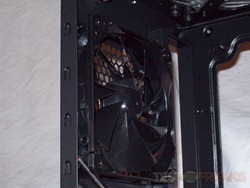
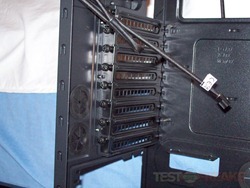
Then here’s the back section where the PCI slots are and you can see the 120mm fan installed for you, there’s no LEDs in this one.
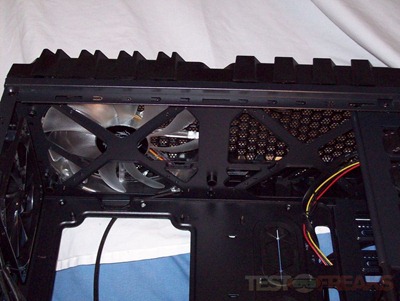
Here’s the inside view of the top of the Overseer showing the 200m fan installed:
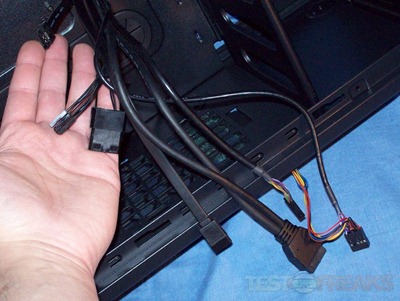
Of course you’ll find an assortment of wires for connections to your motherboard and USB 2.0 and UBS 3.0 headers, there’s also power connectors for the fans and the lighting effects on the front of the case which I’ll show you later in the review.
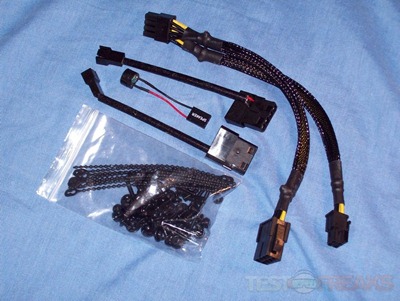
Finally there’s a small assortment of accessories for you including a CPU power extender and Molex to 3pin fan conenctors. In the bag is the assortment of screws along with several reusable cable ties.
Specifications:
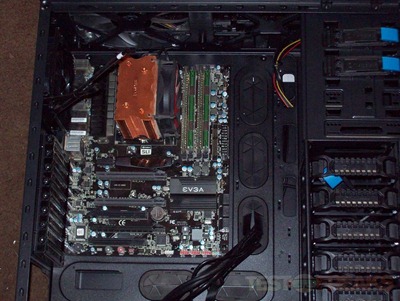
Next of course was the rest of the system. I found there’s plenty of room to move around, it’s a nice big case.
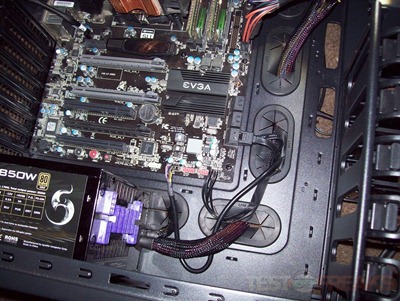
I got a lot of use from the wire management during the installation, it is really nice having this type of setup in a case.
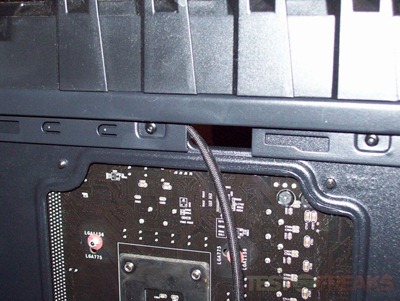
On the back of the motherboard tray is a slot so you can route the CPU power connection through to the motherboard, it was a tight fit but it worked. The case is tall, so you need to have a long power cable though for this to work, or get some sort of extender. Thermaltake was kind enough to include a power extender for you though, so you won’t have to buy one!
Speaking of the power connector, I found here’s plenty of space at the top of the case to work. I easily got the connection for the power in and it was easy to get the motherboard screws in as well thanks to all of the extra room.
I used the built-in 3.5” bay for my card reader, this way I didn’t have to use a 5.25” to 3.5” adapter which is nice.
Here’s my four hard drives installed, once they’re in the rack they just slide into the cage and lock into place.
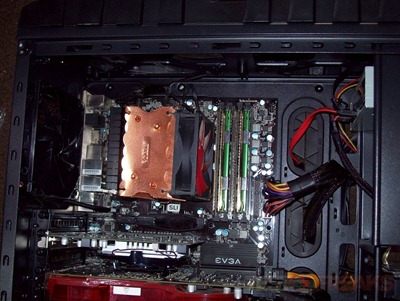
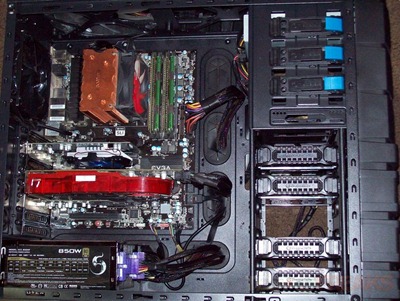
Here’s everything installed, you can see the ATI 4890 I have fits fine in the Overseer with a lot of room to spare and thanks to the built-in wire management the inside looks rather clean and neat.
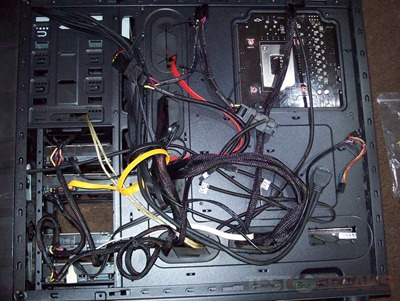
The back of the motherboard tray is a different story though, it’s a mess and I don’t care as it’s not seen. The Overseer case offers a lot of room for wires behind the mobo tray so it doesn’t have to be neat back there and I had no problems getting the side panel back on.
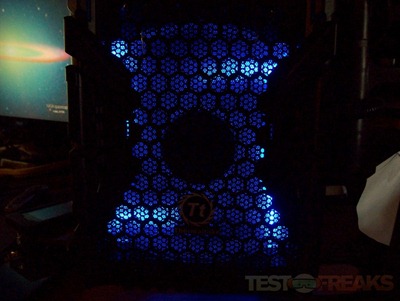
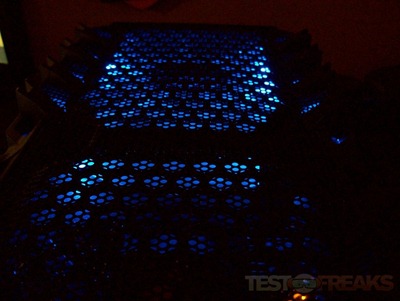
The front and top 200mm fans have blue LEDs in them making for a nice appearance in the dark. the Fans are also very quiet, the case is sitting less than three feet from me and I really can’t hear anything.
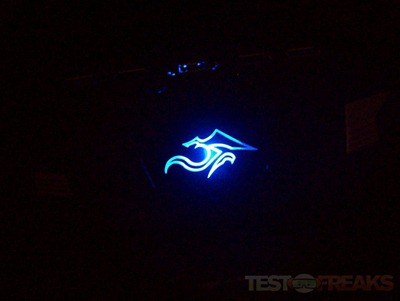
On the control panel at the top of the case is what looks like a dragon that lights up blue as well, it blinks very slowly, it’s not really a blink, it’s more of a fade though.
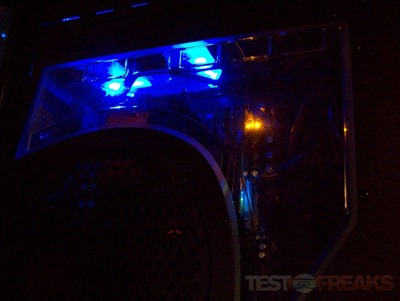
The top fan light does illuminate the inside of the case slightly, you can see it though the window somewhat. In the dark it’s more noticeable though.
As I mentioned already, the fans are nice and quiet, you can barely hear them even up close and they do a very good job at keeping things cool.
A couple small things to note about dust though. The side panel has a space for another 200mm fan, and there’s a filter in place but after about a week that filter gets full of dust and doesn’t look to great. I was thinking of cutting a piece of Plexiglas in the shape of the hole and putting it in there so the dust issue would be eliminated and then you could see more into the case.
The next issue with dust is the side window, it collects dust as well, both on the outside and inside. I’m guessing it’s due to static that it’s doing this but it’s not very pretty. The dust on the outside can easily be wiped off but to clean the inside you’ll have to remove the side panel of course and that can be a pain. This isn’t an issue if you case is under your desk or out of site, but I have mine on my desk so I see it all of the time and I don’t care for it much.
Something else I noticed that I found rather odd is that the hard drives can be heard through the case but only at certain angles. If you’re positioned more towards the front of the case they can’t be heard, but if you’re off to the side then you can hear them accessing. It’s just weird really.
Conclusion:
The Thermaltake Overseer RX-I is an awesome case, just plain awesome. It’s big and makes a bold statement, it’s the kind of case I’m happy to have sitting on my desk, one that’s well made and looks great, but it’s on the inside where it counts and the Overseer has plenty of room for all of your stuff to fit without any issues. This case could be for gamers, it sure looks like a gamer case, but it doesn’t have to be, it can work for anyone and fit in anywhere.
The Overseer is full of great features that I think everyone can appreciate, especially the built-in SATA dock right there on the top of the case for easy access.
There are a few very small issues with the case, but the good things very much outweigh the bad, so this is a case that I can easily recommend to you.
Pros:
+Lots of room inside
+Plenty of room for wires on back of mobo tray
+Plenty of wire routing options
+Quiet and cool
+Looks great
+Built-in SATA dock
Cons:
-Depending on the angle, hard drives can be audible
-Side fan filter collects a lot of dust
-Side window collects dust
| Grades: | |
| Overall |  |
| Design |  |
| Performance |  |
To learn more about our review policy please visit this page HERE.

