Kingston makers of the HyperX line of performance RAM modules recently released their memory cooler dubbed the HyperX Fan. This fan can be bought separately or comes bundled with Kingston’s 6 GB 2000MHz and 1800MHz triple channel memory kits with the T1 heat spreader is for Intel Core i7 systems. It is designed to cool triple channel memory configurations commonly found on Core i7 motherboards.
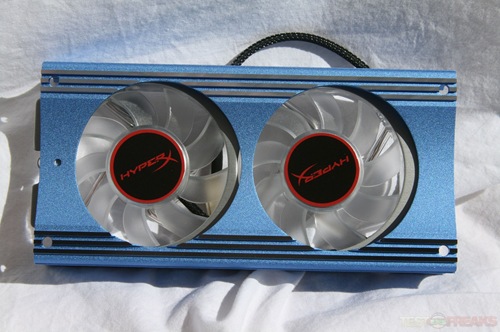
Besides cooling the memory, the HyperX Fan adds some style to the inside of one’s PC with two LED illuminated 60mm fans. The chassis of the cooler is designed to match the RAM sinks of the Hyper X modules.
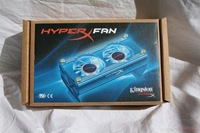
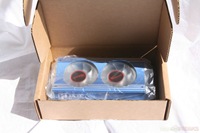
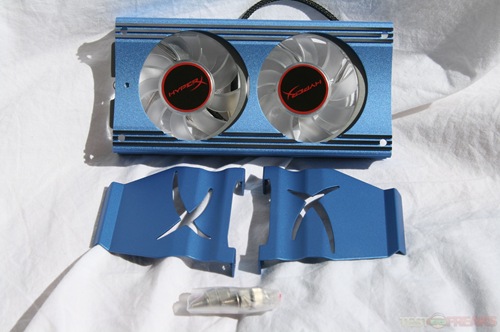
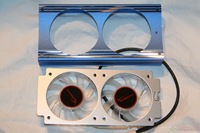
The Kingston HyperX fan review unit comes in a plain brown cardboard box with an image of the unit affixed to the front. Inside the package we find three components – the fan, a pair of legs along with a set of thumbscrews. Since this is not the retail packaging but for review instructions were unfortunately omitted. If you have ever worked inside a PC before then installation is pretty self explanatory. Plus the instructions can be downloaded off the Kingston site.
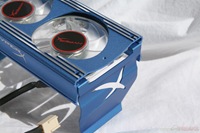
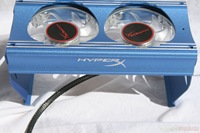
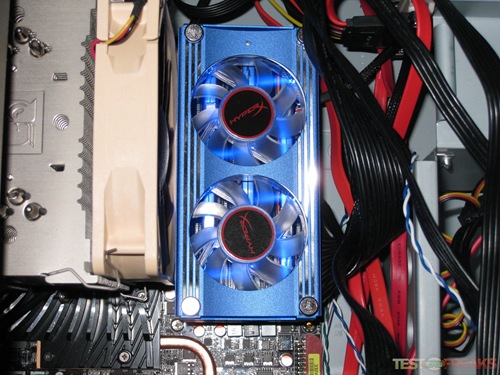
The HyperX fan is constructed of aluminum and is painted blue to match the HyperX memory modules. The main body has two 60mm fans that run at 3000 RPM and have a 28dB rating. Flipping over the main body we see a four pin connector. The fans slide out of the blue aluminum housing for easier cleaning. Keeping with the blue motif, the fan blades of the Hyper X are illuminated by eight small blue LEDs.
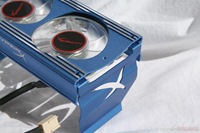
On the front and back ends of the main body we see the HyperX logo. The side leg pieces have the HyperX ‘X’ shapes cut into the aluminum.
Specifications:
Asus P6T Deluxe
CPU: Intel Core i7 920
Memory: Kingston KHX16000D3K3/3GX – 3GB
Video Card: MSI n260GTX
Thermal Interface: OCZ Freeze Thermal Extreme Conductivity Compound
Cooler: Noctua NH-U12P SE1366
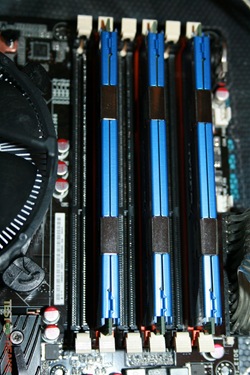
Installation involves positioning the HyperX Fan over the motherboard’s RAM slots then sliding the side legs over the RAM slot assembly and tightening the four screws to lock it into position. Finally plug in the fan connector into a spare fan header on the motherboard.
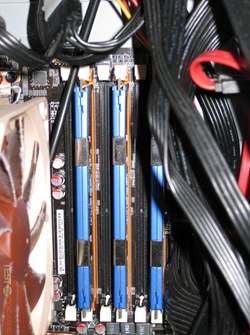
It is important to be aware of the position of the RAM slots in relation to any other components before installing the HyperX Fan. Certain CPU coolers may prevent the installation by overlapping the memory area. The Noctua NH-U12P SE1366 cooler on my motherboard sat very close to the memory slots but did not actually interfere with the HyperX Fan’s installation.
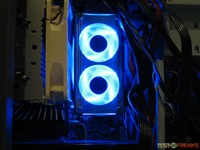
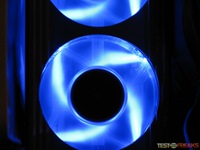
Here are some shots of the HyperX fan in place and at work. The LEDs are bright and help illuminate the inside of the case. Having a clear side panel is a must if you want the extra “bling” factor.
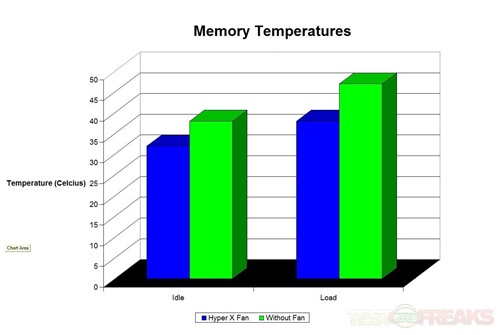
For testing the Hyper X fan I used the JetArt ThermoEye attached to the middle stick of Kingston Hyper X RAM with and without the HyperX Fan attached. As you can see there is an impressive drop in temps with the HyperX Fan applied to the memory.
At load there was a 9 degree drop in memory temperature with a 6 degree drop at idle. Not too shabby. Compared to other memory cooling solutions this is the best results I have seen so far.
Acoustically the HyperX Fan does add to the ambient PC noise. Depending on how quiet you want your PC this may be an issue. I personally don’t mind slightly added noise and the cooling gains seem well worth it.
The HyperX Fan is really designed both in its external appearance and function.
Conclusion:
When cooling components in performance PCs, the memory modules are usually overlooked. Most memory cooling solutions on the market provide negligible cooling. The HyperX Fan kit appears to break this trend by providing a excellent temperature decreases across the board. Other than a slight increase in the noise level inside of the case there are really no drawbacks to this kit.
Just make sure there is enough room around the memory module slots otherwise you may not fail to take advantage of the Hyper X Fan. If you are an overclocker, gamer or performance PC user then there is no reason that you should not have one in your system.
Pros:
+Simple to install
+Well designed
+Add some bling to the PC
+Exceptional cooling
Cons:
-Increases case noise level
-May be blocked by larger CPU cooling solutions
| Grades: | |
| Overall |  |
| Design |  |
| Performance |  |



2 comments for “Kingston HyperX Fan”