Usage and Testing
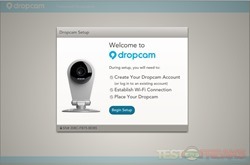
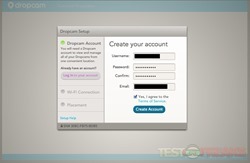
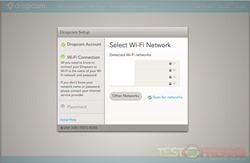
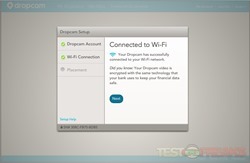
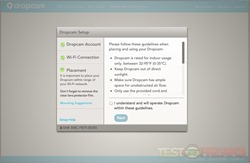
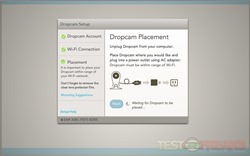
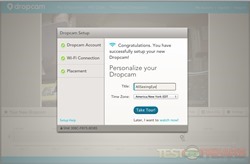
The Quick Start Guide will quickly get the Dropcam HD up and running. First connect the Dropcam to your computer’s USB port using the included cable. Next find the Dropcam icon on your PC or Mac and double click on it. Follow the instructions to complete the setup. This process takes all of 5 minutes and involves creating a Dropcam account and entering in your Wi-Fi name and password.
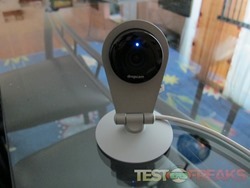
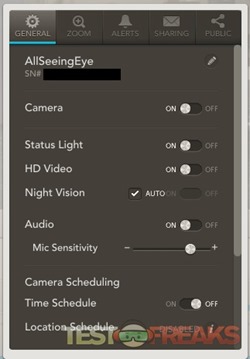
Once this procedure is finished unplug the in Dropcam and place it into position for video capture. The blue LED will light up on the Dropcam HD when the camera is powered on. This LED can be shut off in the settings using the apps or web viewer.
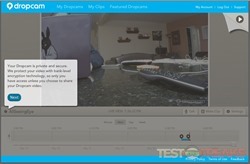
Viewing of the video stream can be done via the Dropcam website using SSL encryption or through the free iOS or Android apps.
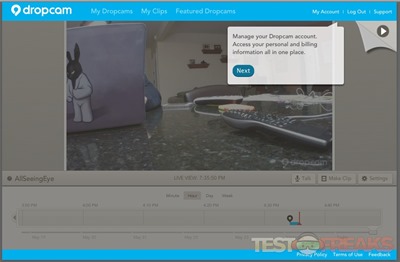
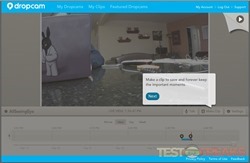
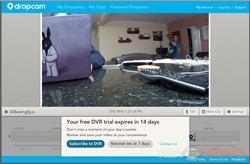
The web interface provides access to however many Dropcams you have on your network along with saved video called “My Clips” and “Featured Dropcams” which are cameras publicly accessible around the world.
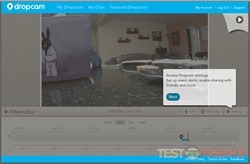
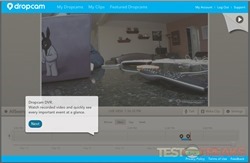
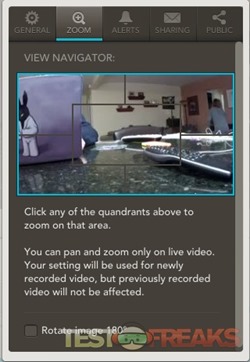
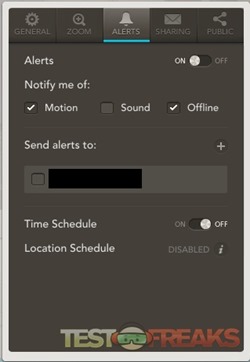
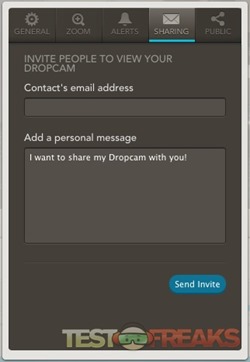
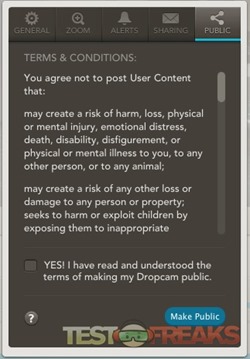
On the top right corner you can log into your Dropcam Account, Log Out or Get Support. The main window has video of the active Dropcam being viewed. Below it are icons for two-way talking, creating a clip or changing the camera settings. A timeline bar provides minute, hourly, day or week time frames for reviewing stored video if subscribed to the DVR function.
I was able to test the Dropcam iOS app using my iPhone 5 and iPad Mini. Both of these app versions offered similar functionality to the web-based interface.



1 comment for “Review of Dropcam HD Wi-Fi Video Camera”