Impressions and Installation
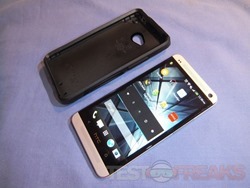
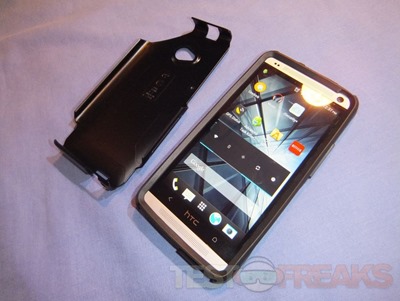
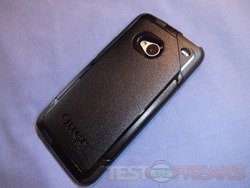
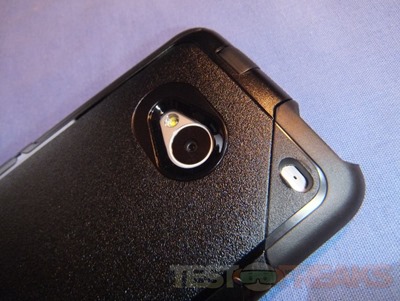
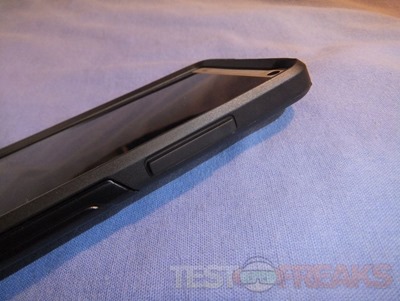
Here’s a couple pictures of the Commuter Series case with my HTC One for you:
The case is in two parts as I mentioned, you first put the rubber case on the phone. The first part of the case just slips on, it’s rubber so it bends and conforms to the phone easily.
Here’s a couple more views of the case with just the rubber part on:
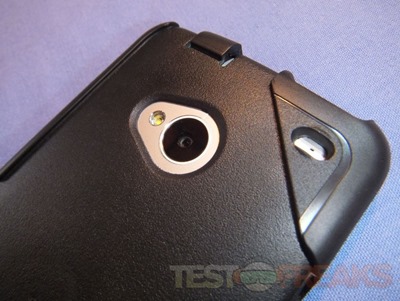
The case has a nice large opening on the back for the camera and flash along with a hole for the secondary microphone.
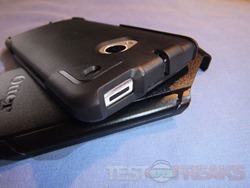
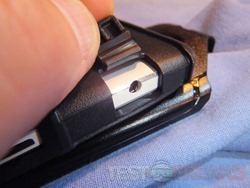
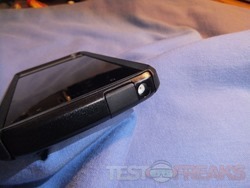
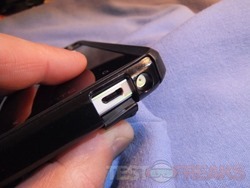
The case also has a nice large opening around the power button. If you didn’t know, the HTC One has the ability to control your TV and other infrared devices because the power button is actually a infrared transmitter. The case is open and does not block the transmitter or your ability to easily turn the phone on and off. The Commuter case also has a rubber cover over the audio port to make sure dust and dirt stays out.
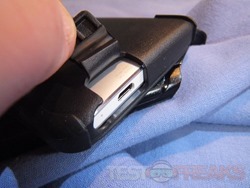
The bottom of the HTC One if where you’ll find the microUSB port and the main microphone. The case also has a cover for the microUSB port to keep dust and dirt out just like the audio port.
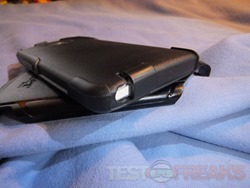
The second part of the case is the plastic out shell and it just snaps on, it’s a bit hard to get on that the rubber part but it’s not difficult. The one part I should mention is that you need to pull the audio and microUSB covers through the hard plastic back cover.
The outer shell is beveled outward around the camera to make sure it doesn’t interfere with your pictures or the flash.
On the right side of the HTC One is the volume rocker and Otterbox has made it easy to find without looking, they placed a raised section so you can feel it with your fingers. This section does not interfere with controlling the volume, actually it makes it easier.
I’ve already covered the openings in the case, and that pretty much didn’t change when I put the back plastic cover on.





2 comments for “Review of Otterbox Commuter Series Case for HTC One”