Network Attached Storage or NAS boxes are something that has become very popular over the last couple years, the main reason being of course that we’ve got more stuff, and we want to share it. Some NAS boxes though are much more than just a network storage solution, they can be a useful and powerful tool for home and business users alike, they can have features like being a mail server or even a multi-media server, and some offer the ability to hook up a camera and be a surveillance system for your home or business.
Today for review I’ve got the Synology DS209+II 2-bay SATA NAS server and while it’s sold as something for small and medium business users, it has many great features for home users as well. I’ve had the chance to take a look at a few NAS boxes in my time reviewing products, and I have to say that the DS209+II is the best of the bunch, not only for features, but for speed as well. So read on, I’ve got a lot of stuff to show you and tell you about this great little product…
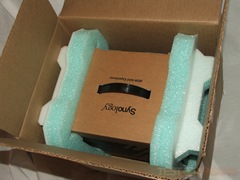
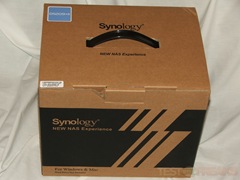
First we’ll start with the unboxing video:
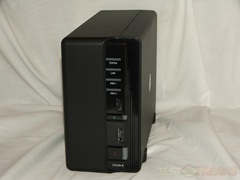
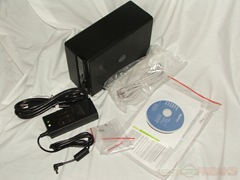
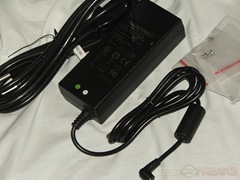
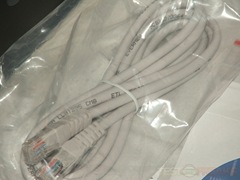
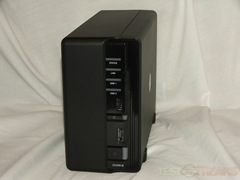
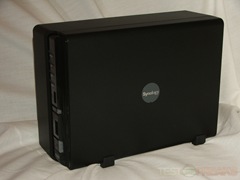
and here are the still pictures of the DS209+II:
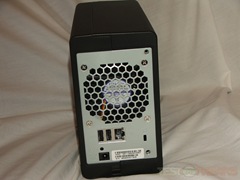
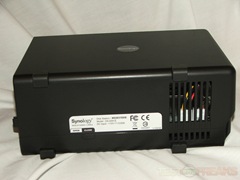
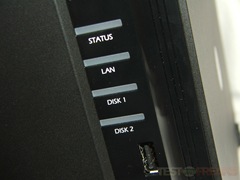
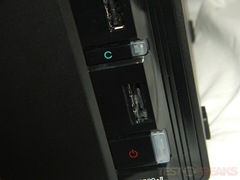
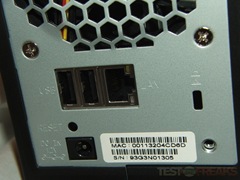
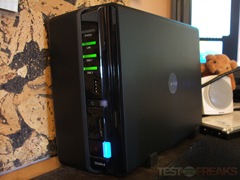
The DS209+II is nice looking and small sized NAS box really, the outside housing is plastic, and the inside chassis is metal. It features a 70mm fan to keep the drives cool, and three USB ports, two on the back and one on the front, also on the front is an eSATA port. The of the DS209+II is also where you’ll find he status indicator LEDs, the power button and a copy button for use with the USB port to copy from the USB to the Synology.
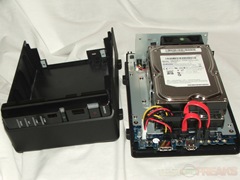
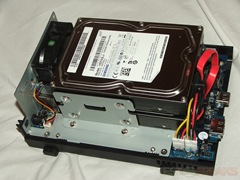
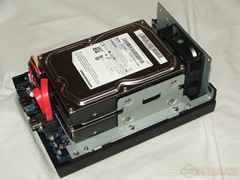
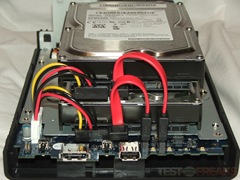
Being the curious person that I am, I had to take it apart to see the insides. The cover slides forward and up to remove it and it can be secured closed with screws. Normally you’ll need to install the hard drives, easy to do, just a couple screws and connections, but as you see we’ve got two Samsung 750Gb hard drives stacked on top of each other. While there are two drives in the DS209+II, it’s set to Raid1 where the drive is mirrored, so effectively you only have the capacity of one drive, but you have an automatic backup for everything you put on it. You do have the options for Basic, Raid 0 or JBOD as well though.
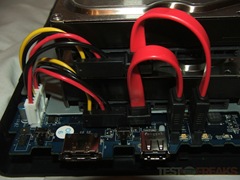
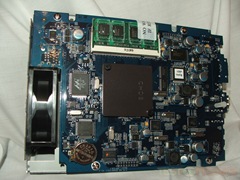
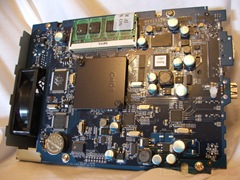
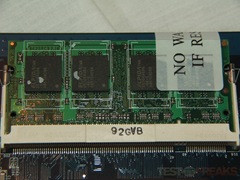
Taking it fully out of the casing, we can get a look at the bottom where we find the CPU, ram and other components. The CPU is under the heatspreader, which I didn’t remove, the ram is laptop style ram, 512MB is installed. I’m guessing it can be upgraded, but I’m not sure what the maximum is, and if you do remove the ram the warranty will be void anyway…
Specifications:
DS209+II
High-Performance 2-bay SATA NAS Server for Small-and-Medium Business Users
Synology Disk Station DS209+II offers PC server equivalent performance for efficient data sharing and backup. Its high performance coupled with sophisticated Synology Disk Station Manager 2.1 provides an ideal solution for cross platform sharing, secure server backup, Windows ADS integration, business mail server, and corporate surveillance.
Hardware:
* CPU: 1.06GHz, 64bit@DDR533, with floating point
* Memory: 512MB
* Internal HDD1: 3.5″ SATA(II) X2
* Max Internal Capacity: 4TB (2x 2TB hard drives)
* External HDD Interface: USB 2.0 port X3, eSATA port X1
* Size: 160mm X 218mm X 88mm
* Weight: 0.98kg
* LAN: Gigabit X1
* Fan: X1(70mmX70mm)
* Noise Level:2 24dB(A)
* Power Recovery
* AC Input Power Voltage: 100V to 240V
* Power Frequency: 50Hz to 60Hz, Single Phase
* Max Supported IP Camera: 10
RAID Management:
* Volume Type: Basic, JBOD, RAID 0, RAID 1
* Upgrade from Basic to RAID 1
* Expand RAID 1 with Larger Hard Drives
**There’s too much to list here for the specs and features section of this review, please stop by the product webpage HERE for the complete list of specs and features.
Price: $459.99 (from NewEgg at time of review)
Here’s a shot of the Synology in action… well as much action as you can get on the outside, the ‘real’ actions take place on the inside.
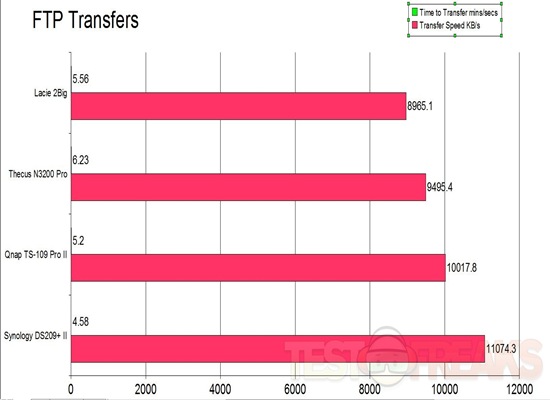
Before we get into the huge interface, let’s take a quick look at the performance of the Synology compared to others I’ve got on hand. The DS209+II is being compared to the Lacie 2Big, Thecus N3200 Pro, and the Qnap TS-109 Pro II. Each has it’s own unique HDD configuration and hardware specs of course, all were connected to my Netgear gigabit switch on my network.
For testing I used my FTP program to transfer the Windows 7 ISO file, weighing in at 3.04 Gb in size. In there chart you’ll see the time to transfer and the average speed in KB/s.
There’s a small anomaly in the chart that should be noted, while the Thecus had a higher speed than the Lacie, it took the longest amount of time to transfer, this is because for some reason it kept dropping the connection and had to reconnect to continue the file transfer.
The Synology DS209+II wins hands down, coming in under 5 minutes for the transfer and it has some very fast transfer speeds, the fastest of all I’ve got on hand.
I’ve been using the Thecus N3200 Pro as my main NAS box to allow access to my files when I’m away, but I may be retiring it to just a backup server in favor of the Synology.
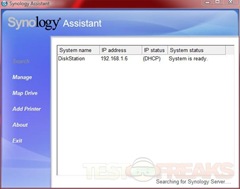
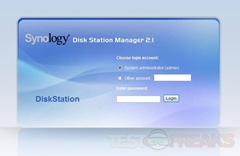
The first thing you’ll need to do is run the Synology Assistant, this will find the DS209+II on the network and allow you manage it, map the drive and add a printer to your network. The main thing here is the configuration, you’ll need to just hit ‘Manage’, then your browser will open to the web interface login screen. You can login here into the admin or user interfaces.
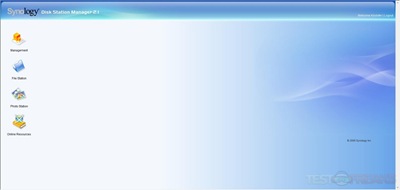
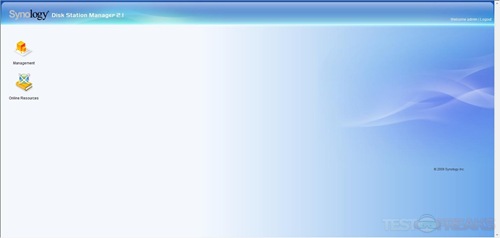
We’ll take a look at the user interface first, basically because it’s small. The first thing a user will se when they login is the ‘Desktop’ , on the left side are your basic options.
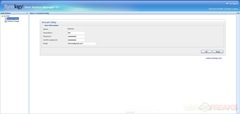
Clicking Management allows you to change your password and check how much space you’ve used.
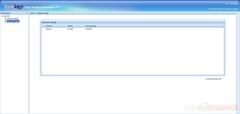
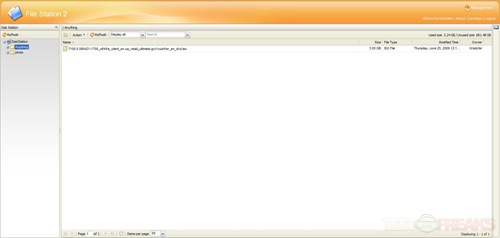
Clicking File Station takes you to the file management interface:
The other options on the Desktop are for Photo Station and Resources, these are rather self-explanatory.
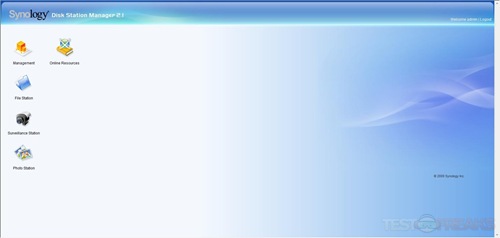
Now,let’s move on to the Admin interface, depending what you have enabled, your desktop will change with icons to show what is accessible.
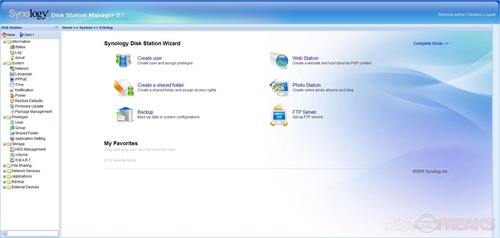
Clicking on Management will take you to the configuration and management interface, here you will see several icons on the desktop and a Windows style navigation tree on the left side.
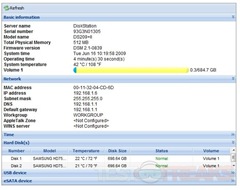
We’ll take a look all the options on the left side, and there’s a lot of them. The first two, or three actually are Status, Log and About. (About is not shown, it’s self-explanatory) The Status section tells us the status of the system, and logs tell us everything that is happening and has happened.
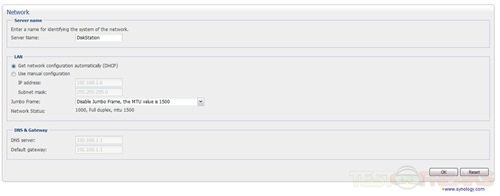
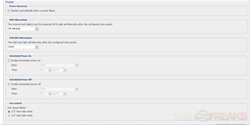
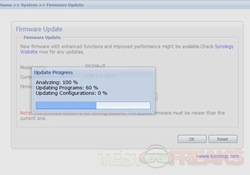
Next up is System, here you’ll find Network, Language, PPPoE, Time, Notification, Power, Restore Defaults, Firmware Update and Power Management. There was a newer firmware available that I updated the system to, simple to do, download file and browse to it and apply it.
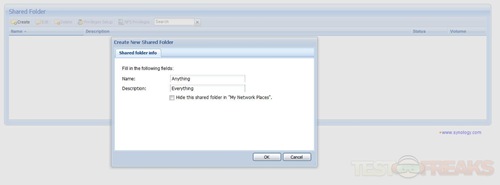
Next up is Privileges, here you’ll find User, Group, Shard Folder, and Application Setting. This is where you’ll control who accesses your system, and what they can have access to.
Next up is the Storage section, here you can get information about the storage devices and create your raid setup.
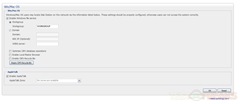
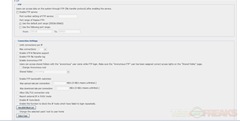
The next section is titled File Sharing, here is where you’ll setup your network configurations and services like NFS, FTP and the File Station.
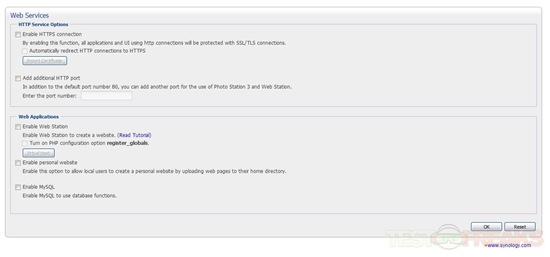
Next up is Network Services, here you’ll configure, enable or disable your Web Services, DDNS and Terminal.
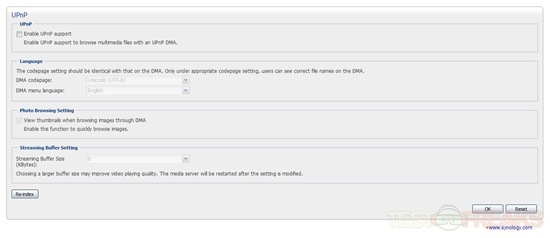
The next setting is for configuring the built-in Applications, here you can enable, disable, and configure UPnP, iTunes, Audio Station, Photo Station, Download Station and Surveillance Station. I should note that I did try to use the Surveillance Station but the IP Camera I have is not compatible with the DS209+II, so it didn’t work out, but if you’ve got one that is compatible setting it up seems relatively easy to do.
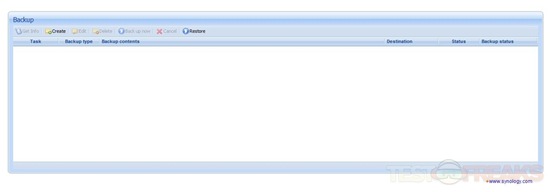
The next option is concerning Backups, here you can setup your backups, configure them and enable or disable the Network Backup service.
The last option is External Devices, this just gives us info about the external devices attached to the DS209+II.
I’ve touched on quite a bit of the main aspects of the Synology DS209+II, but there’s much more to it. You can enable the Mail Station which provides an Outlook-like Web mail that works with POP2, SMTP and IMAP. You can add other packages as well that are available from the Synology website. The DS209+II truly is an all-in-one device that’s powerful, useful and yet easy to use even for beginners. I got it working and setup on my network in a few minutes. Configuration times will vary of course depending on what you want to enable, and how your own network is set up.
The DS209+II is sold as something for small and medium business users, but it can be very useful for the average person as well. You’ve also got access to the iTunes server that let’s you stream your iTunes over your network, the Audio Station that let’s multiple users stream music with a web browser, and of course the Multimedia server as well that can stream multi-media files to TV or stereo.
There is also of course Download Station 2 which offers 24-hour BitTorrent, FTP, HTTP, NZB and eMule for those that need to transfer files to and from places.
One feature I truly appreciate about the DS209+II is the fact that there’s a USB port on the front, many NAS boxes allow USB backups and transfers, but for some odd reason they stick the USB ports on the back. Next to the USB port on the front is also a copy button which allows you to instantly backup whatever is on the USB device you’ve plugged in, great for quick and easy backups.
The DS209+II also features great security as well, in addition to the Surveillance Station, you’ve got full HTTPS access to the box from the web secured with SSL and TLS. This also includes FTP with encryption.
I also like the fact that the disks will hibernate after a set period of time, this reduces wear and tear on the drives. There is a slight delay when accessing the system when the disks are hibernated, but that’s to be expected.
The built-in 70mm fan seems to do a good job of keeping things cool, and it’s relatively quiet, though that depends where you have placed. For my time reviewing it, I had it right on my desk to the left of me, about two feet away, and I can audibly hear the fan, but it’s not overly loud, and with just a little ambient noise the room you can’t even hear the it.
Out of all of the NAS Boxes I have and have had, I like the interface of the DS209+II the best, it just seems intuitive and much easier to navigate, anyone should be able to easily access and utilize the DS209+II. If you can type in a web address, then you can access the box and all it contains.
I really cannot find any downsides or Cons with this product, though the price might be considered one, coming in at about $460 plus shipping without any drives in it. It is a new product, so we can expect the price to fall though.
Conclusion:
The Synology DS209+II is a NAS like no other, it truly is one of the best I’ve had the chance to review. It’s very easy to set up, and it’s even easier to use, the interface is very user friendly, so even those that aren’t very good with technology should have no problems accessing and utilizing it.
The DS209+II is sold as something for businesses, but it can be a very valuable tool for the average person as well. Since it’s so easy to use it can make a great network storage solution for anyone.
If you’re in the market for a NAS solution, and can afford it, then I can recommend you seriously take a look at the DS209+II, it will be able to provide for all of your network storage needs, along with solutions for multimedia, file transfers and even security applications.
Pros:
USB and eSATA on front of unit
Small and compact design
Easy to use
Excellent, user friendly web interface for both admin and users
Relatively quiet fan
Fast transfer and access speeds
Overall it’s well made
Cons:
Price
| Grades: | |
| Overall |  |
| Design |  |
| Performance |  |














9 comments for “Synology DS209+II 2-bay SATA NAS Server”