The Review – Setup and Interface
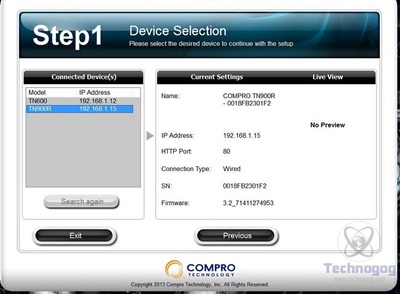
When you first setup the TN900 you can access it directly via IP but you can also use the software include don the disk to find it. In the following screenshot you’ll see my Compro TN600 camera listed too. The software just makes it easier to find the camera and get it setup, especially if you’re not sure how to find the IP of it on your computer.
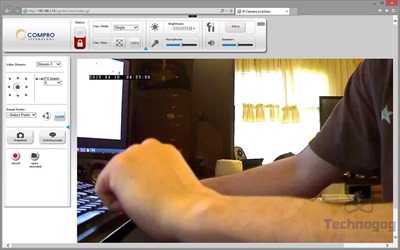
In your browser you can enter the camera IP address and you’ll be taken to the Live View of what the camera sees. On the top, above the live view, are controls to lock the camera or turn privacy mode on and off, view mode if you have more than one camera, view size, brightness, microphone levels, speaker levels and then a button to go to the setup screens. Over on the left side of the Live View are the basic controls for pan, tilt and zoom along with recording movies or screenshots. From the panel you can also communicate through the camera if you have a microphone hooked up to your computer of course.
I had no problems connecting to the TN900 and setup was easy, just connect and start getting it setup to your own liking.
One note about the browser view, it might not work in all browsers, in fact it only worked for me in Internet Explorer. I have Chrome, Firefox and Internet Explorer installed, and it only worked in IE. I also found that for some of the things you’ll need java Virtual Machine installed as well. When you first log into the camera you’ll be greeted with Active X warnings which you’ll need to install and accept to allow the camera to function through the browser.
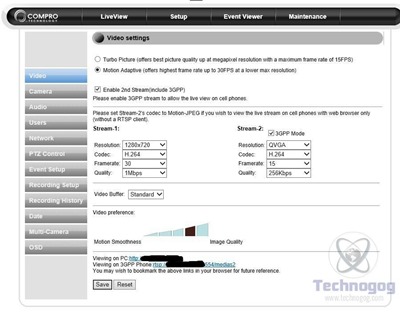
The first settings tab is for Video and here you can adjust the quality, stream and buffer and see the IP addresses
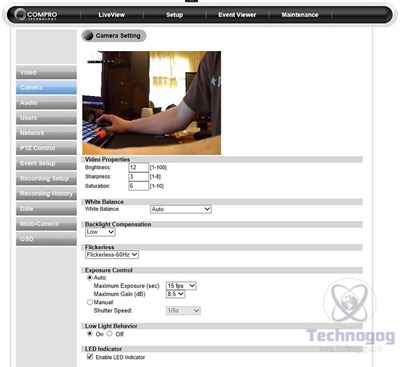
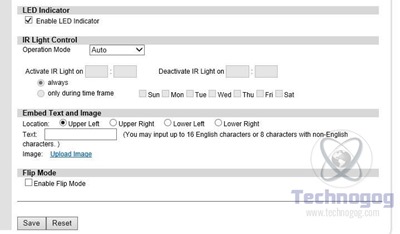
The second tab is for the Camera Settings, this is pretty much all the main settings for the camera view. Here you can change video properties like brightness, sharpness and saturation along with white balance and backlight compensations and flicker and exposure. You can also turn the LED indicator on and off, control the infrared lighting, turn the low light compensation on and off and adjust OSD and you can flip the image so you can mount the camera on the ceiling.
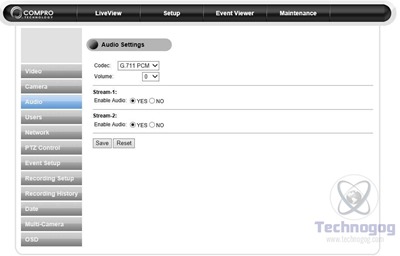
Under the Audio Settings you can select the codec and volume along with enabling or disabling audio for the separate streams.
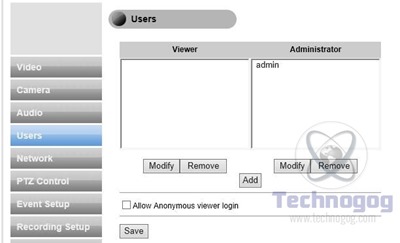
The Users tab is self-explanatory, here you can add and remove users who can access the camera.
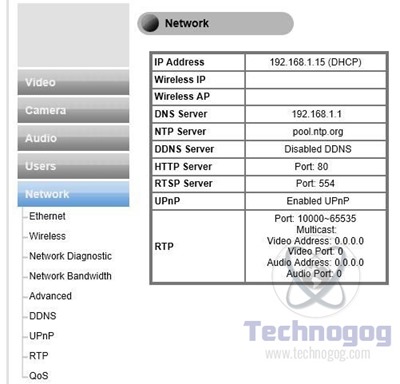
Under the networking tab you’ve got a lot of choices and I didn’t grab screenshots for all of them, but it’s all similar to what you might find in your router and in this section you can also setup the wireless connection, but you need to have the adapter plugged in to use it. I should note that I have the camera setup over a wired connection right now because it’s close to my switch, but wireless setup is as simple as it would be with other devices, just need name and password basically but you can set things up manually by entering IP address etc.
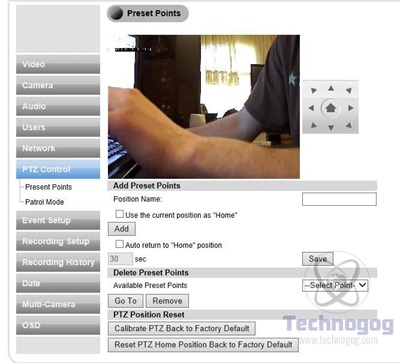
One of my favorite things about the Compro cameras is the ability to set points for the camera to move to. You can move the camera to look at a window and then set the point, and then move it to look at a doorway and set that point. When you are in the remote mode you just select the point you created and the camera will move itself to the selected point you programmed.
There’s also a patrol mode where the camera just moves around automatically and patrols the room or area you have it monitoring. You can change the speed via the settings.
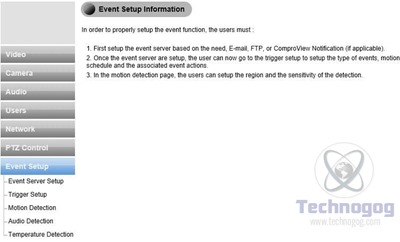
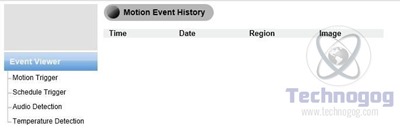
The Event section has five parts to it for viewing events and for setting up events. You can set the schedule for when the camera would record, motion detection, audio detection or even temperature detection.
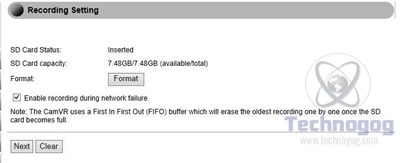
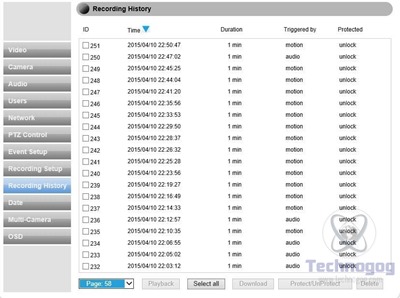
The TN900 allows several methods for recording and one of them is using a microSD card.
You can access the card through the camera and you’ll find a list of recordings or events under the Recording History tab which you can view or download to view later.
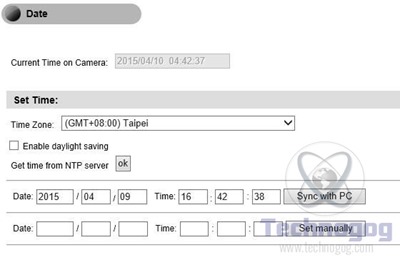
Simple menu option here, this is just to change or set the time of the camera.
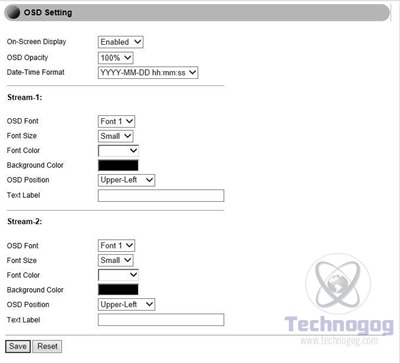
You can adjust the OSD or On-Screen Display on the camera for both Stream 1 or Steam 2. You can label it, change the colors and fonts and the position of the OSD.
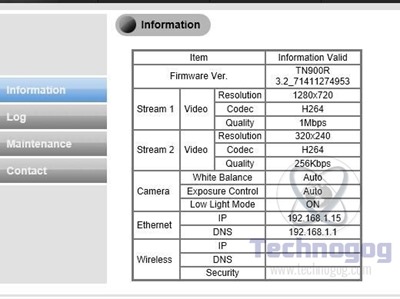
The last tab in the setup menu is information and it has four parts to it, Information, Log, Maintenance and Contact. Information is what it sounds like, Log is a log of events like a user logging in. The Maintenance tab is for firmware updates, reboot, reset and you can save profiles as well. The Contact tab is just for contacting Compro support with email addresses and the physical address of them.


3 comments for “Review of Compro TN900RW 720P PTZ Network Camera”