Installation
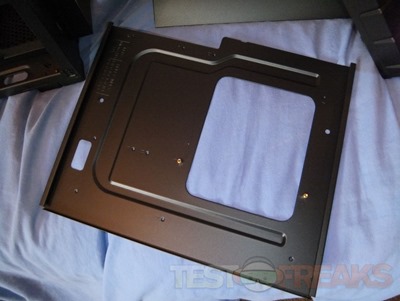
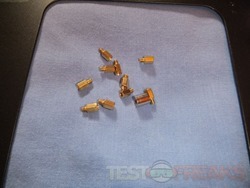
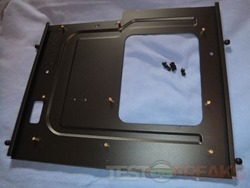
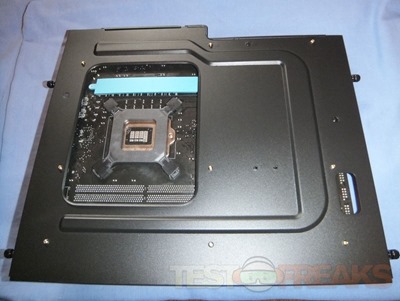
Let’s get to the installation part of this, since I already had the motherboard tray out the first thing I did was get the motherboard on the tray and this involved first getting the stand-offs on the tray. No problems there, all easily screwed in.
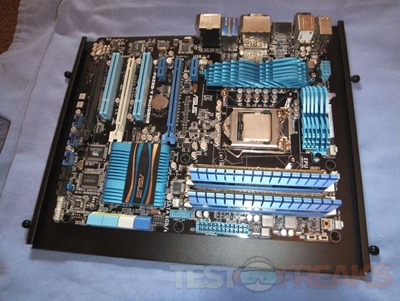
Then using the included screws I put my ASUS Z68 motherboard on the tray
The cut-out section on the back is nice and large and fully clears the socket area so you should have no problems swapping CPU coolers.
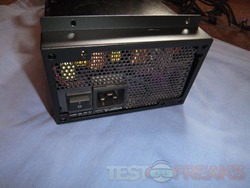
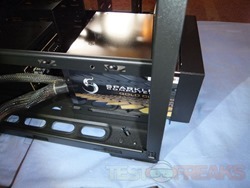
The next thing I did was install my power supply which is a rather large Sparkle 1250Watt, but thanks to the design of the HAF XB is can accommodate larger PSUs.
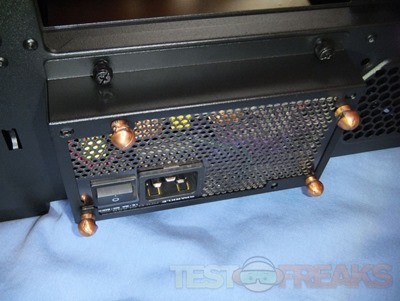
The first thing you have to do to install a PSU in the HAF XB is remove PSU section from the case and attach it to your power supply with screws just like you would in any other case really.
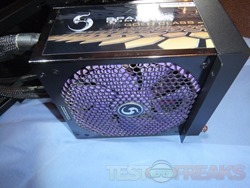
Theoretically, then you can just slide it into the case and secure it in place. This didn’t work for me as the PSU got stuck on the way in.
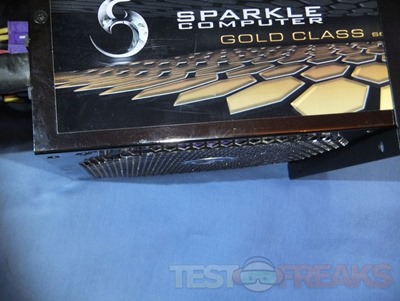
The reason the power supply got stuck is that the fan grill slightly sticks out from the bottom of the PSU. This just a particular design of this Sparkle PSU, most power supplies aren’t like this thankfully.
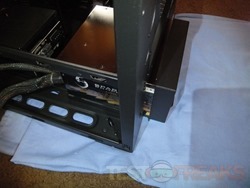
So to get it installed I had to go from the inside to the outside, this wasn’t exactly easy to do either. I had to remove that front section that I already put on, then slide it through the opening in the HAF XB and then secure it back on again. Once that’s done then you the four included thumbscrews and secure it in place to the case itself. It did fit once I got it in there, it was just a rather large hassle because of the way the PSU is designed.

4 comments for “Review of Cooler Master HAF XB PC Case”